
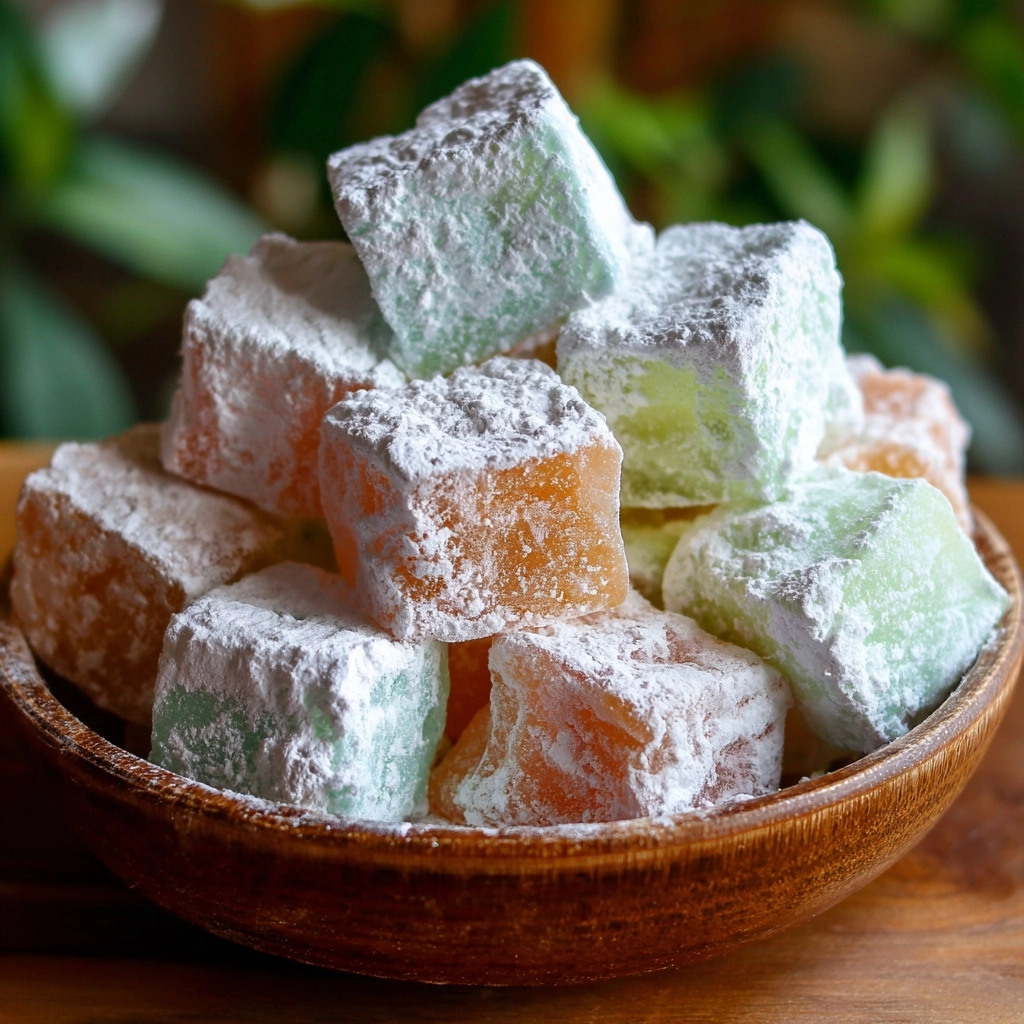
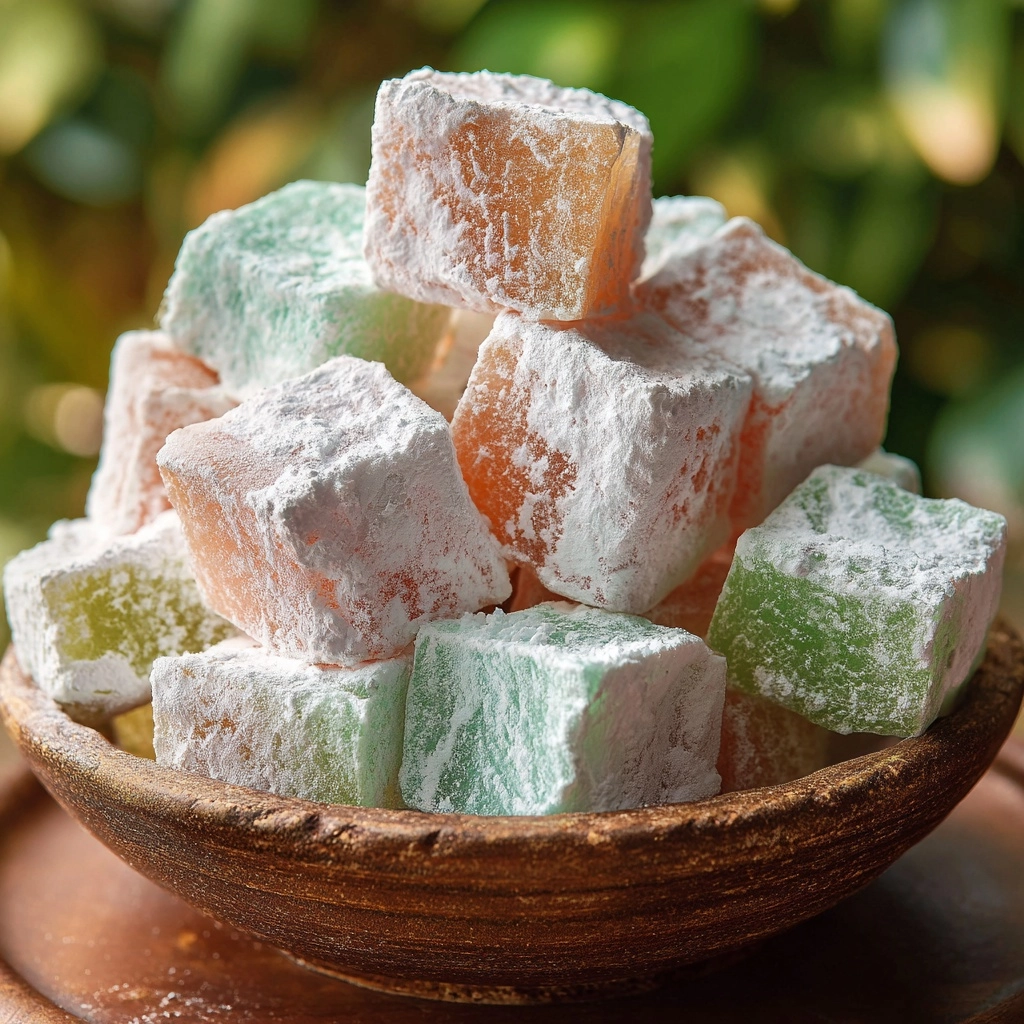
If you’re searching for a sweet treat that practically melts on your tongue, look no further than these Melt-in-Your-Mouth Butter Mints. With their delicate peppermint flavor, creamy texture, and pastel hues, these homemade mints are the perfect addition to dessert tables, party favors, or simply to enjoy when you crave a little nostalgia. Every bite is a blissful, buttery cloud, effortlessly capturing the comforting essence of old-fashioned candies made right in your own kitchen.
Ingredients You’ll Need
This recipe is delightfully simple, relying on just a handful of pantry staples—each chosen for a reason. Every ingredient plays a starring role, from the richness of real butter to the cool brightness of peppermint, ensuring your Melt-in-Your-Mouth Butter Mints are unforgettable every time.
- Unsalted butter, softened: The foundation of the recipe, butter ensures every mint is rich, smooth, and creamy.
- Salt: Just a pinch balances the sweetness and enhances the flavors for a perfectly rounded taste.
- Peppermint extract: Adds that classic, refreshing minty flavor—use pure extract for the best results.
- Powdered sugar, sifted: This keeps the mints silky and light, and prevents any graininess in the final texture.
- Heavy cream: Binds the dough together and gives these treats their signature soft bite.
- Gel food coloring (optional): A few drops go a long way to create charming pastel mints—perfect for any occasion.
How to Make Melt-in-Your-Mouth Butter Mints
Step 1: Cream the Butter
Start by placing your softened unsalted butter into a large mixing bowl. Using a hand mixer, stand mixer, or even a sturdy wooden spoon, beat the butter until it’s gloriously smooth and creamy. The key here is to whip plenty of air into the butter, setting the stage for that signature melt-in-your-mouth texture.
Step 2: Add Flavor
Sprinkle in the salt and pour in the peppermint extract. Beat again just until everything is fully combined. You’ll notice the butter takes on a lovely aroma—this is when anticipation really starts to build!
Step 3: Incorporate the Sugar and Cream
Gradually add sifted powdered sugar, about a cup at a time, alternating with small splashes of heavy cream. Mixing slowly at first prevents a sugar cloud from enveloping your kitchen. Continue until a soft, pliable dough forms that’s easy to shape but not sticky.
Step 4: Color the Dough
If you’re feeling festive, add a tiny bit of gel food coloring at this stage. For multiple colors, divide the dough and tint each portion separately. Knead gently until the color is evenly distributed—remember, a little goes a long way with gel!
Step 5: Shape the Mints
Pinch off small amounts of dough and roll them into balls or little logs. For that classic look, gently flatten each with a fork or your fingertip. Arrange the mints on a parchment-lined baking sheet, giving them a little space to breathe.
Step 6: Let Them Set
Patience is the final ingredient! Let your Melt-in-Your-Mouth Butter Mints dry at room temperature for at least 12 hours, or overnight. This allows them to firm up to the perfect consistency while retaining their creamy bite inside.
How to Serve Melt-in-Your-Mouth Butter Mints
Garnishes
Dress up your mints with a dusting of powdered sugar or a sprinkling of finely chopped fresh mint. For special occasions, try edible glitter or tiny sugar pearls to add a touch of sparkle that makes them even more irresistible.
Side Dishes
Melt-in-Your-Mouth Butter Mints shine alongside a cup of coffee or tea, and they’re delightful served after a rich meal as a palate cleanser. Pair them with fruit platters, chocolate truffles, or delicate cookies for a full dessert spread.
Creative Ways to Present
For parties and gifts, package the mints in clear cellophane bags tied with ribbon, or arrange them in vintage candy dishes for a nostalgic touch. For showers or birthdays, use coordinating colors and display them in pretty boxes or jars—these beauties are as charming as they are delicious!
Make Ahead and Storage
Storing Leftovers
Keep any extra Melt-in-Your-Mouth Butter Mints in an airtight container at room temperature. They’ll stay fresh and soft for up to two weeks, making them a perfect make-ahead treat for gatherings and gifting alike.
Freezing
If you’d like to prepare these mints well in advance, you can freeze them easily. Layer the mints between sheets of parchment paper in a freezer-safe container, and store for up to three months. Thaw at room temperature when you’re ready to serve.
Reheating
These mints are best enjoyed at room temperature, so reheating isn’t needed. If they’ve chilled in the fridge or freezer, simply let them sit out for 20-30 minutes until perfectly soft and ready to enjoy.
FAQs
Can I use a different extract instead of peppermint?
Absolutely! Swap in vanilla, lemon, almond, or even orange extract for a fun twist. Just remember that some extracts are stronger than others, so add a little at a time and taste as you go.
Why is my dough too sticky or dry?
If your dough is sticky, add a bit more powdered sugar. If it’s too dry or crumbly, drizzle in a touch more heavy cream. The goal is a soft, pliable dough that holds its shape without sticking to your hands.
How do I get vibrant colors without making the dough runny?
Use gel food coloring, which is highly concentrated and won’t add extra liquid. Start with a tiny amount and knead it in for even coverage and beautiful pastel shades.
Can the Melt-in-Your-Mouth Butter Mints be made vegan?
Yes! Substitute the butter with high-quality vegan butter and swap out heavy cream for coconut cream or a thick plant-based substitute. The mints will still be creamy and delicious.
Do I have to let the mints dry overnight?
For the best texture, drying overnight is ideal, but if you’re short on time, aim for at least 6 hours. They may be a bit softer, but still wonderfully tasty and satisfying.
Final Thoughts
There’s something magical about making Melt-in-Your-Mouth Butter Mints from scratch—they’re a true labor of love with a big payoff. Whether you’re whipping them up for a special celebration or simply to treat yourself, you’ll find these homemade mints are always a hit. Go ahead, give them a try and watch them disappear as quickly as you made them!
Print
Melt-in-Your-Mouth Butter Mints Recipe
- Prep Time: 20 minutes
- Cook Time: 0 minutes
- Total Time: 20 minutes plus 12 hours drying time
- Yield: About 80 small mints
- Category: Dessert
- Method: No-Bake
- Cuisine: American
- Diet: Vegetarian
Description
Delight in these melt-in-your-mouth butter mints, a classic no-bake candy that’s creamy, sweet, and infused with refreshing peppermint. Perfect for holiday gifts, party favors, or a sweet treat anytime, these homemade mints are easy to customize with different colors and flavors.
Ingredients
Butter Mint Base
- 1/2 cup unsalted butter, softened
- 1/4 teaspoon salt
- 1/4 teaspoon peppermint extract
- 3 3/4 cups powdered sugar, sifted
- 2 tablespoons heavy cream
- Gel food coloring (optional)
Instructions
- Beat the Butter: In a large bowl, beat the softened butter until it becomes smooth and creamy, creating the perfect base for the mints.
- Add Flavorings: Mix in the salt and peppermint extract thoroughly by beating again to ensure the flavors are evenly distributed.
- Incorporate Sugar and Cream: Gradually add the powdered sugar, one cup at a time, alternating with the heavy cream. Continue mixing until a soft, pliable dough forms that’s easy to work with.
- Add Color (Optional): If desired, add a small amount of gel food coloring and mix until the dough is evenly tinted. Divide the dough if using multiple colors to create variety.
- Shape the Mints: Roll the dough into small balls or logs, then gently flatten each piece slightly using a fork or your fingertip for texture.
- Dry the Mints: Place the shaped mints on a parchment-lined baking sheet and allow them to dry at room temperature for at least 12 hours or overnight until firm and set.
- Store Properly: Once dry, store the mints in an airtight container to keep them fresh for up to two weeks.
Notes
- Customize your butter mints by experimenting with different extracts such as vanilla, lemon, or almond for unique flavors.
- Use gel food coloring to create vibrant hues, perfect for themed parties or seasonal celebrations.
- Store in a cool, dry place to maintain freshness and prevent melting or sticking.
- These mints make thoughtful handmade gifts and charming party favors.
- Allow adequate drying time to ensure the mints firm up completely before storing or packaging.
Nutrition
- Serving Size: 4 mints
- Calories: 90
- Sugar: 14g
- Sodium: 15mg
- Fat: 4g
- Saturated Fat: 2.5g
- Unsaturated Fat: 1.5g
- Trans Fat: 0g
- Carbohydrates: 15g
- Fiber: 0g
- Protein: 0g
- Cholesterol: 10mg
