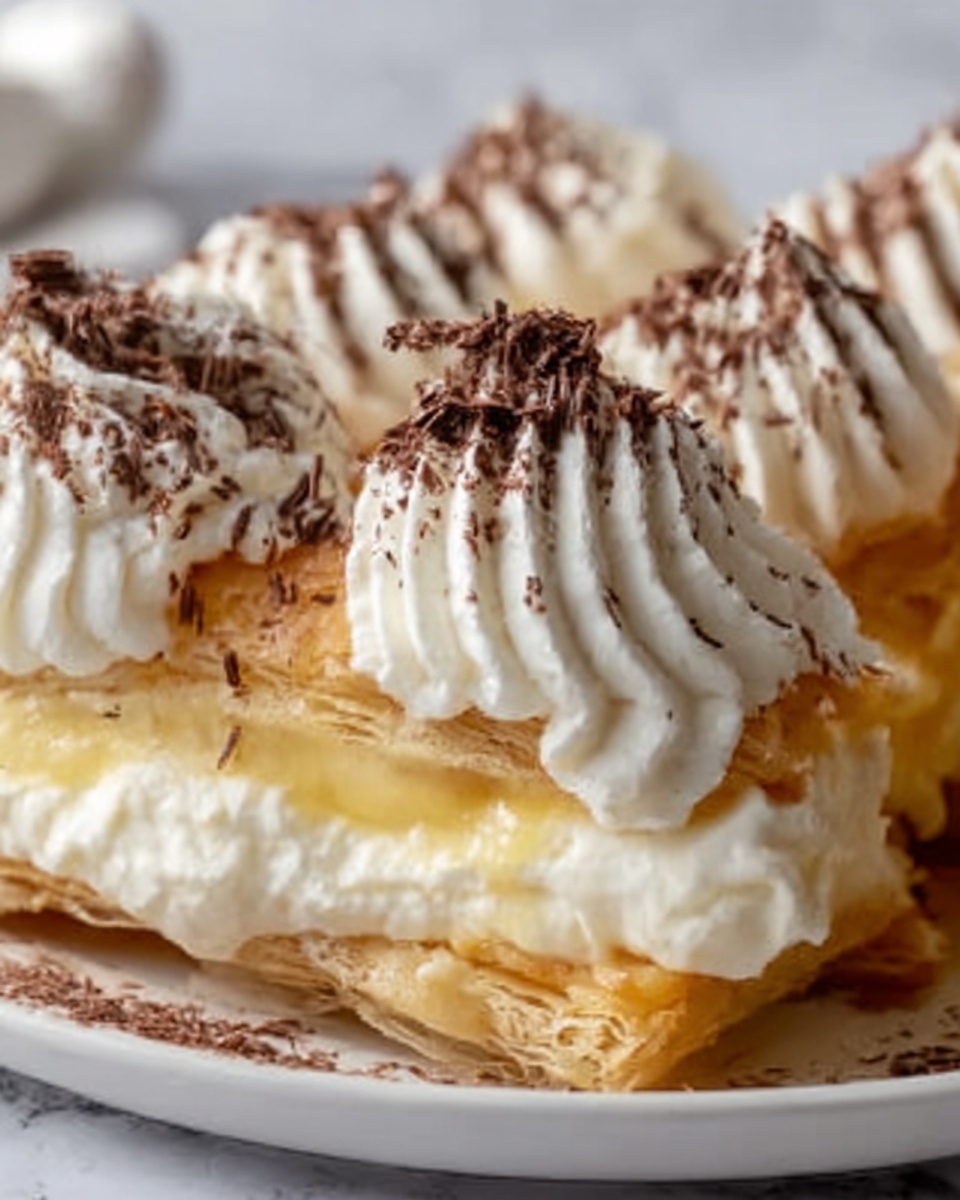
If you’ve ever wanted to master a timeless dessert that’s as elegant as it is delicious, look no further than this Classic Cream Puffs Recipe. These delicate, airy pastries offer a perfectly crisp shell that encases a luscious whipped cream filling, creating a delightful contrast of textures and flavors with every bite. Whether you’re planning a special occasion or simply craving a sweet treat at home, these cream puffs will quickly become one of your cherished favorites.

Ingredients You’ll Need
Gathering simple yet essential ingredients is the first step toward baking these delightful cream puffs. Each component plays a crucial role, from the butter that enriches the dough to the vanilla that brightens the cream filling, ensuring a balanced and scrumptious result.
- 1 cup water: Provides the moisture needed to form the choux pastry’s structure.
- 1/2 cup unsalted butter: Adds richness and helps create a tender, flaky shell.
- 1 cup all-purpose flour: The backbone of the choux dough, giving it the structure to puff up.
- 1/4 teaspoon salt: Enhances and balances the flavors throughout the pastry.
- 4 large eggs: The eggs add moisture and are key to the dough’s rise and elasticity.
- 1 cup heavy whipping cream: Whipped into a luscious filling that melts in your mouth.
- 1 tablespoon powdered sugar: Sweetens the whipped cream delicately without overpowering it.
- 1 teaspoon vanilla extract: Adds aromatic warmth and depth to the cream.
How to Make Classic Cream Puffs Recipe
Step 1: Prepare Your Oven and Baking Sheet
Start by preheating your oven to a hot 400 degrees Fahrenheit (200 degrees Celsius) to ensure a quick, even rise. Line a baking sheet with parchment paper to prevent sticking and make cleanup a breeze. This sets the stage perfectly for creating those iconic puffed shells.
Step 2: Boil Water and Butter
In a medium saucepan over medium-high heat, bring the water and unsalted butter to a rolling boil. This combination forms the liquid foundation of the dough, and the bubbling signals it’s time for the next step. Watch carefully as the butter melts completely for the best texture.
Step 3: Add Flour and Salt to Form Dough
Remove the pan from heat and quickly stir in the flour and salt until the mixture pulls away from the sides and forms a smooth ball. This critical moment transforms the liquid into a dough that will puff beautifully when baked. Every second counts here to avoid lumps!
Step 4: Dry the Dough on Heat
Return the pan to the stove and cook the dough for 1 to 2 minutes while stirring constantly. This helps to loosen some moisture so the dough won’t be soggy later and ensures a crisp puff. The slight drying on heat is a game changer for texture.
Step 5: Incorporate Eggs Into Cool Dough
Let the dough cool for a few minutes to prevent scrambling the eggs. Then add the eggs one at a time, fully mixing after each addition until you have a smooth, thick, and glossy dough. This step creates the elasticity and structure needed for the puffs to rise perfectly.
Step 6: Shape the Puffs
Using a spoon or, even better, a piping bag, drop or pipe out small mounds about 1.5 inches in diameter onto the parchment-lined baking sheet. Leave about 2 inches between each to allow room for puffing. This shaping step impacts the final look and ensures even baking.
Step 7: Bake Until Golden and Puffed
Bake the puffs for 20 to 25 minutes until they are beautifully golden and have puffed up into hollow shells. Resist the urge to open the oven mid-bake to keep the temperature steady. Once baked, transfer them to a wire rack to cool completely before filling.
Step 8: Whip the Cream Filling
In a chilled bowl, whip the heavy cream with powdered sugar and vanilla until stiff peaks form. The difference between a good and a glorious cream puff lies in this fluffy, sweet cream that will fill your pastries.
Step 9: Fill the Puffs
Carefully slice each puff in half horizontally and generously pipe or spoon the whipped cream inside. This indulgent filling is what wakes up the choux shells and brings every component together.
Step 10: Serve or Store
Finally, replace the top and serve immediately for the best texture, or refrigerate if serving later. Classic Cream Puffs Recipe results in a dessert that is as fun to make as it is to eat!
How to Serve Classic Cream Puffs Recipe

Garnishes
Add a finishing touch to your cream puffs with a light dusting of powdered sugar or a drizzle of melted chocolate for extra flair. Fresh berries or a sprig of mint also add vibrant color and a fresh burst of flavor that pairs beautifully with the creamy filling.
Side Dishes
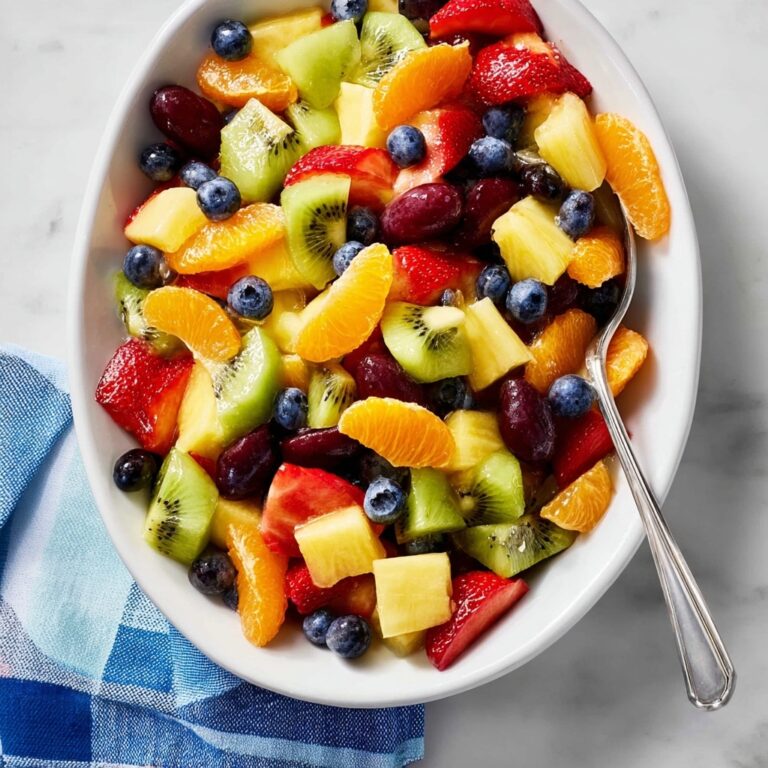
Serve your cream puffs alongside a cup of freshly brewed coffee or tea to balance the sweetness with a warm, comforting beverage. Light fruit salads or citrus sorbets are great companions too, offering a refreshing contrast.
Creative Ways to Present
For an impressive display, arrange the cream puffs in a tall pyramid or a circular tower, secured with a bit of melted chocolate or caramel. You can even fill individual mini sandwich bags for party favors or create an elegant dessert plate with a dusting of cocoa powder and edible flowers.
Make Ahead and Storage
Storing Leftovers
Store any uneaten cream puffs in an airtight container in the refrigerator to keep the whipped cream fresh. However, the shells may lose some of their crispness over time, so it’s best to enjoy them within 1 to 2 days.
Freezing
You can freeze unfilled puff shells in a sealed container for up to a month. When ready, thaw them at room temperature and whip fresh cream to fill. Filled cream puffs don’t freeze well because the cream can separate or become watery upon thawing.
Reheating
If stored shells have lost their crispness, briefly warm them in a low oven (about 300 degrees Fahrenheit) for a few minutes to revive their texture before filling. Avoid reheating filled cream puffs as this will spoil the delicate whipped cream.
FAQs
What makes cream puffs puff up during baking?
The combination of eggs in the dough and the high oven temperature creates steam inside the pastry, causing it to expand and form the hollow, airy shell characteristic of cream puffs.
Can I use store-bought whipped cream instead of making my own?
While store-bought whipped cream can work, freshly whipped cream with powdered sugar and vanilla offers much better flavor and texture for this Classic Cream Puffs Recipe.
How do I prevent cream puffs from becoming soggy?
Make sure to bake the shells fully until golden and dry. Fill them with cream just before serving, and avoid storing filled puffs for long periods to maintain their crispness.
Can this recipe be made gluten-free?
Traditional cream puffs require all-purpose flour for structure. For a gluten-free version, you’d need to experiment with gluten-free flour blends designed for pastries, keeping in mind texture may vary.
What is the best way to pipe the cream filling?
Using a piping bag fitted with a round tip allows you to neatly fill the puffs without mess. If you don’t have one, a zip-top bag with a corner snipped off works just as well.
Final Thoughts
There is something truly special about mastering this Classic Cream Puffs Recipe. The ease of making the dough combined with the rewarding puff and the luscious cream filling makes it a dessert that impresses every time. I hope you enjoy the process and the delicious results as much as I do!
Print
Classic Cream Puffs Recipe
- Prep Time: 15 minutes
- Cook Time: 25 minutes
- Total Time: 40 minutes
- Yield: 12 servings
- Category: Dessert
- Method: Baking
- Cuisine: French
- Diet: Vegetarian
Description
Classic Cream Puffs are delicate, golden choux pastry shells filled with a light and fluffy vanilla whipped cream. Perfect for an elegant dessert or a special treat, these cream puffs feature a crisp exterior with airy interiors, paired with a sweet, velvety cream filling made from heavy whipping cream, powdered sugar, and vanilla extract.
Ingredients
Dough
- 1 cup water
- 1/2 cup unsalted butter
- 1 cup all-purpose flour
- 1/4 teaspoon salt
- 4 large eggs
Cream Filling
- 1 cup heavy whipping cream
- 1 tablespoon powdered sugar
- 1 teaspoon vanilla extract
Instructions
- Preheat Oven: Preheat the oven to 400°F (200°C) and line a baking sheet with parchment paper to prevent sticking and ensure even baking.
- Boil Butter and Water: In a medium saucepan over medium-high heat, combine the water and unsalted butter. Bring to a vigorous boil until the butter melts completely and the mixture is boiling.
- Add Flour and Salt: Remove the pan from heat and quickly stir in the all-purpose flour and salt until the mixture forms a smooth ball of dough without lumps.
- Cook Dough: Return the pan to the stove and cook the dough for 1-2 minutes, stirring constantly. This helps to remove excess moisture and dries the dough slightly, making it easier to incorporate the eggs.
- Incorporate Eggs: Let the dough cool for a few minutes so it doesn’t cook the eggs. Add the eggs one at a time, mixing thoroughly after each addition until the dough becomes smooth and glossy, indicating proper consistency.
- Shape Dough: Using a spoon or a piping bag, form mounds of dough about 1.5 inches in diameter onto the prepared baking sheet, spacing them approximately 2 inches apart to allow for expansion during baking.
- Bake: Bake the dough mounds in the preheated oven for 20-25 minutes or until they turn golden brown and puff up fully, indicating a hollow center perfect for filling.
- Cool Puffs: Remove the baked puffs and place them on a wire rack to cool completely, which will ensure the interiors set properly without becoming soggy.
- Prepare Cream Filling: In a large mixing bowl, whip the heavy cream, powdered sugar, and vanilla extract together until stiff peaks form, creating a light and fluffy filling.
- Fill Puffs: Once cooled, carefully slice each puff in half horizontally. Pipe or spoon the whipped cream generously into the bottom half, then replace the top half to form a filled cream puff.
- Serve or Store: Serve the cream puffs immediately for best texture and freshness, or refrigerate them until ready to serve to keep the cream cold and stable.
Notes
- Ensure the dough cools slightly before adding eggs to avoid scrambling them.
- Space the dough mounds well to prevent them from sticking together while baking.
- Use fresh heavy cream for the best whipping results.
- The cream puffs are best consumed the same day for optimum texture, but can be refrigerated for up to 2 days.
- For easier piping, use a sturdy piping bag with a large round tip.


