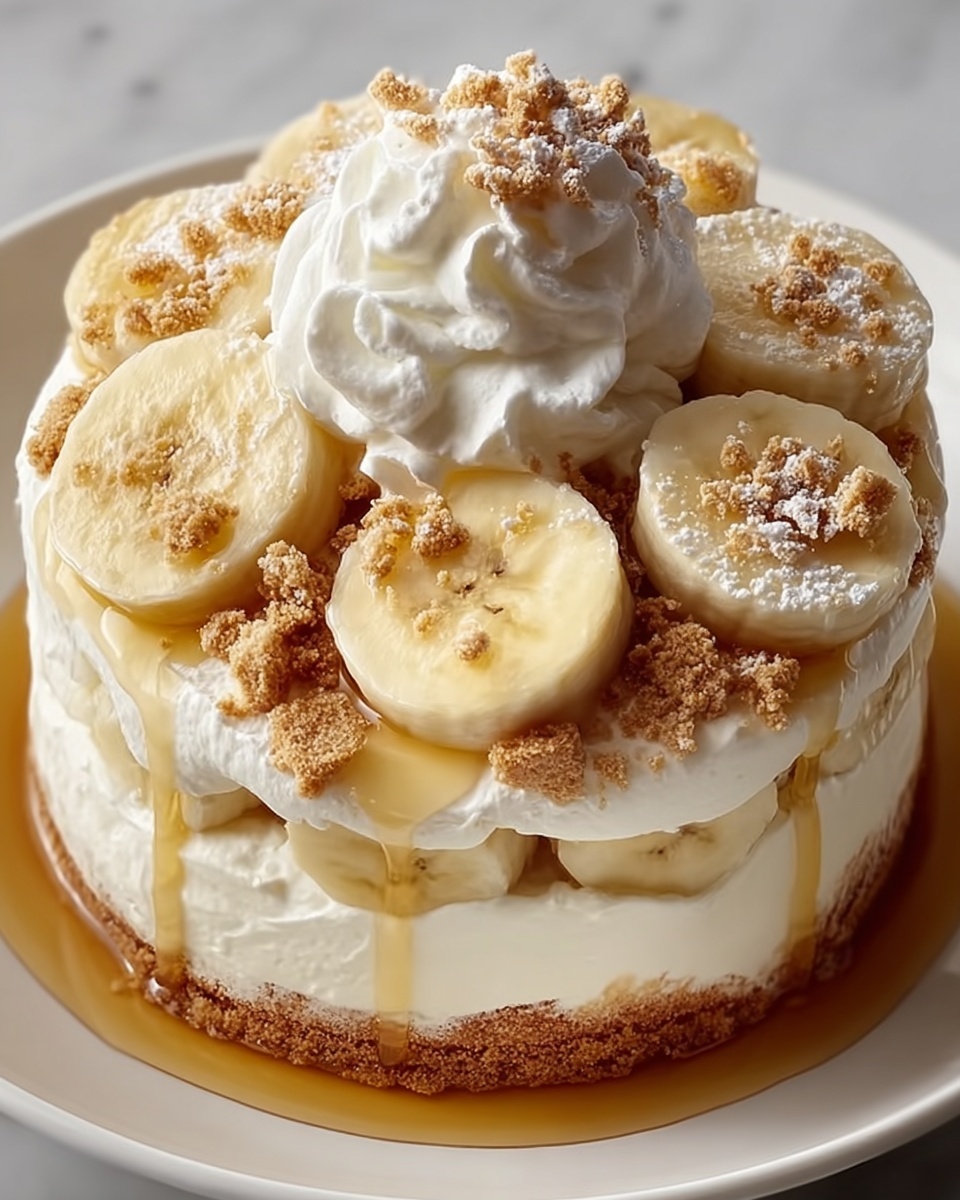
If you’re craving a dessert that feels like a warm hug from your childhood, this Old-Fashioned Homemade Banana Pudding Recipe is just what you need. This classic treat combines velvety custard, perfectly ripe banana slices, and crisp vanilla wafers into layers of pure comfort. The creamy texture paired with the crunchy wafers creates a delightful balance that’s as nostalgic as it is delicious. Once you try this, you’ll see why this recipe has been a family favorite for generations.
Ingredients You’ll Need
The beauty of this Old-Fashioned Homemade Banana Pudding Recipe lies in its simplicity. Each ingredient plays a pivotal role in building its rich flavor, luscious texture, and inviting appearance. Let’s break down these essentials that come together in harmony.
- Granulated sugar: adds the perfect amount of sweetness to enhance the custard without overpowering the bananas.
- All-purpose flour: acts as a subtle thickening agent, giving the pudding that smooth, creamy consistency.
- Salt: balances the sweetness and deepens the flavors in the custard.
- Whole milk: creates a rich base for the custard, making it velvety and indulgent.
- Egg yolks: are essential for richness and help thicken the pudding to that luxurious texture.
- Vanilla extract: infuses a warm, aromatic note that elevates every bite.
- Vanilla wafers: provide that classic crunch and subtle vanilla flavor, perfectly contrasting the creamy pudding.
- Ripe bananas: bring natural sweetness and a fruity freshness that’s simply irresistible.
- Heavy whipping cream: whips up into soft, fluffy peaks, making the topping light and airy.
- Powdered sugar: sweetens the whipped cream without graininess, creating a silky finish.
How to Make Old-Fashioned Homemade Banana Pudding Recipe
Step 1: Prepare the Custard Base
Start by whisking together sugar, flour, and salt in a large saucepan. Slowly pour in the milk while whisking to prevent lumps. Place the saucepan over medium heat and stir continually until the mixture thickens enough to coat the back of a spoon. This step usually takes about 10 to 12 minutes and is key to that creamy custard perfection.
Step 2: Temper the Egg Yolks
To avoid scrambled eggs in your pudding, gradually mix about one cup of the hot custard into your lightly beaten yolks. This tempers the eggs gently. Then pour the tempered yolks back into the saucepan and stir constantly while cooking for an additional 2 to 3 minutes, allowing the pudding to thicken even more and develop that smooth texture.
Step 3: Add the Flavor
Once off the heat, stir in the vanilla extract which brings warmth and depth, wrapping the custard in a comforting aroma that’s classic to this Old-Fashioned Homemade Banana Pudding Recipe.
Step 4: Layer the Pudding
In a glass baking dish, build your masterpiece by layering one-third of the vanilla wafers, followed by one-third of the banana slices, then one-third of the custard. Repeat this process two more times, ensuring the top layer ends with custard for a smooth finish.
Step 5: Chill to Set
Cover the dish with plastic wrap pressed directly onto the pudding’s surface to prevent a skin from forming. Refrigerate for at least four hours or overnight. This time allows the flavors to meld and the wafers to soften to a melt-in-your-mouth texture, completing the authentic old-fashioned feel.
Step 6: Whip the Topping
Just before serving, whip the heavy cream with powdered sugar until soft peaks form. This light, fluffy whipped cream adds a fresh balance to the dense pudding layers and makes every bite a pure delight.
Step 7: Garnish and Serve
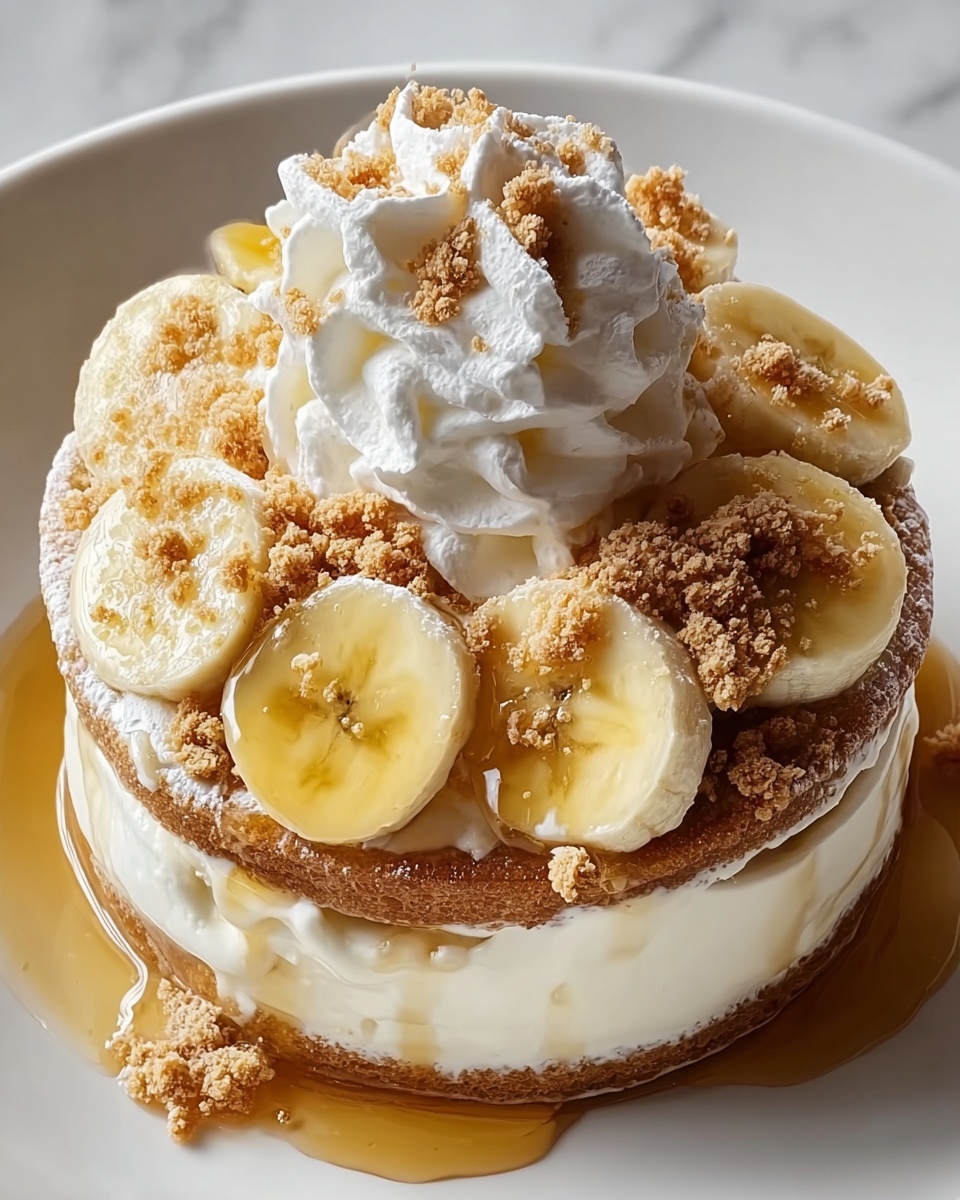
Spread or dollop the whipped cream over the chilled banana pudding. Top with extra vanilla wafers or banana slices if you want a little extra flair and crunch. Now your Old-Fashioned Homemade Banana Pudding Recipe is ready to impress!
How to Serve Old-Fashioned Homemade Banana Pudding Recipe
Garnishes
The charm of this dessert is amazing on its own, but adding a sprinkle of crushed vanilla wafers or a few banana slices on top not only enhances visual appeal but adds subtle texture contrasts that guests will love.
Side Dishes
This banana pudding pairs wonderfully with light, crisp desserts or simple beverages like iced tea or coffee. A small scoop of vanilla ice cream or fresh berries served alongside can also complement the flavors without overshadowing the main star.
Creative Ways to Present
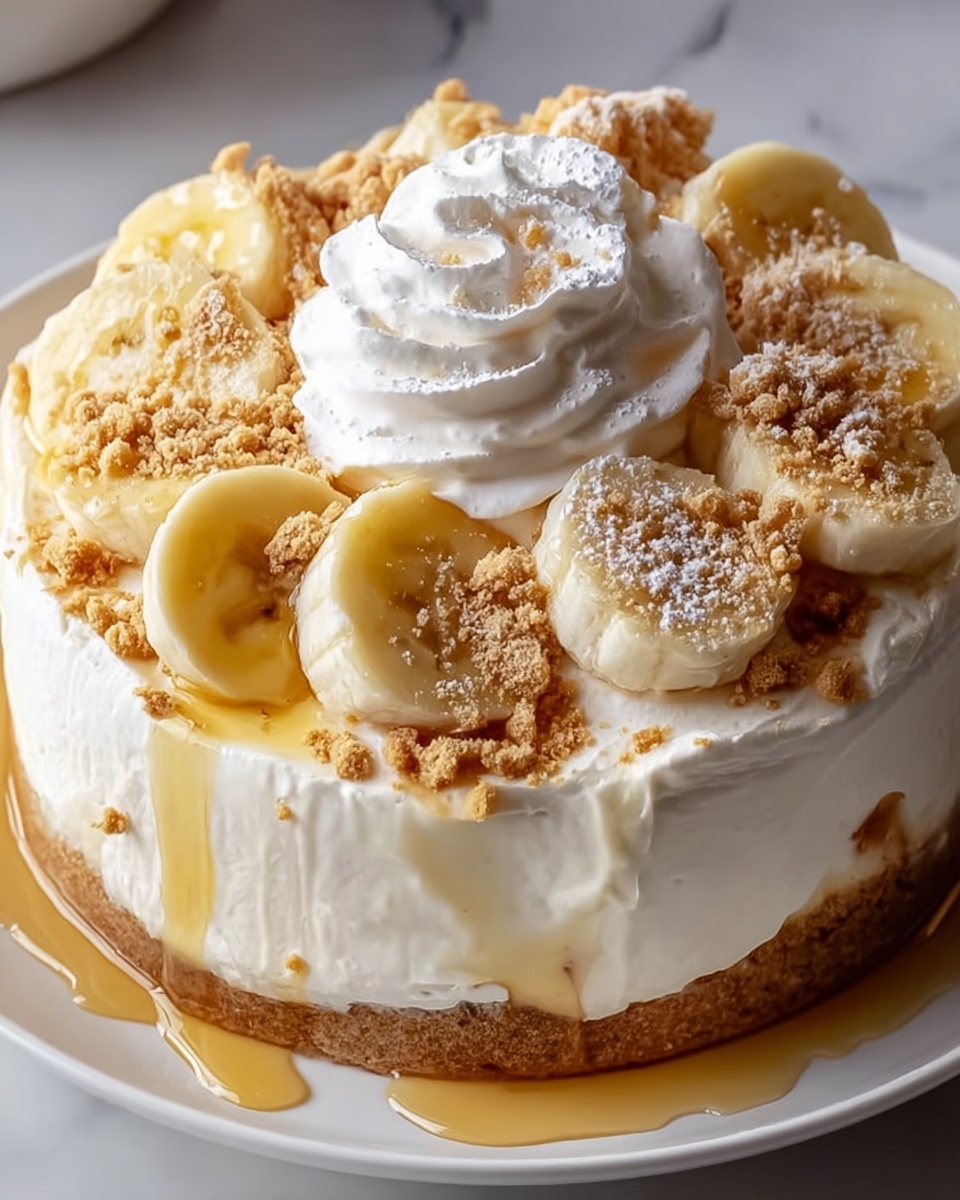
For a fun twist, try serving the pudding in individual mason jars or clear glasses for a stylish single-serve presentation. Layer the ingredients carefully so each spoonful reveals all the beautiful layers of wafers, bananas, and custard—it’s a guaranteed crowd-pleaser.
Make Ahead and Storage
Storing Leftovers
Keep your leftover Old-Fashioned Homemade Banana Pudding Recipe covered tightly in the refrigerator. It stays fresh and delicious for up to 3 days, making it a great make-ahead dessert for busy weeks.
Freezing
Freezing is not recommended for this pudding because the texture of the custard and bananas can become watery or mushy upon thawing. It’s best enjoyed fresh or refrigerated.
Reheating
This pudding is best served cold, so reheating is not necessary. If you prefer it slightly warmer, you can let it sit at room temperature for 15-20 minutes before serving, but avoid microwaving as it might change the texture.
FAQs
Can I make this banana pudding vegan?
While this recipe relies on dairy and eggs for its classic texture and flavor, you can try substituting plant-based milk and egg replacers, but expect some differences in texture and richness.
How ripe should the bananas be?
Choose bananas that are ripe but still firm enough to slice easily without turning mushy; yellow with a few brown spots is perfect for that natural sweetness and ideal consistency.
Can I use instant pudding mix to speed up the process?
Instant pudding mix is a convenient shortcut, but making the custard from scratch as in this Old-Fashioned Homemade Banana Pudding Recipe gives you a more authentic, deeper flavor and silkier texture.
Is it necessary to chill the pudding for 4 hours?
Chilling allows the layers to set and the wafers to soften perfectly. While you can enjoy it sooner, the texture and flavors improve significantly with longer refrigeration.
What’s the best way to serve leftover pudding?
Serve it cold directly from the fridge, optionally with a fresh dollop of whipped cream or a sprinkle of wafer crumbs to revive that fresh-from-the-kitchen feel.
Final Thoughts
This Old-Fashioned Homemade Banana Pudding Recipe is truly one of those desserts that brings people together, filling your kitchen with nostalgia and warmth. Once you master this classic, it’s bound to become a beloved staple for your family and friends. Don’t wait to give it a try and create your own sweet memories!
Print
Old-Fashioned Homemade Banana Pudding Recipe
- Prep Time: 15 minutes
- Cook Time: 15 minutes
- Total Time: 4 hours 30 minutes
- Yield: 8 servings
- Category: Dessert
- Method: Stovetop
- Cuisine: Southern American
Description
This Old-Fashioned Homemade Banana Pudding is a classic Southern dessert featuring layers of creamy vanilla pudding, ripe bananas, and crunchy vanilla wafers, topped with freshly whipped cream. It is a comforting and nostalgic treat perfect for gatherings or a sweet indulgence at home.
Ingredients
Pudding Ingredients
- 1 cup granulated sugar
- 1/2 cup all-purpose flour
- 1/2 teaspoon salt
- 4 cups whole milk
- 6 large egg yolks, lightly beaten
- 2 teaspoons vanilla extract
Other Ingredients
- 1 box vanilla wafers (approximately 11 ounces)
- 5 to 6 ripe bananas, sliced
- 1 cup heavy whipping cream
- 2 tablespoons powdered sugar
Instructions
- Prepare the pudding base: In a large saucepan, whisk together the sugar, flour, and salt. Gradually add the milk, whisking until the mixture is smooth.
- Cook the pudding: Place the saucepan over medium heat and cook, stirring constantly, until the mixture thickens and coats the back of a spoon, about 10-12 minutes.
- Temper the egg yolks: Remove the saucepan from heat and gradually whisk about 1 cup of the hot mixture into the beaten egg yolks to temper them. Then, return the egg yolk mixture back into the saucepan, stirring constantly.
- Finish cooking pudding: Place the saucepan back over medium heat and cook for an additional 2-3 minutes until thickened. Remove from heat and stir in the vanilla extract.
- Layer the pudding: In a glass baking dish, layer one-third of the vanilla wafers, followed by one-third of the banana slices. Pour one-third of the pudding mixture on top. Repeat the layers two more times, ending with a layer of pudding.
- Chill the pudding: Cover the dish with plastic wrap, pressing it directly onto the surface to prevent a skin from forming. Refrigerate for at least 4 hours or overnight for best results.
- Whip the cream: Before serving, whip the heavy cream and powdered sugar together in a mixing bowl until soft peaks form.
- Serve: Spread or dollop the whipped cream over the pudding. Garnish with additional vanilla wafers or banana slices if desired.
Notes
- Tempering the egg yolks is essential to prevent scrambling and ensure a smooth pudding.
- Pressing the plastic wrap directly onto the pudding surface prevents a skin from forming.
- For best flavor, refrigerate the pudding overnight to allow layers to meld.
- Bananas brown quickly; slice them just before layering or toss slices with a little lemon juice to preserve color.
- You can substitute heavy cream topping with store-bought whipped cream if preferred.
