
If you have ever dreamed of baking your own bread with that perfect tangy flavor and delightfully chewy crust, then this Sourdough Starter Recipe is your golden ticket. This simple, natural mixture of flour and water sparks the magic of wild yeast fermentation, creating a living culture ready to transform ordinary dough into extraordinary artisan bread. Whether you’re a baking newbie or a seasoned pro, this starter brings warmth, aroma, and a genuine homemade touch to your kitchen that store-bought yeast just can’t match.
Ingredients You’ll Need
The beauty of this recipe lies in its simplicity. With just two basic ingredients, you’ll cultivate a vibrant sourdough starter that sets the foundation for countless delicious loaves. Each ingredient is carefully chosen to invite the natural fermentation process and build a lively culture that’s full of flavor and vigor.
- Whole wheat flour or all-purpose flour: Whole wheat flour jumpstarts fermentation with plenty of nutrients, while all-purpose flour is a great option to maintain your starter after the initial days.
- Filtered or distilled water: Using water free from chlorine ensures a healthy environment for the wild yeast to thrive without getting inhibited.
How to Make Sourdough Starter Recipe
Step 1: Mix Your Ingredients
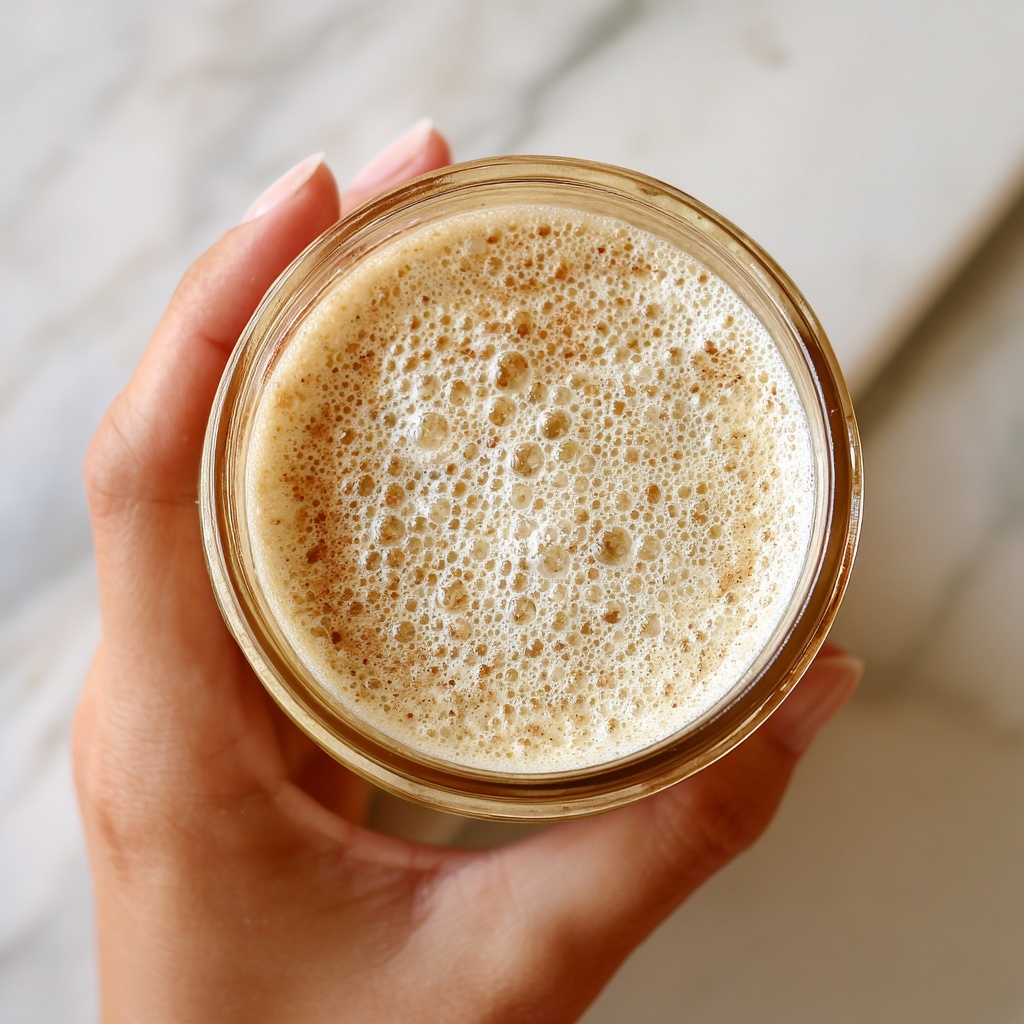
Start by combining 1 cup (120g) of flour with 1/2 cup (120g) of room temperature filtered water in a clean glass jar or container. Stir until the mixture is smooth and free of lumps. Scrape down the sides to prevent drying and cover loosely with a lid or a clean towel. Let it rest at room temperature—around 70°F—where the natural yeast is ready to wake up.
Step 2: Observe and Feed
After 24 hours, you may notice the first bubbles, subtle signs of life. Now discard about half of your starter (approximately 1/2 cup), then add 1 cup flour and 1/2 cup water again. Mix thoroughly, cover, and leave it to ferment for another day. This feeding habit keeps the yeast happy and well-nourished.
Step 3: Continue Daily Feedings
From day 3 through day 6, maintain this routine of discarding half and feeding with fresh flour and water every 24 hours. Each day your starter develops more bubbles, doubles in size, and fills your kitchen with that unmistakable tangy aroma. By the fifth or sixth day, it should be reliably active and bubbling, a perfect sign that fermentation is strong and healthy.
Step 4: Ready to Use and Store
Once your sourdough starter consistently rises and falls within 24 hours, it’s ready for all your baking adventures. At this point, you can shift to storing it in the refrigerator, feeding it once a week to keep it lively and happy between loaves.
How to Serve Sourdough Starter Recipe

Garnishes
While your starter itself isn’t something you typically serve directly, when it comes to the bread it makes, consider topping your loaves before baking with seeds like sesame, poppy, or sunflower for added texture and a nutty crunch that complements the sourdough’s tang beautifully.
Side Dishes
The bread you bake with your sourdough starter pairs wonderfully with a host of dishes. Think vibrant fresh salads, creamy soups, or hearty stews where the crusty, chewy bread becomes a perfect vehicle for savory flavors and satisfying sopping up of sauces.
Creative Ways to Present
Beyond the classic loaf, use your sourdough starter to create focaccia sprinkled with rosemary and sea salt, artisan pizza crusts, or even soft sourdough pancakes. Each twist showcases the starter’s versatility and infuses a distinctive depth of flavor that elevates homemade comfort food.
Make Ahead and Storage
Storing Leftovers
If you have any extra starter after feeding, you can store it in the fridge in a tightly sealed container for up to a week. Just be sure to feed it at least once weekly to keep the yeast healthy and active for your next baking session.
Freezing
Though more sensitive than dough, sourdough starter can be frozen if you want to pause your baking schedule. Freeze small amounts in airtight containers or freezer bags. When ready to revive, thaw in the fridge and feed for a few days until bubbly and active again.
Reheating
Starter itself doesn’t need reheating since it’s alive and raw, but when you’re ready to bake, bring the starter to room temperature for about an hour before mixing it into your dough. This wake-up ritual ensures the yeast will ferment efficiently and give your bread that perfect rise.
FAQs
What if my sourdough starter doesn’t bubble?
Don’t worry! Sometimes it takes a little longer if your kitchen is cool. Make sure you are using filtered water and fresh flour, and try keeping the starter in a warm spot, around 70°F. Patience is key; wild yeast can be shy at first.
Can I use tap water instead of filtered or distilled water?
Tap water often contains chlorine which can inhibit yeast fermentation. If you don’t have filtered water, let tap water sit out uncovered for 24 hours to allow chlorine to dissipate before using it in your starter.
Why do I need to discard half the starter before feeding?
Discarding prevents your starter from growing too large and becoming unmanageable. It also helps keep the acidity balanced and gives the yeast fresh nutrients with each feeding, promoting a strong and lively culture.
Can I use all-purpose flour only?
Yes, but whole wheat flour contains more nutrients and wild yeast that help kickstart the fermentation process faster. After the first few days, you can switch entirely to all-purpose flour for regular maintenance.
How do I know when my sourdough starter is ready to bake with?
Your starter is ready when it doubles in size within 4 to 6 hours after feeding, is full of bubbles, and smells pleasantly tangy but not unpleasant or rotten. A simple float test can also help: drop a spoonful in water, and if it floats, it’s good to go!
Final Thoughts
There’s something truly magical about nurturing your very own sourdough starter. This Sourdough Starter Recipe brings that special connection to baking, creating a living ingredient that rewards you with soulful breads time after time. Give it a try, enjoy the process, and soon you’ll be sharing the fruits of your starter’s tasty work with everyone at your table.
Print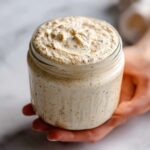
Sourdough Starter Recipe
- Prep Time: 5 minutes
- Cook Time: 0 minutes
- Total Time: 7 days (including fermentation period)
- Yield: 1 sourdough starter (about 1 cup when active)
- Category: Basics
- Method: Fermenting
- Cuisine: American
- Diet: Vegan
Description
This easy-to-follow sourdough starter recipe guides you through creating your own natural wild yeast starter at home, perfect for baking artisan breads. Using just flour and water, this recipe details the fermentation process over seven days to develop a bubbly, tangy starter that can be maintained long-term.
Ingredients
Starter Ingredients
- 1 cup (120g) whole wheat flour or all-purpose flour
- 1/2 cup (120g) filtered or distilled water (room temperature)
Instructions
- Day 1 – Mix Starter: In a clean glass jar or container, combine 1 cup of flour and 1/2 cup of water. Stir until smooth, scrape down the sides, then cover loosely with a lid or clean towel. Let it sit at room temperature (around 70°F) for 24 hours to begin fermentation.
- Day 2 – First Feeding: Check for bubbles indicating activity. Discard about half of the starter (approximately 1/2 cup), then add 1 cup flour and 1/2 cup water. Mix well, cover, and let sit at room temperature for another 24 hours.
- Days 3–6 – Daily Feedings: Continue this routine of discarding half the starter and feeding with 1 cup flour and 1/2 cup water every 24 hours. By days 5 or 6, the starter should be bubbly, double in size, and have a pleasant tangy aroma.
- Day 7 and Beyond – Ready to Use: Once your starter consistently rises and falls predictably, it is active and ready for baking. You can now store it in the refrigerator and feed it once a week to maintain its activity.
Notes
- Always use filtered or distilled water to avoid chlorine, which can inhibit fermentation.
- Whole wheat flour helps jumpstart fermentation but you may switch to all-purpose flour after day 3 if preferred.
- Feed your starter with equal weights of flour and water for optimal results.
- Keep the starter loosely covered to allow airflow but prevent contaminants.

