
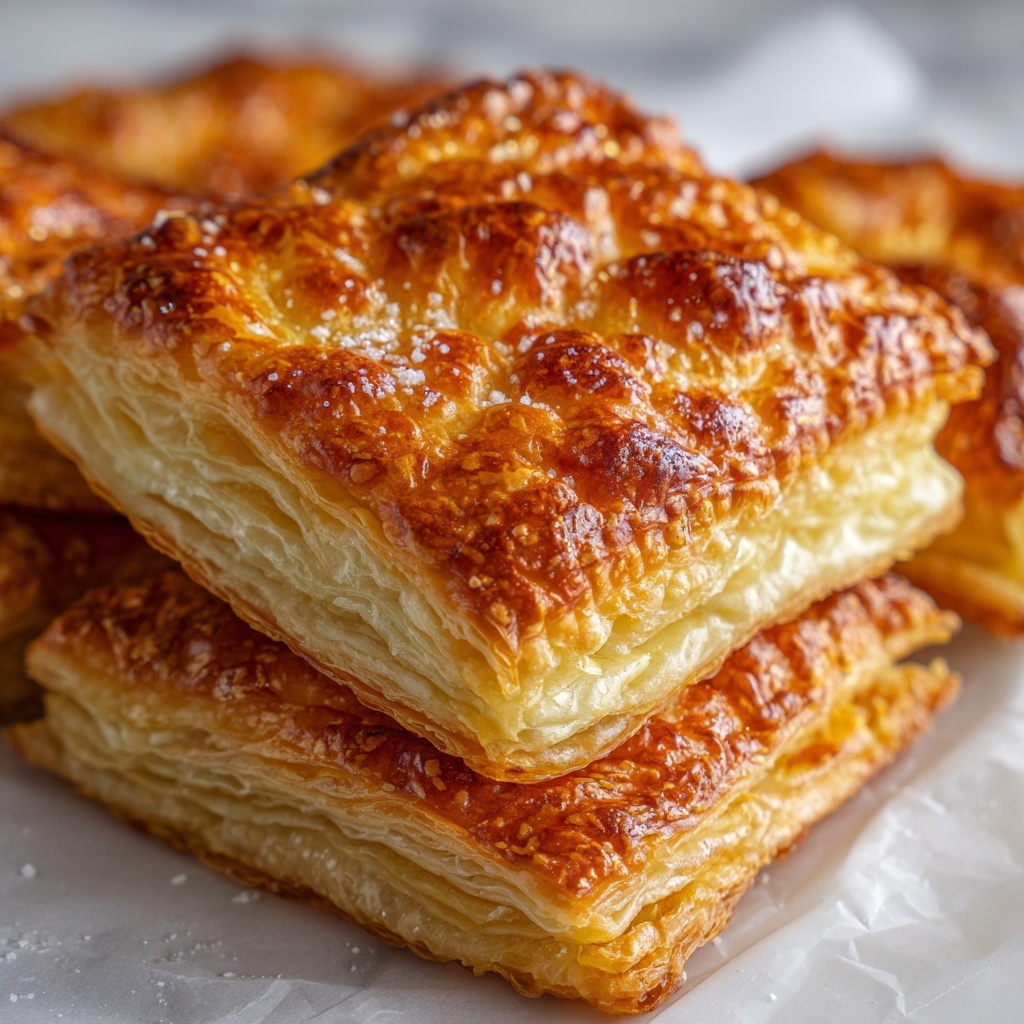
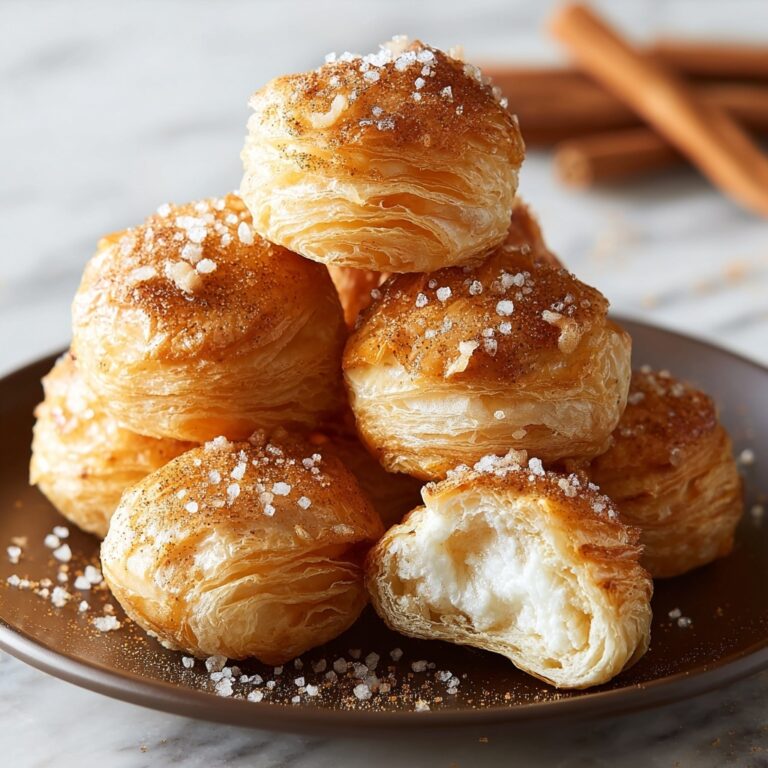
If you have ever found yourself craving those satisfyingly crispy, cheesy bites from the snack aisle, you are going to love this Homemade Cheez-Its Recipe. It’s a simple, fun way to make your own cheddar crackers from scratch, bursting with sharp cheese flavor and just the right amount of crunch. What’s truly wonderful is how easy the ingredients come together to create a snack that feels both nostalgic and oh-so-special because you made it yourself. Once you try this recipe, you may never want to buy the store-bought boxes again!
Ingredients You’ll Need
Though this Homemade Cheez-Its Recipe calls for just a handful of ingredients, each one plays a crucial role in delivering perfect texture, color, and flavor. Let’s break down why these staples are essential for your baking success.
- All-purpose flour: The base of your dough, providing structure and that classic cracker bite.
- Salt: Enhances the cheese’s sharpness and balances overall flavor.
- Paprika: Adds subtle warmth and a gorgeous hint of color to each cracker.
- Unsalted butter: Cold and cubed, it creates flaky layers that give texture and richness.
- Sharp cheddar cheese: The star ingredient, delivering intense cheesy tang and a beautiful orange hue.
- Ice water: Just enough to bring the dough together without making it sticky, helping maintain crispiness.
How to Make Homemade Cheez-Its Recipe
Step 1: Preheat and Prepare
Start by warming your oven to 375°F (190°C). While it heats up, line a baking sheet with parchment paper or a silicone mat—trust me, this makes all the difference for easy cleanup and perfectly baked crackers.
Step 2: Combine Dry Ingredients
In a food processor, blend the flour, salt, and paprika together. This step ensures that the seasoning is evenly distributed, so every bite has a balanced flavor.
Step 3: Add Butter and Pulse
Drop in your cold, cubed butter, pulsing until what you see resembles coarse crumbs. You want little bits of butter to remain, as this creates flakiness and that delightful crumbly texture once baked.
Step 4: Incorporate the Cheese
Next, add the shredded sharp cheddar to the food processor and pulse again until the mixture becomes well combined. The cheese is what turns this dough from ordinary to extraordinary, infusing every cracker with bold cheesiness.
Step 5: Bring the Dough Together
Slowly drizzle in ice water, one tablespoon at a time, pulsing between additions. Your goal is to have the dough come together without becoming wet or sticky. Typically, 2 to 3 tablespoons is the magic range here.
Step 6: Roll Out and Cut
Transfer your beautiful dough ball to a lightly floured surface and roll out as thinly as possible—about 1/8-inch thickness is ideal for crispiness. Then, use a knife or pizza cutter to slice the dough into roughly 1-inch squares. To capture that iconic Cheez-Its look, poke a small hole in the center of each square with a fork.
Step 7: Bake to Perfection
Arrange your cut pieces on the lined baking sheet in a single layer. Bake for 12-15 minutes or until they turn a lovely golden brown and feel crisp to the touch. Keep a close eye the last few minutes so they don’t burn, since each oven behaves a bit differently.
Step 8: Cool Completely and Enjoy
Allow your homemade Cheez-Its to cool right on the baking sheet. This resting time lets them harden to that perfect crispness everyone loves. Once cooled, dig in immediately or store them in an airtight container for snacking later.
How to Serve Homemade Cheez-Its Recipe

Garnishes
If you want to add a fun twist to your Homemade Cheez-Its Recipe, sprinkle a tiny pinch of smoked paprika or chili powder on top just after baking to introduce a smoky or spicy kick. Fresh herbs like finely chopped rosemary or thyme can also be dusted lightly for an herbaceous upgrade that impresses guests.
Side Dishes
These crackers shine as a solo munch or alongside creamy dips like ranch, hummus, or even a sharp mustard spread. Pair them with a vibrant charcuterie board packed with cured meats, olives, and cheeses, and you have a party-ready snack that disappears fast!
Creative Ways to Present
For a playful touch, serve your Homemade Cheez-Its Recipe in cute mini mason jars or rustic wooden bowls, layering flavors by mixing in some toasted nuts or dried fruit nearby. You can also crush these crackers and use them as crunchy toppings over salads or baked mac and cheese for added texture and cheesy flavor.
Make Ahead and Storage
Storing Leftovers
If you have any leftovers (though that rarely happens!), keep your Homemade Cheez-Its in an airtight container at room temperature for up to one week. This will preserve their crispness and keep them tasting fresh as day one.
Freezing
Want to make a big batch and save some for later? You can freeze the baked crackers in a sealed, freezer-safe bag for up to three months. When you’re ready to enjoy, just allow them to thaw at room temperature to regain texture.
Reheating
If your crackers lose some crunch after storage, gently re-crisp them in a 300°F (150°C) oven for 3-5 minutes before serving. This revives their golden crispiness without drying them out.
FAQs
Can I use a different type of cheese?
Absolutely! While sharp cheddar is classic for the best flavor and texture, you could try aged gouda or a mix of cheddar and parmesan for interesting twists. Just make sure it’s a hard cheese that grates well.
Why is my dough crumbly and not coming together?
You might need to add a bit more ice water, one teaspoon at a time. The dough should hold together without being sticky. Also, work quickly to keep the butter cold, as warm butter can make dough greasy and hard to form.
Can I make these crackers without a food processor?
Yes, you can! Use a pastry cutter or two knives to cut the butter into the dry ingredients until crumbly, then mix in cheese with a fork. It takes a bit more effort but works just as well.
How thin should I roll out the dough?
About 1/8-inch thick is perfect. Thinner dough results in crispier crackers, but going too thin may cause them to bake too quickly and burn, so keep an eye while baking.
Can I add spices for extra flavor?
Definitely! Feel free to experiment by adding garlic powder, cayenne, or herbs right into the dough to customize your Homemade Cheez-Its Recipe to your taste.
Final Thoughts
There is something truly rewarding about turning a few simple ingredients into those delightfully crunchy, cheesy crackers you remember from childhood. This Homemade Cheez-Its Recipe is so easy and fun that it’s bound to become a go-to for snacking, parties, and sharing with loved ones. Give it a try—you might just find your new favorite homemade treat!
Print
Homemade Cheez-Its Recipe
- Prep Time: 15 minutes
- Cook Time: 15 minutes
- Total Time: 30 minutes
- Yield: 3 servings
- Category: Snack
- Method: Baking
- Cuisine: American
- Diet: Vegetarian
Description
Homemade Cheez-Its are a deliciously cheesy and crispy snack made from scratch using sharp cheddar cheese and simple pantry ingredients. These bite-sized crackers bake up golden and crunchy, perfect for snacking or serving at parties. With a flaky buttery texture and a touch of paprika for subtle warmth, this recipe offers a classic and satisfying treat that’s easy to prepare and bake in your oven.
Ingredients
Dough Ingredients
- 1 1/2 cups all-purpose flour
- 1/2 teaspoon salt
- 1/4 teaspoon paprika
- 1/2 cup unsalted butter, cold and cubed
- 1 1/2 cups shredded sharp cheddar cheese
- 2–3 tablespoons ice water (as needed)
Instructions
- Preheat the Oven: Preheat your oven to 375°F (190°C). Line a baking sheet with parchment paper or a silicone baking mat to prevent sticking and ensure even baking.
- Prepare the Dough: In a food processor, combine the all-purpose flour, salt, and paprika. Add the cold cubed butter and pulse until the mixture resembles coarse crumbs, which helps achieve a flaky texture.
- Add the Cheese: Add the shredded sharp cheddar cheese to the food processor and pulse until it is thoroughly combined with the flour and butter mixture.
- Add Water: Gradually add the ice water, one tablespoon at a time, pulsing between additions. Continue until the dough just comes together. Use between 2 to 3 tablespoons depending on dough consistency.
- Roll Out the Dough: Transfer the dough onto a lightly floured surface and roll it out to about 1/8-inch thickness. Rolling the dough thin is key to making crispy crackers.
- Cut the Crackers: Cut the rolled dough into small 1-inch squares using a sharp knife or pizza cutter. For an authentic Cheez-It appearance, poke a small hole in the center of each square with a fork.
- Bake: Arrange the cut crackers in a single layer on the prepared baking sheet. Bake in the preheated oven for 12-15 minutes, or until the crackers turn golden brown and crispy.
- Cool and Enjoy: Allow the crackers to cool completely on the baking sheet before enjoying. Once cooled, store them in an airtight container for up to one week to maintain freshness.
Notes
- For extra flavor, you can sprinkle a little extra paprika or finely grated Parmesan on top before baking.
- If you don’t have a food processor, you can cut the butter into the dry ingredients using a pastry cutter or your fingers, then manually mix in the cheese and water.
- Make sure the butter is cold to achieve a flaky texture in the crackers.
- Adjust thickness to your preference, thinner for crispier crackers, thicker for a bit more chew.
- These crackers keep well stored in an airtight container at room temperature for up to 7 days.

