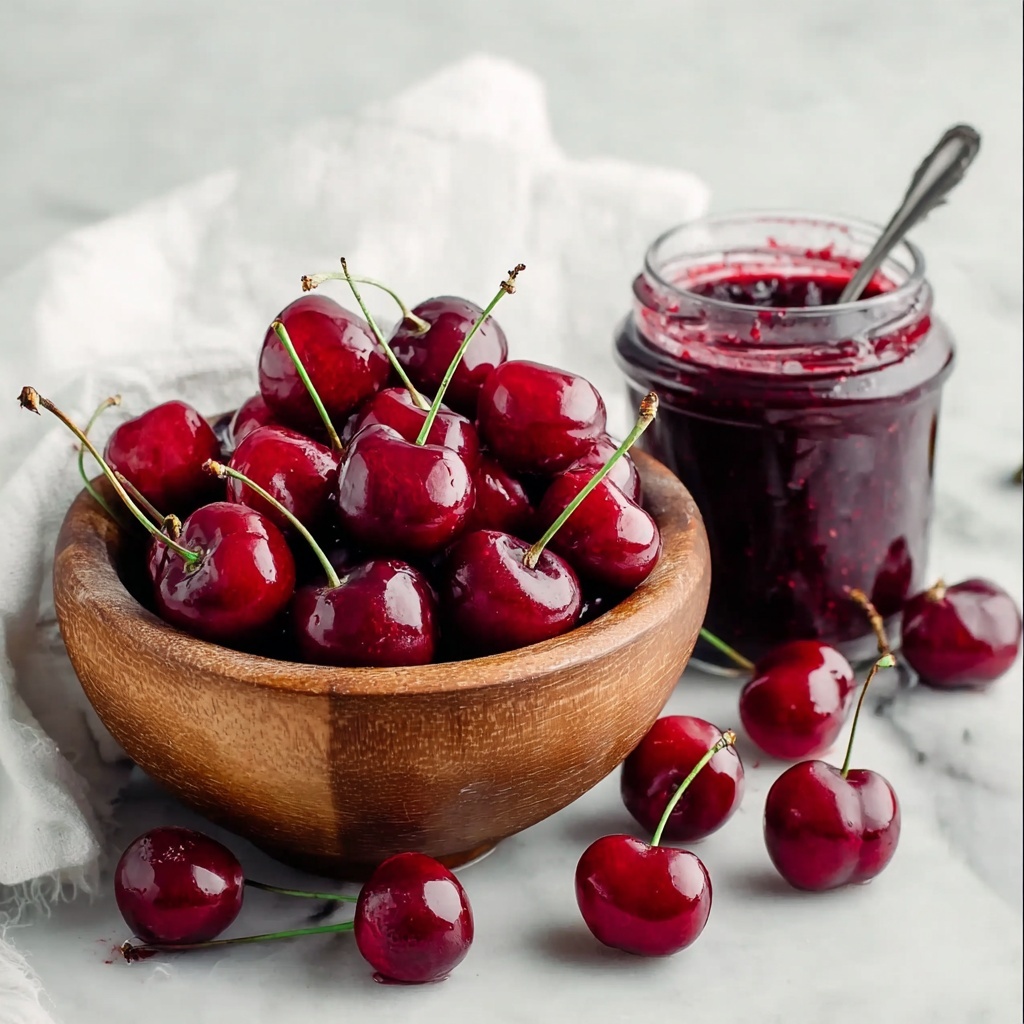
If you have a bounty of fresh cherries or simply crave a luscious, homemade spread, this Small Batch Cherry Jam Recipe is an absolute must-try. Bursting with the sweet-tart flavor of cherries and a hint of bright lemon, this jam captures the essence of summer in every spoonful. Easy to whip up in just a little over half an hour of active time (plus some patience for setting), it transforms just a few simple ingredients into a jar of pure deliciousness. Whether slathered on toast, dolloped on yogurt, or gifted to loved ones, this recipe will quickly become your go-to for all things cherry and jammy.
Ingredients You’ll Need
Gathering your ingredients for this Small Batch Cherry Jam Recipe is delightfully straightforward, yet each element plays a vital role in crafting that perfect balance of sweetness, tang, and luscious texture. These pantry staples come together effortlessly to highlight the natural cherry flavor.
- Halved and pitted sweet cherries (2½ cups / 400 g): Fresh or frozen, they provide the vibrant color and juicy fruit base.
- Granulated sugar (1 cup / 200 g): Essential to sweeten and help the jam gel properly during cooking.
- Lemon juice (2 tablespoons / 30 ml): Adds brightness and natural pectin that helps thicken the jam while balancing sweetness.
How to Make Small Batch Cherry Jam Recipe
Step 1: Combine Ingredients
Start by placing your halved and pitted cherries into a medium saucepan. Add the granulated sugar and freshly squeezed lemon juice. This simple trio is all you need to begin the magic of jam-making, with the lemon juice waking up the fruit’s natural flavors and preparing it for the perfect set.
Step 2: Heat and Dissolve Sugar
Set your pot over medium heat and stir occasionally. The goal here is to let the sugar completely dissolve into the cherries. As this happens, you’ll notice the syrup taking on a rich, dark red hue—it’s a visual cue that the cherries are softening and the flavors are melding beautifully. Using frozen cherries may take a bit longer to reach this stage, so patience is key!
Step 3: Boil and Thicken
Increase the heat slightly until the mixture reaches a rolling boil that won’t subside when stirred. Maintaining this vigorous boil for 8 to 10 minutes is crucial for achieving that thick, spreadable consistency. Keep your eye on the pot and stir intermittently. To test for doneness, drop a spoonful of jam on a cold plate—when it holds its shape instead of running, you’ve nailed the perfect set at around 220°F (105°C).
Step 4: Blend the Jam
Remove the pot from heat and gently use an immersion blender in short bursts to break down the larger cherry chunks. You want the jam to have a nice balance of smoothness and little pieces for texture, so don’t over-puree it. Tilting the pan helps keep the blender fully immersed for even blending.
Step 5: Jar and Chill
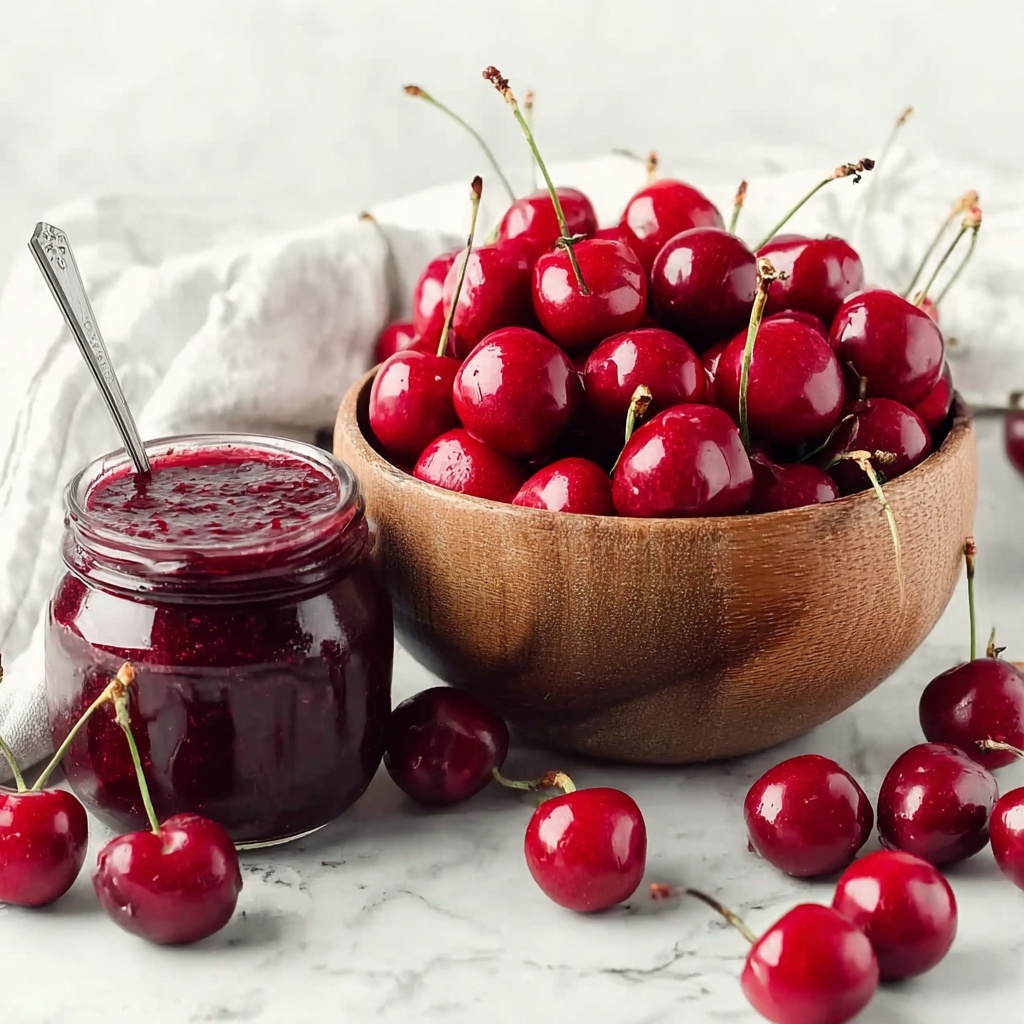
While the jam is still hot, carefully pour it into sterilized jars. Seal tightly and place them in the refrigerator. The jam will continue to thicken as it cools, so for the best experience, allow it to set overnight before diving in. Watching those cherries turn into a glossy, spreadable treasure is worth the wait!
How to Serve Small Batch Cherry Jam Recipe
Garnishes
This jam shines beautifully with a sprinkle of fresh mint or a twist of lemon zest on top when served. These subtle garnishes brighten the jam’s rich cherry flavor and make your presentation pop, whether you’re serving it at breakfast or as a dessert topping.
Side Dishes
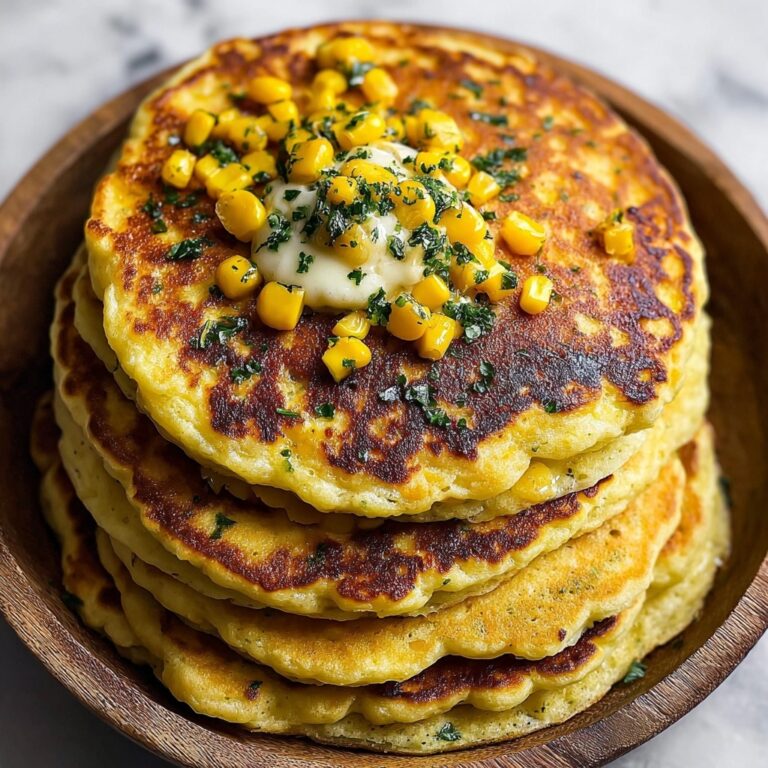
Think beyond toast! This Small Batch Cherry Jam Recipe pairs wonderfully with soft cheeses like brie or cream cheese, alongside crackers for an elegant snack. It also complements vanilla ice cream or pancakes, creating sweet and tangy highlights that awaken your taste buds.
Creative Ways to Present
Looking to jazz up your homemade jam? Serve it in small, rustic ramekins with a spreader for a brunch buffet, or swirl it into Greek yogurt bowls topped with your favorite nuts and granola. It also makes a fantastic fruit layer in trifles or swirled into smoothies for bursts of cherry loveliness.
Make Ahead and Storage
Storing Leftovers
Refrigerate any leftover jam in an airtight container to keep it fresh and flavorful for up to three weeks. Keeping it chilled not only preserves the vibrant color and taste but also prevents spoilage without added preservatives.
Freezing
You can freeze your Small Batch Cherry Jam in freezer-safe containers or jars, leaving some headroom for expansion. Frozen jam keeps well for several months and can be thawed in the refrigerator when you’re ready to enjoy. Though the texture may soften slightly, the flavor remains just as joyful.
Reheating
When you want to use your jam in baking or as a warm topping, gently reheat it in a small saucepan over low heat, stirring frequently. This warms the jam without breaking down the precious fruit, making it perfect for drizzling over desserts or breakfast dishes.
FAQs
Can I use frozen cherries for this Small Batch Cherry Jam Recipe?
Absolutely! Frozen cherries work wonderfully and may actually make the cooking process easier since they release juice as they thaw. Just add a few extra minutes to the sugar-dissolving step to account for the extra moisture.
Do I need to use lemon juice, or can I substitute it?
Lemon juice is key for both flavor and the pectin content that helps your jam set properly. While some citrus juices might work, lemon provides the best balance of acidity and brightness for this recipe.
How thick should the jam be when it’s done?
The jam should be thick enough to hold its shape on a cold plate without running. It will also thicken further once cooled in the fridge, so aim for a syrupy yet noticeably thick consistency at the boiling stage.
Can I make this recipe without an immersion blender?
Yes! If you don’t have an immersion blender, you can mash the cherries with a potato masher or pulse a few times in a food processor after cooking. Just be careful not to over-process; you want some chunkiness for texture.
How long does this Small Batch Cherry Jam Recipe last in the fridge?
Stored in a sealed jar or container, the jam will keep fresh and delicious in the refrigerator for about three weeks. Always use a clean spoon to avoid contamination and store it promptly after use.
Final Thoughts
I truly hope you enjoy making and savoring this Small Batch Cherry Jam Recipe as much as I do. It’s one of those magical homemade treats that feels special but is surprisingly simple to create. Once you taste that burst of fresh cherry goodness, you’ll want to keep this recipe bookmarked for every season. Happy jamming and happy eating!
Print
Small Batch Cherry Jam Recipe
- Prep Time: 10 minutes
- Cook Time: 25 minutes
- Total Time: 8 hours 35 minutes (including chilling time overnight)
- Yield: 14 servings
- Category: Condiment
- Method: Stovetop
- Cuisine: American
Description
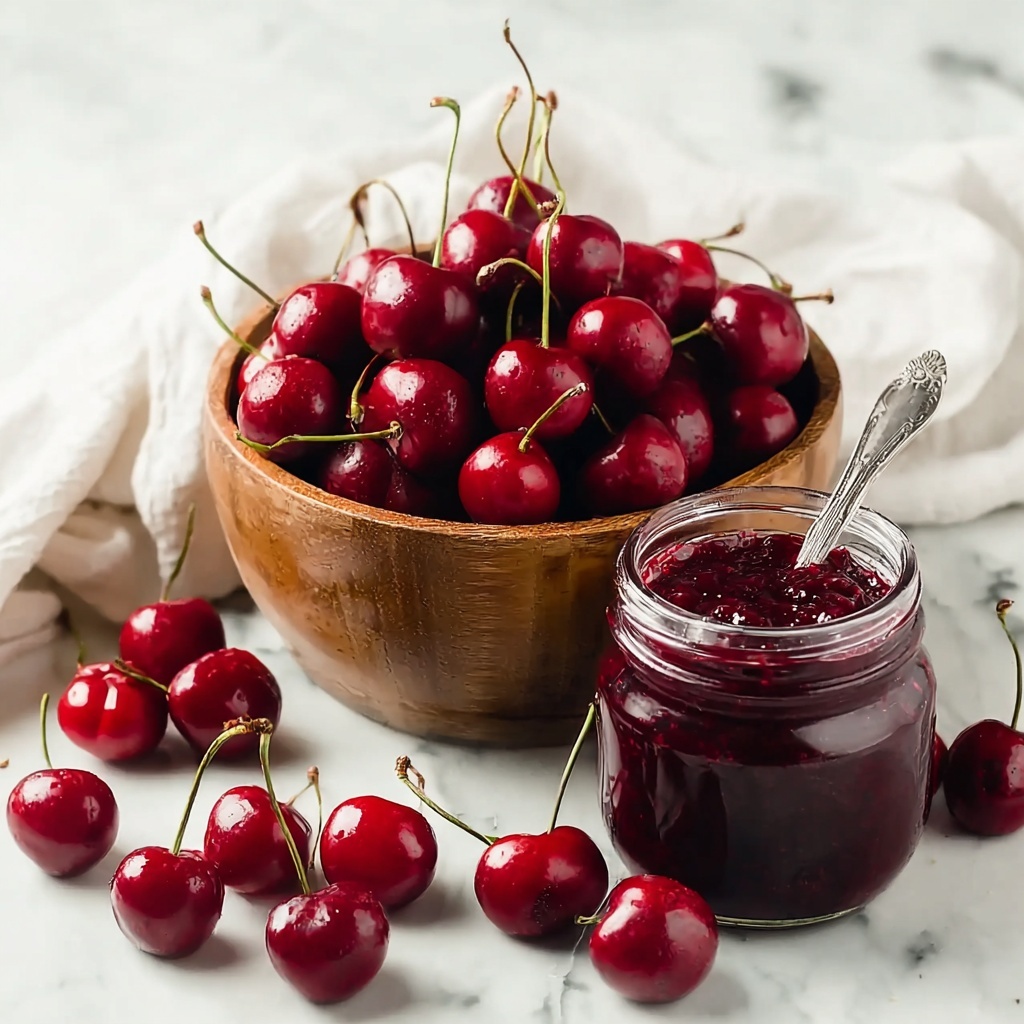
This Small Batch Cherry Jam Recipe is perfect for making a fresh, homemade cherry jam using just three simple ingredients. Whether you use fresh or frozen sweet cherries, this recipe guides you through a stovetop method to dissolve sugar, boil to the perfect jam consistency, and lightly blend for a smooth yet chunky texture. Ideal for a small yield, it’s quick to prepare and results in a delicious jam that sets beautifully after chilling overnight.
Ingredients
Ingredients
- 2½ cups (400 g) halved and pitted sweet cherries, fresh or frozen
- 1 cup (200 g) granulated sugar
- 2 Tablespoons (30 ml) lemon juice, from about one lemon
Instructions
- Combine Ingredients: In a medium pot, add the prepared cherries, granulated sugar, and fresh lemon juice ensuring they are well mixed before cooking.
- Heat and Dissolve Sugar: Place the pot over medium heat and stir occasionally. Continue until the sugar is completely dissolved and the syrup darkens to a rich red color. This step typically takes about 5 minutes if using fresh cherries or up to 10 minutes with frozen cherries.
- Boil and Thicken: Increase heat to bring the mixture to a rolling boil that cannot be stirred down. Keep boiling for 8-10 minutes, stirring as needed, until the jam thickens and reaches 220°F (105°C). Test the jam by dropping a small amount onto a cold plate; if it runs, cook for an additional minute or two and retest. The jam is ready when it holds its shape on the plate.
- Blend the Jam: Remove the pot from heat. Use an immersion blender to gently pulse the jam for a few seconds at a time until no large cherry pieces remain, being careful to keep the blender fully submerged by tilting the pan as necessary to prevent splashing.
- Jar and Chill: Pour the hot cherry jam into clean, sterilized jars and seal tightly. Refrigerate the jars and allow the jam to set and thicken overnight before serving. This improves the texture and flavor development.
Notes
- Use fresh or frozen sweet cherries and adjust the boiling time slightly to accommodate frozen fruit.
- Testing the jam consistency on a cold plate is key to achieving the perfect thickness.
- Immersion blending allows control over chunkiness; blend less for chunkier jam, blend more for smoother texture.
- Store the jam refrigerated and use within 2-3 weeks for best freshness.
- For longer storage, consider canning with proper sterilization methods to prevent spoilage.


