
If you’ve ever wondered how sushi chefs get their rice to be perfectly sticky, shiny, and bursting with flavor, this Homemade Sushi Rice Recipe is your new best friend. It’s the foundation of every great sushi roll or bowl, bringing that ideal balance of tangy, sweet, and slightly salty that makes sushi absolutely irresistible. And the best part? Making it from scratch is surprisingly simple, transforming your homemade sushi experience into something truly special and authentic.
Ingredients You’ll Need
These ingredients might be few, but each one plays a crucial role in creating the perfect texture and flavor of the sushi rice. Their simplicity is what makes the entire process approachable and the final dish so satisfying.
- 2 cups sushi rice (short-grain Japanese rice): This sticky rice variety is essential for that classic sushi texture that holds together beautifully.
- 2 1/2 cups water: The perfect amount ensures the rice cooks tender without becoming mushy.
- 1/4 cup rice vinegar: Adds the bright, tangy flavor that defines sushi rice.
- 2 tablespoons sugar: Balances the tartness of the vinegar with just a touch of sweetness.
- 1 teaspoon salt: Enhances and rounds out the overall flavor of the rice.
How to Make Homemade Sushi Rice Recipe
Step 1: Prepare the Rice
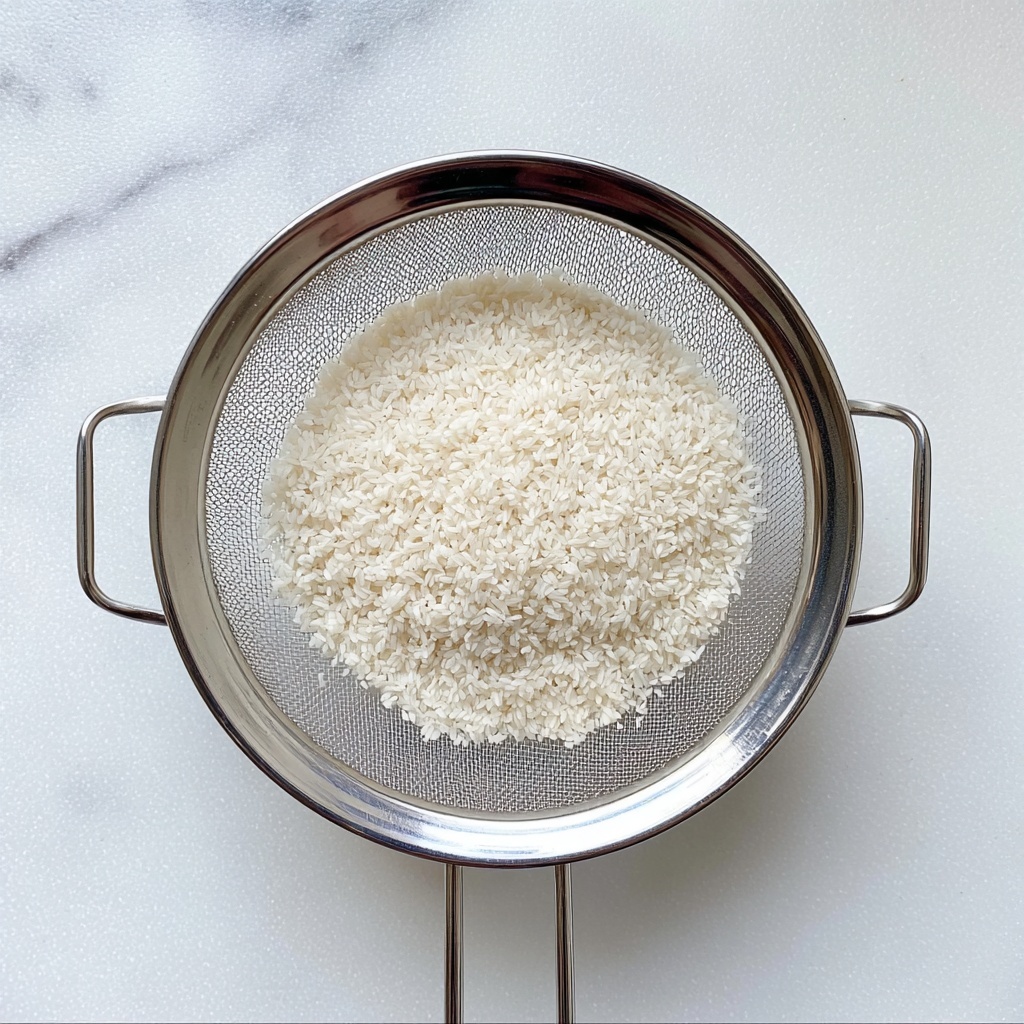
Start by rinsing your sushi rice under cold water. This step might seem tedious, but it’s crucial to remove excess starch and prevent the rice from turning gummy. Keep rinsing until the water runs clear—that’s your signal that the rice is ready.
Step 2: Cook the Rice
Drain the rinsed rice and place it in your rice cooker with the 2 1/2 cups of water. If you don’t have a rice cooker, no worries—bring the water and rice to a boil on the stovetop, then reduce heat to low, cover, and simmer gently for about 18 minutes. This slow cooking method ensures each grain is perfectly tender.
Step 3: Prepare the Vinegar Mixture
While the rice cooks, gently warm the rice vinegar, sugar, and salt in a small saucepan over low heat. Stir constantly until the sugar and salt dissolve completely. Don’t let it boil! Remove from heat and allow the mixture to cool slightly so it’s ready to season your rice.
Step 4: Combine Rice and Vinegar
Once the rice is cooked, transfer it to a large wooden or non-metallic bowl to avoid any metallic reaction with the vinegar. Slowly drizzle the vinegar mixture over the rice as you gently fold it in with a wooden spatula or rice paddle. Use a delicate slicing motion to combine without mashing the grains.
Step 5: Cool and Finish
This is a game-changer: fan the rice while mixing. It cools the rice quickly and helps develop that glossy finish everyone loves. Let the rice cool to room temperature before you use it in your sushi creations—it makes rolling a breeze and enhances the texture.
How to Serve Homemade Sushi Rice Recipe

Garnishes
Homemade sushi rice is like a blank canvas ready for your favorite garnishes. Sprinkle toasted sesame seeds or furikake seasoning on top to add a delicious crunch and pop of umami. A few slivers of pickled ginger can brighten up the flavors even more.
Side Dishes
Serve your sushi rice with classic sides such as miso soup, seaweed salad, or edamame for a balanced, satisfying meal. These sides complement the rice’s subtle tang and can make your homemade sushi feast feel like dining at your favorite Japanese restaurant.
Creative Ways to Present
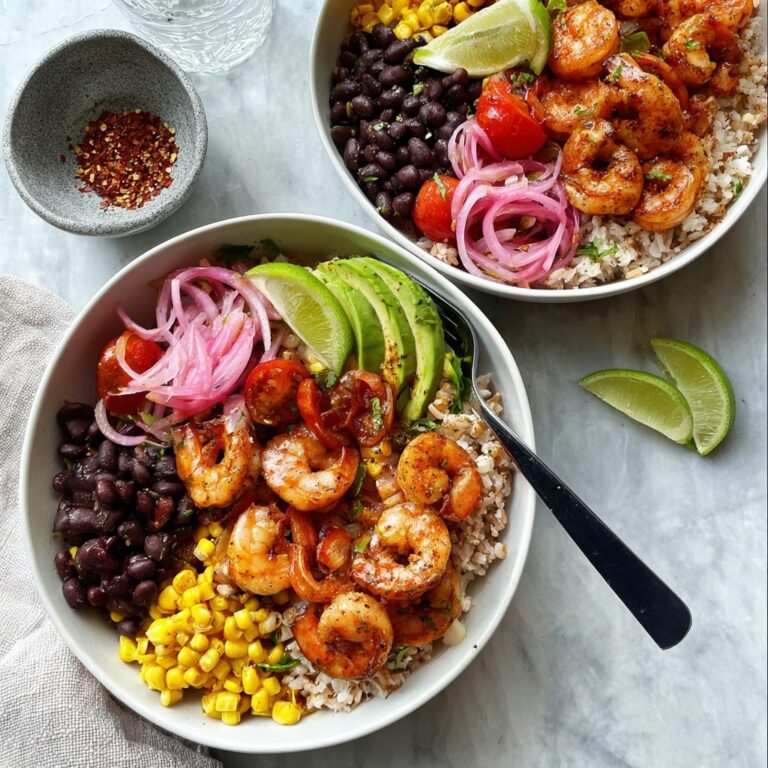
Beyond rolls, you can use this homemade sushi rice recipe for chirashi bowls topped with fresh sashimi and veggies, or shape it into onigiri (rice balls) wrapped with nori. Its versatile texture is also perfect for layering in sushi stacks or hand rolls, making every bite a delightful experience.
Make Ahead and Storage
Storing Leftovers
If you have leftover sushi rice, keep it covered at room temperature for a few hours to retain moisture and softness. Avoid refrigeration if possible, as it can dry out the rice and change the texture.
Freezing
Freezing is generally not recommended for sushi rice since it affects the delicate texture and stickiness that make this rice special. It’s best enjoyed fresh or within a short time after preparation.
Reheating
If you must reheat, sprinkle a few drops of water over the rice and cover it loosely with a damp towel before warming gently in the microwave. This method helps restore moisture without turning the grains hard or dry.
FAQs
Can I use regular white rice instead of sushi rice?
Regular long-grain white rice won’t stick together the way short-grain sushi rice does, so your sushi rolls won’t hold up well. For that authentic, sticky texture, it’s always best to use sushi rice.
Why do I need to cool the rice after mixing with vinegar?
Cooling the rice quickly helps it develop the perfect texture and shine, preventing it from becoming mushy or overly sticky. It’s a subtle step that makes a huge difference in your finished sushi.
Can I make this rice in advance?
Fresh sushi rice is ideal for making rolls, as chilled or refrigerated rice tends to harden and lose its desirable texture. If necessary, keep it covered at room temperature with a damp cloth to keep it moist and enjoyable.
What’s the best way to mix the vinegar into the rice?
Gently folding with a wooden spatula or rice paddle using a slicing motion prevents crushing the rice grains and helps the vinegar coating distribute evenly without turning the texture mushy.
Can I adjust the sweetness or saltiness to taste?
Absolutely! Feel free to tweak the sugar and salt amounts slightly to suit your personal preference, but keep in mind that this balance is key for authentic sushi rice flavor.
Final Thoughts
There’s something truly rewarding about making sushi from the ground up, and this Homemade Sushi Rice Recipe is the cornerstone of that experience. Once you master this rice, you’ll find your sushi rolls, bowls, and other creations taste so much fresher and more vibrant. Give it a try and watch your homemade sushi leap to the next level!
Print
Homemade Sushi Rice Recipe
- Prep Time: 10 minutes
- Cook Time: 18 minutes
- Total Time: 28 minutes
- Yield: About 4 servings (approx. 4 cups cooked sushi rice)
- Category: Side Dish
- Method: Stovetop
- Cuisine: Japanese
- Diet: Gluten Free
Description
Learn how to make perfectly sticky and flavorful homemade sushi rice, the essential base for any authentic sushi roll or bowl. This recipe walks you through the process of cooking short-grain Japanese rice and seasoning it with a balanced mixture of rice vinegar, sugar, and salt for the classic tangy-sweet flavor that enhances your sushi experience.
Ingredients
Sushi Rice
- 2 cups sushi rice (short-grain Japanese rice)
- 2 1/2 cups water
Seasoning Mixture
- 1/4 cup rice vinegar
- 2 tablespoons sugar
- 1 teaspoon salt
Instructions
- Rinse the rice: Rinse the sushi rice thoroughly under cold water until the water runs clear to remove excess starch, which prevents the rice from becoming too sticky or gummy.
- Cook the rice: Drain the rinsed rice and place it in a rice cooker or a pot with 2 1/2 cups of water. If using a rice cooker, follow the manufacturer’s instructions; if cooking on the stovetop, bring the water to a boil, then reduce heat to low, cover, and simmer gently for 18 minutes until the water is absorbed and rice is tender.
- Prepare the vinegar seasoning: While the rice cooks, combine the rice vinegar, sugar, and salt in a small saucepan over low heat. Stir gently until sugar and salt dissolve completely without letting the mixture boil. Remove from heat and let it cool slightly.
- Transfer rice to a bowl: Once cooked, transfer the hot rice into a large wooden or non-metallic bowl to prevent any reaction with the vinegar mixture, which could alter flavor.
- Mix in the vinegar mixture: Slowly pour the seasoned vinegar over the rice while gently folding it using a wooden spatula or rice paddle. Use a slicing motion to mix without mashing the rice, maintaining the rice grains’ integrity.
- Fan the rice: Simultaneously fan the rice to cool it quickly. This step also helps evaporate excess moisture and gives the rice a shiny, glossy texture that is characteristic of perfect sushi rice.
- Cool to room temperature: Allow the sushi rice to cool to room temperature before using it in sushi rolls or bowls for best texture and flavor.
Notes
- Use a fan or piece of cardboard to help cool the rice quickly and promote a shiny, appealing texture.
- Avoid using long-grain rice, as it lacks the stickiness necessary for sushi.
- Leftover sushi rice can be stored covered at room temperature for a few hours but is best used fresh for optimal texture and taste.


