
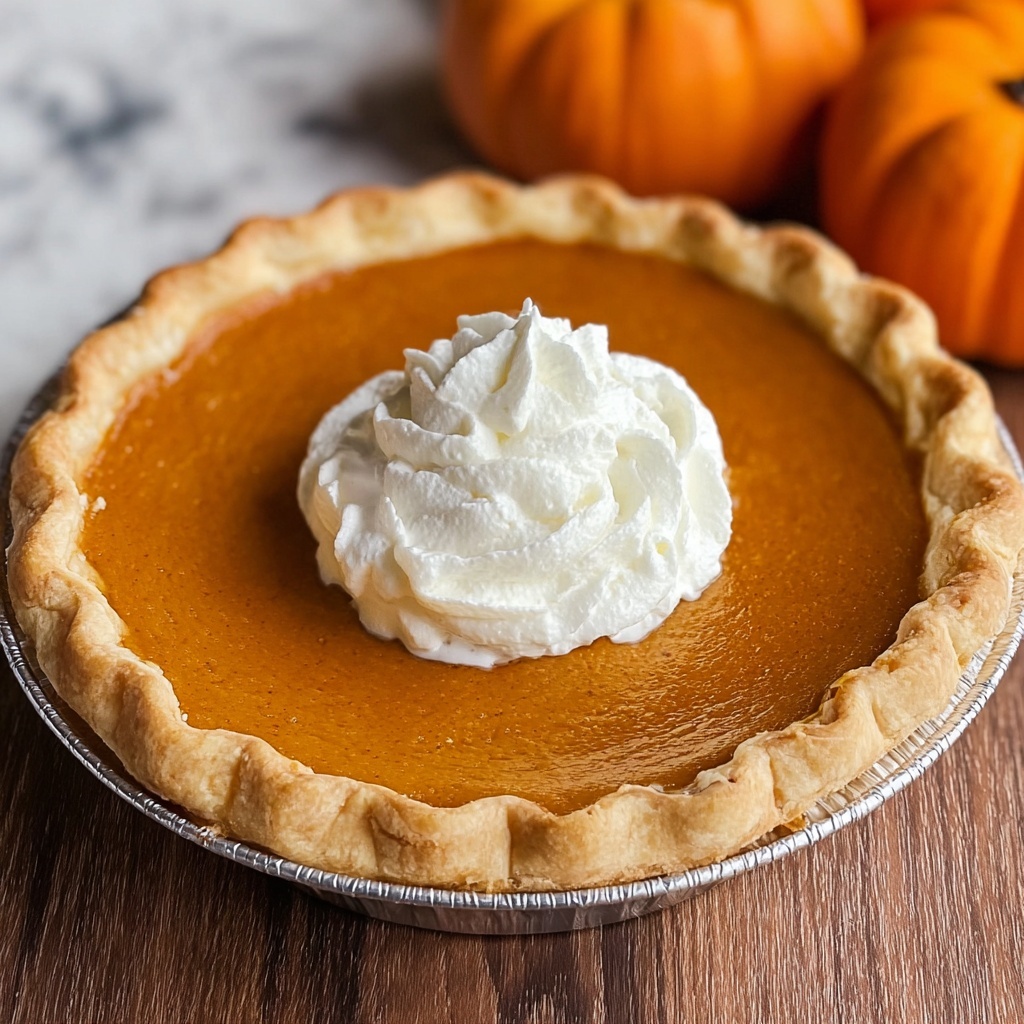
If you’re on the hunt for an all-time favorite dessert that brings warmth, comfort, and the perfect blend of spices to your table, look no further than Libby’s Classic Pumpkin Pie Recipe. This timeless dish captures the essence of autumn in every bite with its smooth, velvety filling and a perfectly flaky crust. Whether it’s for Thanksgiving, a cozy family gathering, or just because you’re craving a slice of pure happiness, this pumpkin pie has a way of making every occasion feel special and memorable.
Ingredients You’ll Need
Getting ready to bake this delightful pie is a breeze because the ingredients are simple yet incredibly important. Each one lends a unique touch, from the creamy texture brought by the pumpkin puree to the warm spices that define the flavor profile.
- 1 unbaked 9-inch deep dish pie crust: This forms the buttery, flaky foundation that holds all the delicious filling together.
- 1 can (15 ounces) pumpkin puree: The pumpkin puree is the star player that gives the pie its classic taste and creamy consistency.
- 3/4 cup granulated sugar: Just the right amount of sweetness to complement the spices without overpowering the natural pumpkin flavor.
- 1/2 teaspoon salt: Enhances all the flavors, balancing the sweetness perfectly.
- 1 teaspoon ground cinnamon: Adds a warm, comforting spice that feels like autumn in a bite.
- 1/2 teaspoon ground ginger: Offers a subtle zing that brightens the overall flavor profile.
- 1/4 teaspoon ground cloves: A pinch of cloves gives depth and a hint of earthiness to the pie.
- 2 large eggs: Eggs help bind the pie filling together and contribute to a silky smooth texture.
- 1 can (12 ounces) evaporated milk: Adds richness without making the filling too heavy, ensuring a perfect balance.
How to Make Libby’s Classic Pumpkin Pie Recipe
Step 1: Prepare the Pie Crust
Start by preheating your oven to 425°F. Take your unbaked 9-inch deep dish pie crust and place it into the pie dish, then crimp the edges to your liking. This crust will become the crisp, golden base that supports all the flavorful filling.
Step 2: Mix the Pumpkin Filling
In a large mixing bowl, whisk together the pumpkin puree, granulated sugar, salt, cinnamon, ginger, and cloves until everything is thoroughly combined. This blend of spices is what gives Libby’s Classic Pumpkin Pie Recipe its unmistakable aroma and taste.
Step 3: Incorporate Eggs and Evaporated Milk
Next, add the two large eggs to the pumpkin mixture and whisk until smooth. Gradually stir in the evaporated milk to create a silky filling that will bake up perfectly set but still creamy.
Step 4: Bake the Pie
Pour the filling into your prepared pie crust. Place the pie in the oven and bake at 425°F for 15 minutes. Then, reduce the oven temperature to 350°F and continue baking for 40 to 50 minutes. You’ll know it’s done when a knife inserted near the center comes out clean. If you notice the crust edges browning too quickly, cover them with foil to protect them during the final baking minutes.
Step 5: Cool Before Serving
Once baked, let your pie cool on a wire rack for at least 2 hours. This crucial step lets the filling set perfectly, making sure every slice comes out clean and firm but wonderfully creamy. It’s worth the wait!
How to Serve Libby’s Classic Pumpkin Pie Recipe
Garnishes
While the pie is delicious all on its own, a dollop of freshly whipped cream adds that lush, airy contrast to the rich pumpkin filling. Sprinkle a pinch of cinnamon or nutmeg on top for a touch of elegance that makes every bite feel like a celebration.
Side Dishes
Pair your pumpkin pie with classic fall accompaniments like a scoop of vanilla ice cream or a hot cup of spiced apple cider. These sides highlight the pie’s warm flavors and boost the cozy atmosphere.
Creative Ways to Present
For an extra-special touch, consider cutting the pie into mini tartlets for a party platter or serving slices with caramel drizzle and toasted pecans. Using seasonal plates or decorating your dessert table with autumn leaves enhances the festive experience and shows off your baking skills.
Make Ahead and Storage
Storing Leftovers
If you have any pie left (which is rare!), cover it tightly with plastic wrap or foil and store it in the refrigerator. Libby’s Classic Pumpkin Pie Recipe keeps wonderfully for up to 4 days, so you can enjoy it fresh without worry.
Freezing
You can freeze this pumpkin pie if you want to savor it later. Wrap it securely in plastic wrap and aluminum foil to prevent freezer burn. Thaw overnight in the refrigerator before serving for the best texture and flavor.
Reheating
When you’re ready to enjoy leftover pie, gently warm slices in the oven at 300°F for about 10 minutes. This revives that fresh-baked flavor and adds a cozy touch without drying it out. Microwave reheating can be quick but may affect texture, so the oven is preferred.
FAQs
Can I use fresh pumpkin instead of canned pumpkin puree?
Absolutely! If you prefer fresh pumpkin, make sure to cook and puree it well to achieve a smooth consistency similar to canned pumpkin. This will keep the filling creamy and evenly textured in Libby’s Classic Pumpkin Pie Recipe.
How do I prevent the crust edges from burning?
To keep the crust edges from over-browning, cover them with foil or a pie crust shield about halfway through baking. This protects the delicate crust while allowing the filling to cook perfectly.
Is it possible to make this pumpkin pie vegan or dairy-free?
Libby’s Classic Pumpkin Pie Recipe uses evaporated milk and eggs, so to make it vegan or dairy-free, you would need to use alternatives like coconut milk and flax eggs. This will change the texture slightly but can still yield a delicious pie with some experimentation.
Can I prepare the pie crust from scratch for this recipe?
Definitely! A homemade pie crust brings a wonderful freshness and allows you to customize thickness and flavor. Just ensure the crust is blind-baked or fits snugly into your pie dish before adding the filling for the best results.
Why does the pie need to cool for two hours after baking?
Cooling allows the pumpkin filling to set firmly, so each slice holds together beautifully when cut. Cutting into a still-warm pie can cause it to be too soft or runny, which might lose those gorgeous classic textures.
Final Thoughts
Bringing a homemade Libby’s Classic Pumpkin Pie Recipe to the table is more than just dessert—it’s creating memories wrapped in comfort and tradition. Whether you’re a seasoned baker or trying it for the first time, this recipe offers a warm invitation to enjoy the flavors of fall with every bite. So go ahead, bake a pie, share it with loved ones, and let the magic of pumpkin bring a touch of happiness to your day.
Print
Libby’s Classic Pumpkin Pie Recipe
- Prep Time: 15 minutes
- Cook Time: 1 hour
- Total Time: 3 hours 15 minutes
- Yield: 8 servings
- Category: Dessert
- Method: Baking
- Cuisine: American
- Diet: Vegetarian
Description
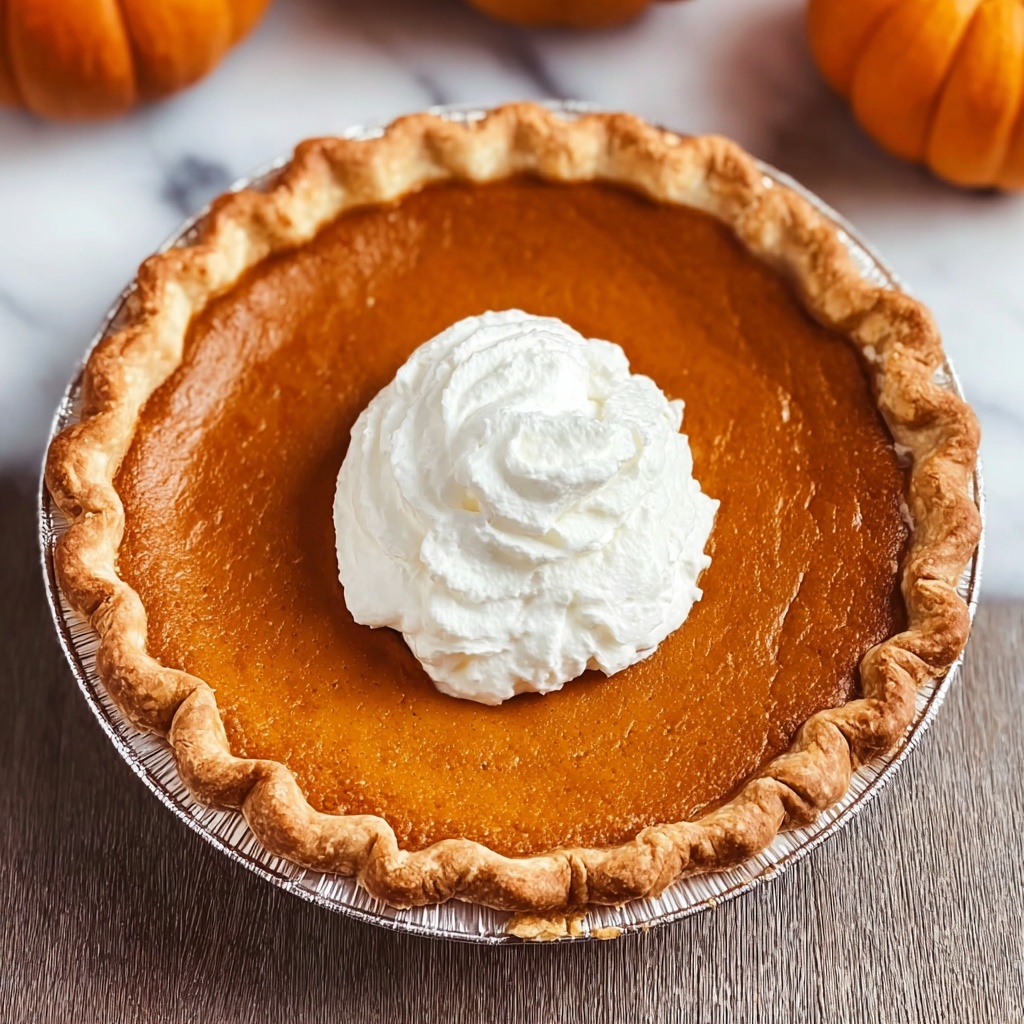
Libby’s Classic Pumpkin Pie is a traditional American dessert featuring a rich and creamy pumpkin filling spiced with cinnamon, ginger, and cloves, all nestled in a flaky deep-dish pie crust. Perfect for holiday celebrations like Thanksgiving, this easy-to-make pie is warmly spiced, comforting, and delicious when served chilled, optionally topped with whipped cream.
Ingredients
Pie Crust
- 1 unbaked 9-inch deep dish pie crust
Filling
- 1 can (15 ounces) pumpkin puree
- 3/4 cup granulated sugar
- 1/2 teaspoon salt
- 1 teaspoon ground cinnamon
- 1/2 teaspoon ground ginger
- 1/4 teaspoon ground cloves
- 2 large eggs
- 1 can (12 ounces) evaporated milk
Instructions
- Preheat Oven and Prepare Crust: Preheat your oven to 425°F. Place the unbaked 9-inch deep dish pie crust into a pie dish and crimp the edges as desired to form an attractive border.
- Mix Spices and Sugar with Pumpkin: In a large bowl, whisk together the pumpkin puree, granulated sugar, salt, ground cinnamon, ground ginger, and ground cloves until the mixture is well combined and smooth.
- Add Eggs and Evaporated Milk: Beat in the two large eggs until the filling is smooth. Gradually stir in the evaporated milk until fully incorporated, ensuring a consistent texture.
- Pour Filling into Crust: Carefully pour the pumpkin filling into the prepared pie crust, spreading it evenly to the edges.
- Initial Bake at High Temperature: Bake the pie at 425°F for 15 minutes to help set the crust and start cooking the filling.
- Reduce Temperature and Continue Baking: Lower the oven temperature to 350°F. Continue baking the pie for an additional 40 to 50 minutes, or until a knife inserted near the center comes out clean, indicating the filling is set.
- Cool Pie: Remove the pie from the oven and place it on a wire rack to cool for at least 2 hours. This resting time allows the filling to fully set and develop its texture.
- Serve: Slice and serve the pumpkin pie chilled or at room temperature. Optionally, top with whipped cream for extra richness.
Notes
- To prevent the pie crust edges from overbrowning, cover them with foil for the last 20 minutes of baking if they start to brown too quickly.
- Store any leftover pumpkin pie covered in the refrigerator for up to 4 days to maintain freshness.
