
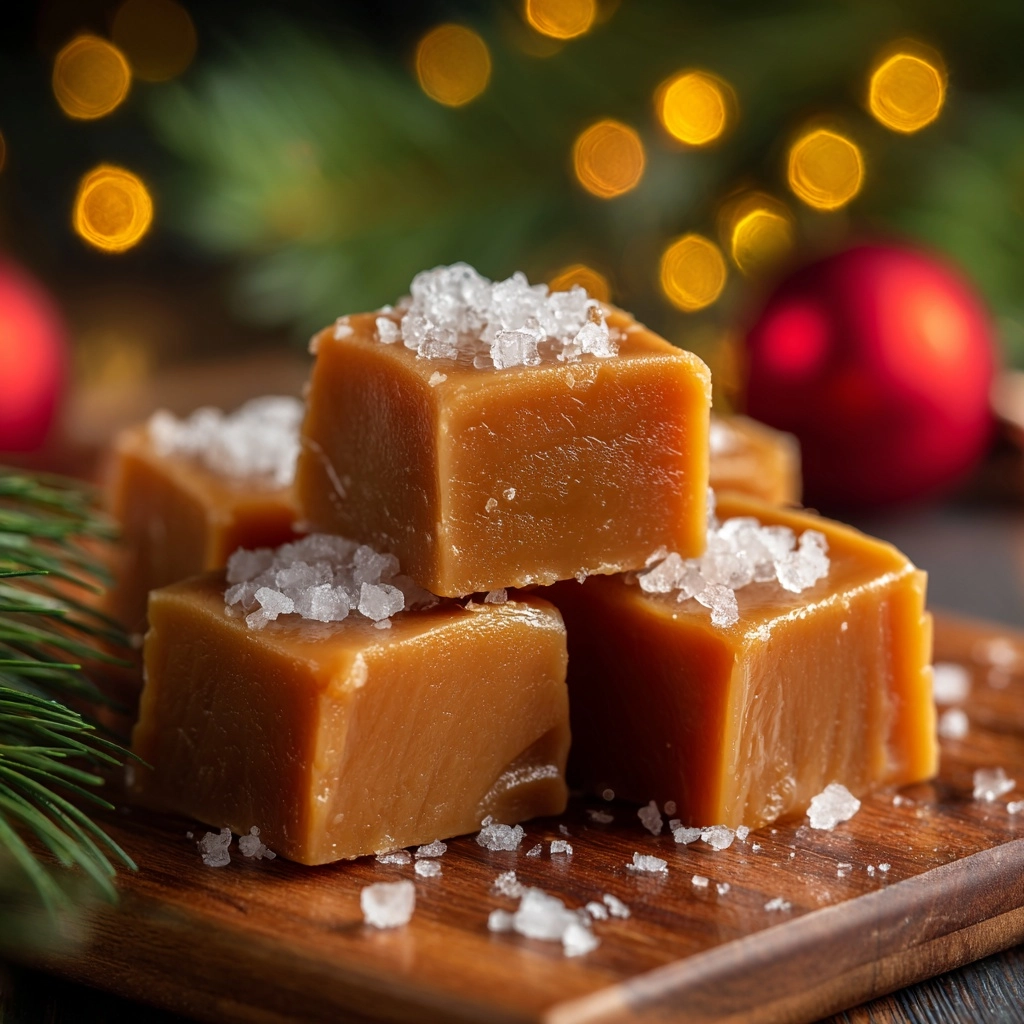
If you’re searching for the ultimate holiday treat, look no further than these irresistibly chewy, buttery Homemade Christmas Caramels. Every bite is soft, melt-in-your-mouth perfection, and making them from scratch fills your kitchen with a cozy, nostalgic aroma that’s pure Christmas magic. Whether you’re a seasoned candy maker or new to stovetop confections, this recipe is simple enough to master and special enough to become a cherished tradition. These caramels are a labor of love, perfect for gifting, sharing, or savoring with a mug of hot cocoa by the fire.
Ingredients You’ll Need
This classic recipe comes together with a handful of pantry staples, each playing a vital role in flavor, texture, and that signature golden hue. Don’t be tempted to substitute—these ingredients work together to create the best Homemade Christmas Caramels you’ll ever taste!
- Unsalted Butter: Provides richness and a silky-smooth texture—use high quality for the best flavor.
- Light Brown Sugar: Brings deep caramel notes and a slight molasses undertone that sets these caramels apart.
- Light Corn Syrup: Prevents crystallization, ensuring your caramels stay perfectly chewy instead of grainy.
- Sweetened Condensed Milk: Lends creaminess and body—don’t skip this for that classic chewy bite.
- Salt: Just a pinch balances the sweetness and enhances the caramel flavor.
- Vanilla Extract: Adds warmth and complexity, rounding out all the flavors for the perfect finish.
How to Make Homemade Christmas Caramels
Step 1: Prepare Your Pan
Start by lining a 9×9-inch baking dish with parchment paper, leaving some overhang on the sides for easy removal later. Give the parchment a light greasing with butter or nonstick spray—this simple step will make lifting and cutting your Homemade Christmas Caramels a breeze, and saves you from sticky situations later!
Step 2: Melt the Butter
In a heavy-bottomed saucepan over medium heat, add the unsalted butter and let it melt completely. Stir gently to prevent it from browning. Using a sturdy pan is key here; it helps distribute heat evenly and prevents scorching, setting you up for caramel success.
Step 3: Combine the Main Ingredients
Once the butter is melted, stir in the light brown sugar, light corn syrup, sweetened condensed milk, and salt. Mix everything together until smooth and creamy. This golden mixture is the base of your Homemade Christmas Caramels and will soon fill your kitchen with the most tempting holiday aroma.
Step 4: Cook to Perfection
Attach a candy thermometer to the side of your saucepan, making sure the tip is submerged but not touching the bottom. Cook the mixture over medium heat, stirring constantly with a heatproof spatula or wooden spoon. Be patient and keep stirring—this prevents burning and ensures even cooking. Watch as the mixture thickens and deepens in color, reaching 245°F (the firm ball stage) in about 12 to 15 minutes.
Step 5: Finish with Vanilla
As soon as the caramel hits 245°F, remove the pan from the heat. Stir in the vanilla extract right away—the bubbling might intensify briefly, so be careful. This final splash of vanilla infuses the Homemade Christmas Caramels with irresistible warmth and depth.
Step 6: Pour and Cool
Carefully pour the hot caramel into your prepared baking dish. Use a spatula to smooth out the top, then leave it undisturbed at room temperature for several hours or, even better, overnight. Patience pays off here: the caramels need time to set up perfectly chewy and sliceable.
Step 7: Slice and Wrap
Once the caramel slab is fully set, use the parchment overhang to lift it out of the pan. Grab a sharp, lightly oiled knife for clean cuts, and slice into small squares. Wrap each piece in wax paper, twisting the ends for that classic candy-shop look. Your Homemade Christmas Caramels are ready for sharing, gifting, or sneaking straight from the tin!
How to Serve Homemade Christmas Caramels
Garnishes
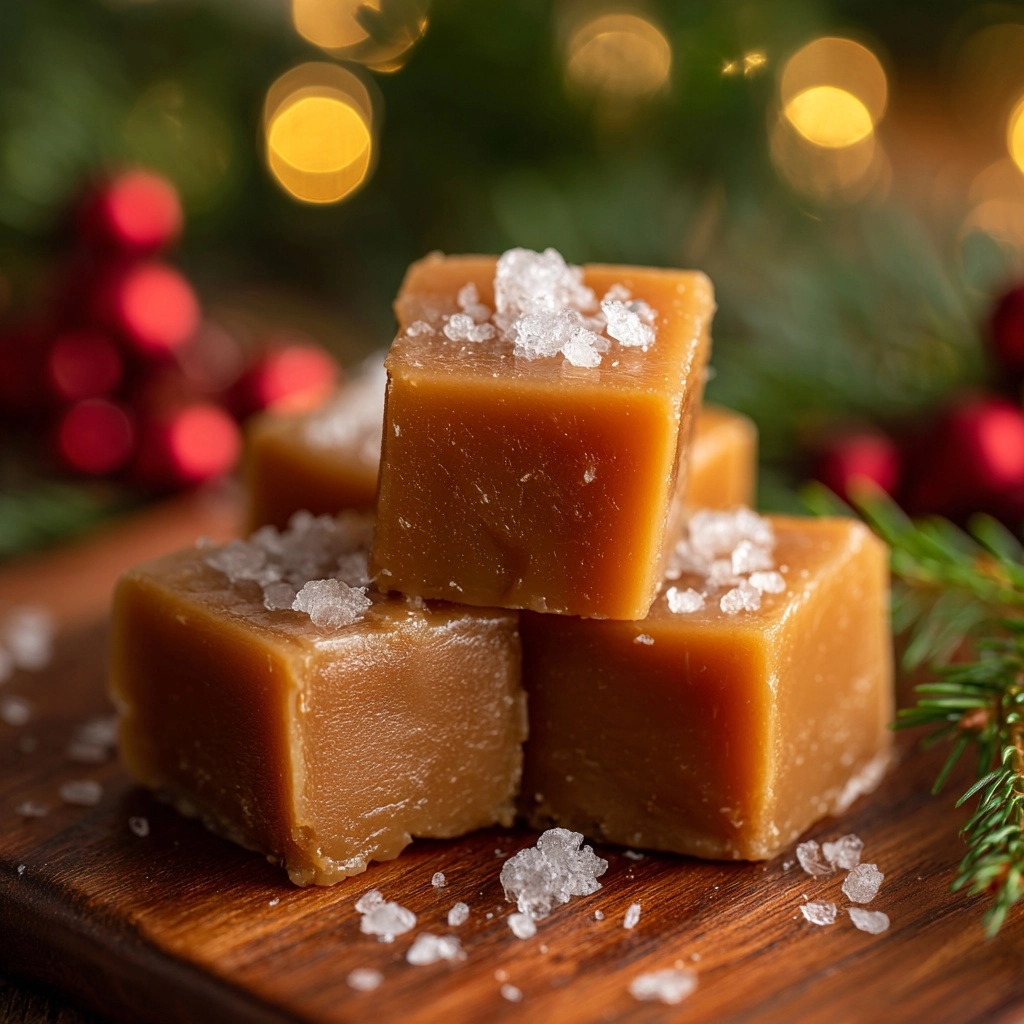
For a gourmet touch, try sprinkling flaky sea salt on top just before the caramel cools completely. This simple garnish transforms your Homemade Christmas Caramels into a sweet-salty delight, adding a little crunch and balancing the richness. You can also dip half of each caramel in melted chocolate or drizzle with white chocolate for a festive flair.
Side Dishes
Homemade Christmas Caramels are a natural companion to a holiday cookie platter, but they also shine alongside a mug of spiced cider, hot cocoa, or even a scoop of vanilla ice cream. Their buttery, chewy sweetness pairs beautifully with fresh fruit, roasted nuts, or a handful of dried cranberries for a simple, elegant dessert spread.
Creative Ways to Present
Wrap each caramel in wax paper and pile them into decorative tins, mason jars, or festive cellophane bags tied with ribbon for a heartfelt edible gift. For parties, arrange them on a platter with other classic Christmas candies, or use them as stocking stuffers and charming place settings at your holiday table. The options are endless, and everyone loves the personal touch of Homemade Christmas Caramels.
Make Ahead and Storage
Storing Leftovers
Homemade Christmas Caramels keep exceptionally well when stored properly. Once wrapped in wax paper, place them in an airtight container at room temperature. They’ll stay fresh, soft, and delicious for up to two weeks, making them the perfect make-ahead treat for busy holiday schedules.
Freezing
If you want to get an even bigger head start, you can freeze these caramels! Wrap each piece individually, then store in a freezer-safe bag or container. Thaw at room temperature for about an hour before serving; the caramels will be just as chewy and flavorful as the day you made them.
Reheating
There’s no need to reheat Homemade Christmas Caramels, but if you find they’ve become a little too firm (especially in colder weather), just let them sit at room temperature for a few minutes. Avoid microwaving, as it can melt or over-soften them, ruining that perfect texture you worked so hard to achieve.
FAQs
Why did my caramels turn out hard or too soft?
Caramel texture is all about temperature! If your Homemade Christmas Caramels are too hard, they were cooked past 245°F; if they’re too soft, they didn’t quite reach the firm ball stage. Always use a reliable candy thermometer and watch closely for perfect results.
Can I use dark corn syrup instead of light?
Light corn syrup is preferred for its mild flavor and pale color, which lets the golden caramel shine. Dark corn syrup will give a deeper flavor and darker color, which can be tasty but will change the classic look and taste of Homemade Christmas Caramels.
Is it necessary to wrap each caramel individually?
Wrapping each piece keeps them from sticking together and helps them stay fresh longer. It’s a little extra effort, but well worth it—plus, it gives them that charming, old-fashioned candy shop appeal!
Can I double the recipe?
Absolutely! Just use a larger pan (like a 9×13-inch dish) and be sure your saucepan is big enough to handle the increased volume. Keep an eye on the cooking time; it may take a bit longer, but you’ll be rewarded with plenty of Homemade Christmas Caramels to go around.
What’s the best way to cut clean squares?
For neat, professional-looking pieces, lightly oil your knife and wipe it clean between cuts. You can also chill the caramels for a few minutes before slicing, which helps them hold their shape without sticking.
Final Thoughts
There’s something magical about making Homemade Christmas Caramels in your own kitchen—the sweet aroma, the anticipation, and the joy of sharing each chewy bite. Give this recipe a try, and you might just find it becomes your new holiday tradition. Happy candy making!
Print
Homemade Christmas Caramels Recipe
- Prep Time: 10 minutes
- Cook Time: 15 minutes
- Total Time: 25 minutes (plus several hours or overnight cooling time)
- Yield: 64 small caramels
- Category: Dessert
- Method: Stovetop
- Cuisine: American
- Diet: Vegetarian
Description
Delight in the rich, buttery sweetness of these Homemade Christmas Caramels, perfect for holiday gifting or a cozy treat. Made with simple ingredients and cooked to the perfect firm ball stage, these soft yet chewy caramels melt in your mouth and offer a timeless festive flavor that’s sure to impress.
Ingredients
Caramel Ingredients
- 1 cup unsalted butter
- 2 1/4 cups packed light brown sugar
- 1 cup light corn syrup
- 1 (14-ounce) can sweetened condensed milk
- 1/4 teaspoon salt
- 1 1/2 teaspoons vanilla extract
Instructions
- Prepare the baking dish. Line a 9×9-inch baking dish with parchment paper and lightly grease it to prevent sticking.
- Melt the butter. In a heavy-bottomed saucepan over medium heat, melt the unsalted butter completely before adding other ingredients.
- Combine ingredients. Stir in the packed light brown sugar, light corn syrup, sweetened condensed milk, and salt into the melted butter.
- Cook the caramel mixture. Cook the mixture over medium heat, stirring constantly to prevent burning, until it reaches 245°F on a candy thermometer, which is the firm ball stage. This typically takes about 12 to 15 minutes.
- Add vanilla extract. Immediately remove the saucepan from heat and stir in the vanilla extract thoroughly for deep flavor.
- Pour into prepared dish. Carefully pour the hot caramel mixture into the lined baking dish and smooth the top for an even layer.
- Let cool and set. Allow the caramels to cool completely at room temperature for several hours or overnight until fully set.
- Cut and wrap. Once the caramel is firm, lift it out of the pan using the parchment paper, cut into 64 small squares using a sharp, lightly oiled knife, and wrap each piece individually in wax paper to keep fresh.
Notes
- For a salted caramel variation, sprinkle flaky sea salt on top of the caramel before it cools completely.
- Use a sharp knife lightly greased with oil to ensure cleaner cuts and prevent sticking.
- Store wrapped caramels in an airtight container at room temperature; they will stay fresh for up to 2 weeks.
Nutrition
- Serving Size: 1 caramel
- Calories: 70
- Sugar: 9g
- Sodium: 30mg
- Fat: 3.5g
- Saturated Fat: 2.5g
- Unsaturated Fat: 1g
- Trans Fat: 0g
- Carbohydrates: 10g
- Fiber: 0g
- Protein: 0.5g
- Cholesterol: 10mg

