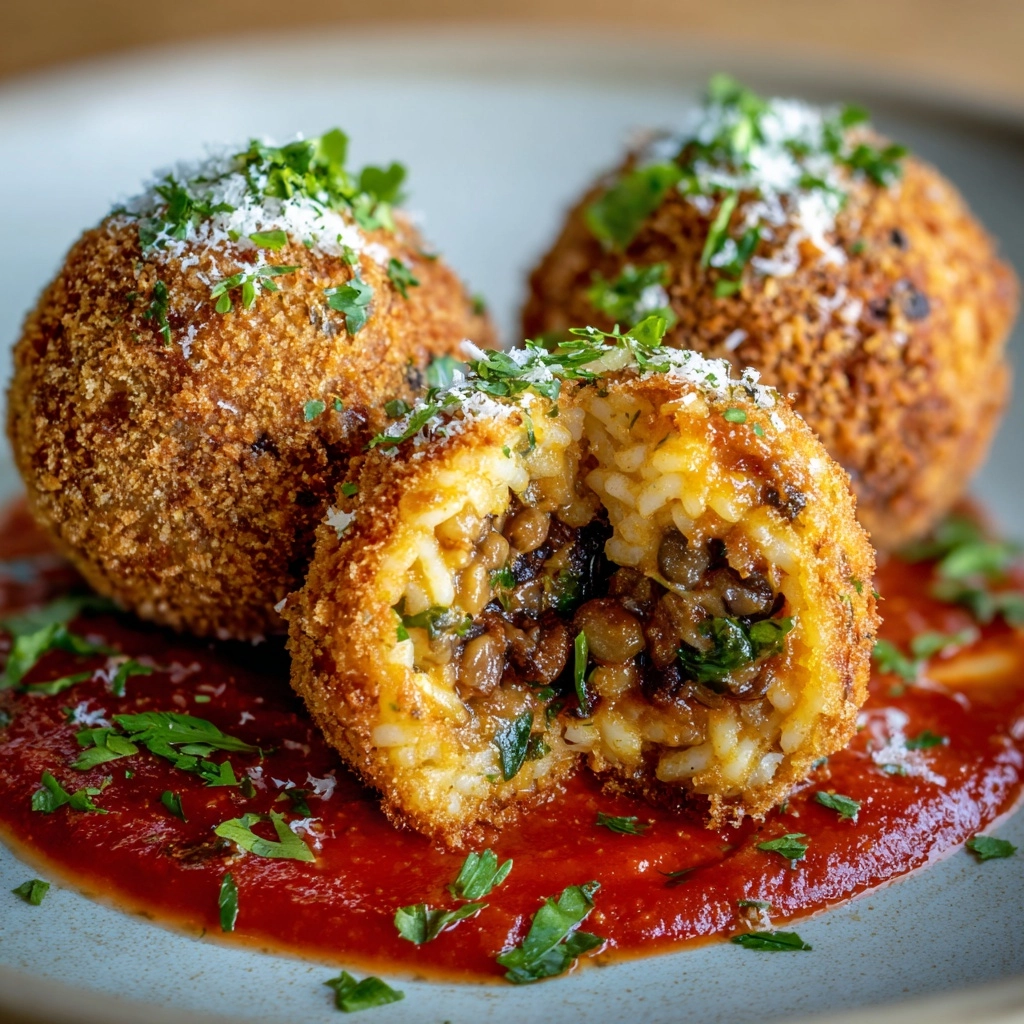
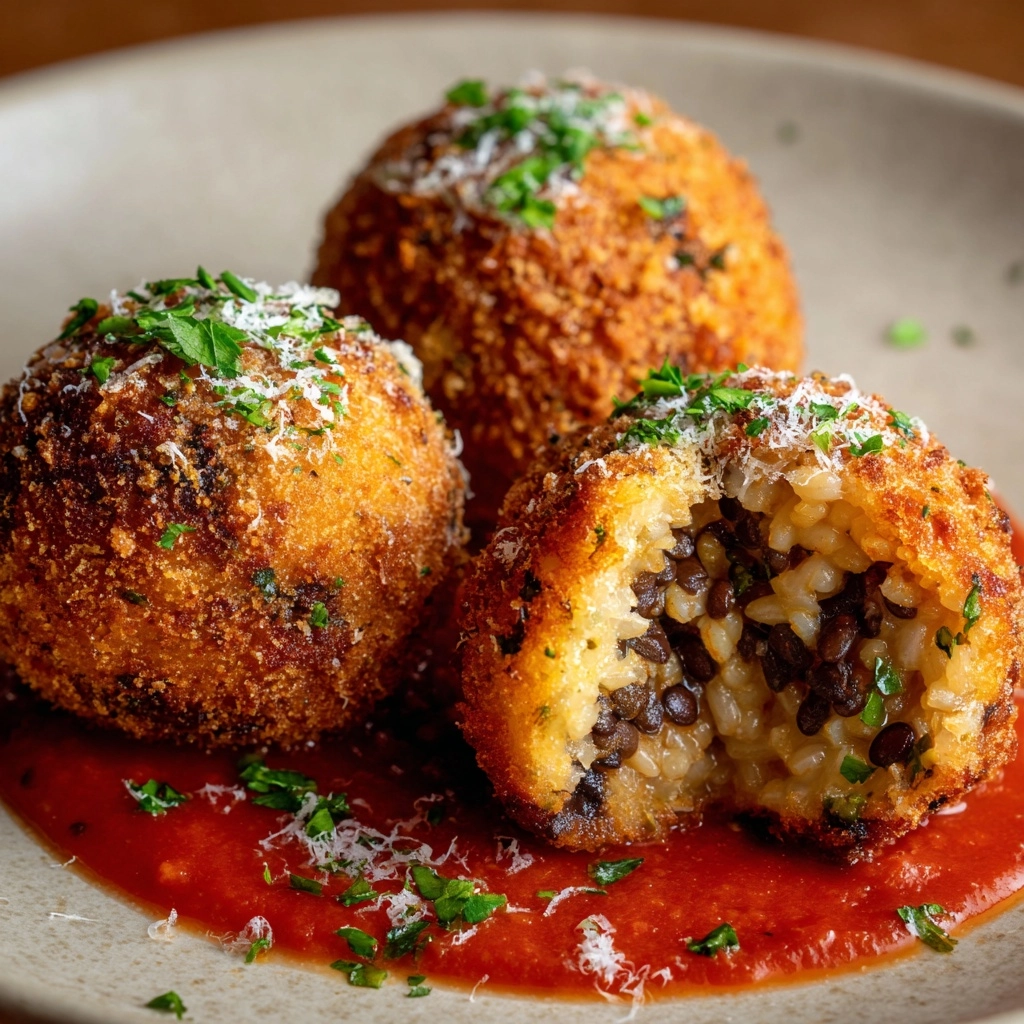
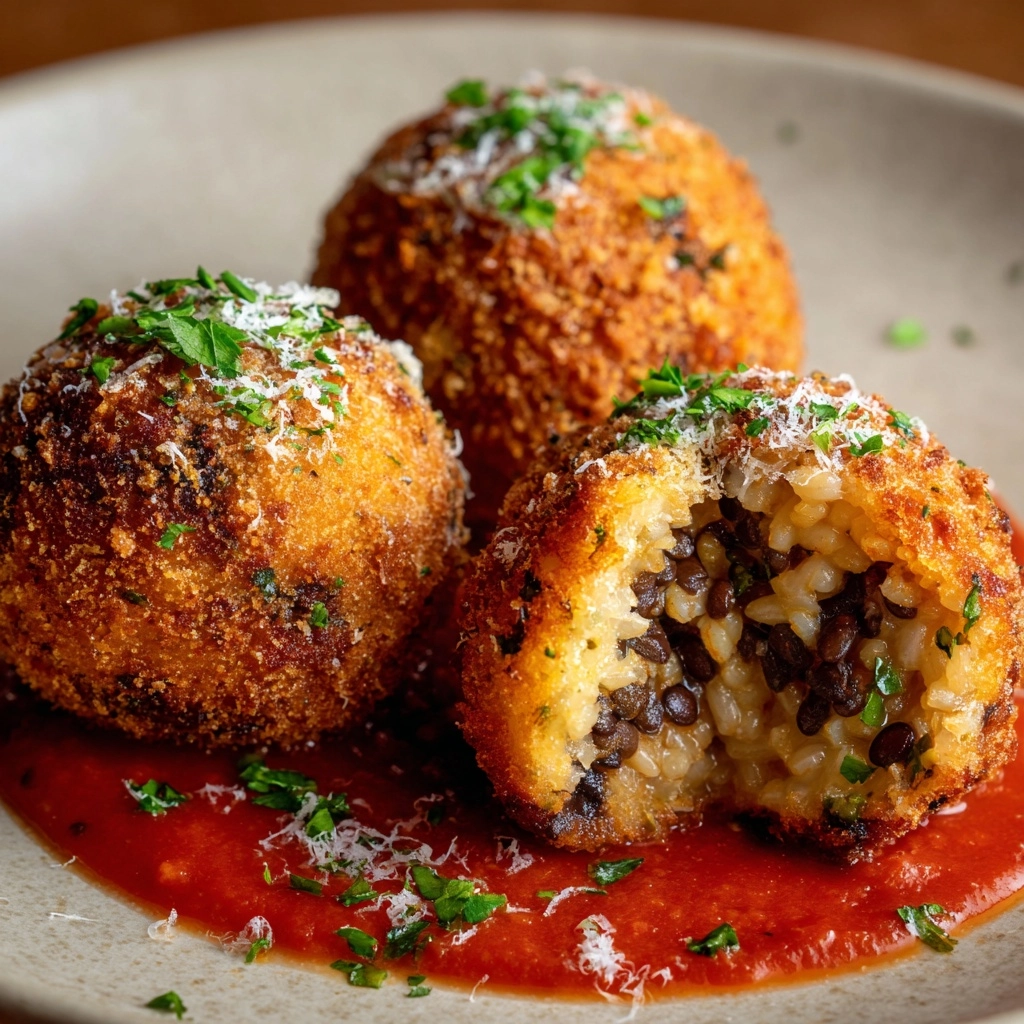
There’s something magical about taking a beloved classic and giving it a bold, unexpected twist—and that’s exactly what happens with Bulgogi Stuffed Arancini. Imagine tender rice balls, golden and crisp on the outside, revealing a savory, aromatic bulgogi beef center when you take your first bite. This fusion appetizer brings together the comforting textures of Italian arancini and the mouthwatering flavors of Korean barbecue, making every bite an irresistible adventure. Whether you’re looking to impress at your next dinner party or simply treat yourself to a new favorite snack, Bulgogi Stuffed Arancini is a showstopper that delivers big on flavor, texture, and wow factor.

Ingredients You’ll Need
Every ingredient in Bulgogi Stuffed Arancini plays a role in creating those layers of flavor and texture you’ll crave. While the list might look a touch long, you’ll find that each addition is simple and adds something special—whether it’s the satisfying crunch, gooey cheese, or unmistakable bulgogi aroma.
- Arborio rice: This short-grain rice gets creamy and sticky when cooked, making it perfect for shaping sturdy, tender arancini balls.
- Grated Parmesan cheese: Adds a salty, nutty undertone and helps bind the rice mixture together.
- Eggs (divided): One egg gives structure to the rice, and the other is for dipping to get that crispy, golden crust.
- Shredded mozzarella cheese: Melts in the center for that irresistible, gooey cheese pull.
- Soy sauce: Brings savory depth and authentic umami to the bulgogi filling.
- Sesame oil: Just a splash infuses the beef with a nutty, toasty aroma that’s signature to Korean cuisine.
- Rice vinegar: Offers a hint of tang to balance the richness of the beef and cheese.
- Sugar: A pinch of sweetness rounds out the bulgogi’s flavors and helps caramelize the meat.
- Minced garlic: Adds bold, aromatic notes to both the rice and the filling.
- Grated ginger: Gives the bulgogi a gentle heat and fragrant zing.
- Ground beef or bulgogi-style beef: The star of the filling—choose thinly sliced marinated beef for extra authenticity or ground beef for ease.
- Green onions: Bring a pop of color and freshness to the beef mixture.
- Gochujang (optional): For a gentle, smoky heat—add a little if you like things spicy.
- All-purpose flour: The first step in achieving that signature crispy breaded shell.
- Seasoned breadcrumbs: Provide a crunchy, flavorful exterior for every arancini ball.
- Vegetable oil (for frying): Ensures a perfectly golden and crisp finish.
- Chopped scallions and sesame seeds (optional): Sprinkle on top as a garnish for brightness and a little extra crunch.
How to Make Bulgogi Stuffed Arancini
Step 1: Cook the Bulgogi Beef Filling
Start by heating a skillet over medium heat. Add your ground beef or thinly sliced bulgogi-style beef along with soy sauce, sesame oil, rice vinegar, sugar, minced garlic, and grated ginger. Sauté everything together, letting the flavors meld and the beef brown beautifully for about 5 to 7 minutes. Just before finishing, stir in the chopped green onions and gochujang if you’re craving a touch of heat. Once the beef is cooked through and fragrant, transfer it to a bowl and let it cool slightly—this makes assembly so much easier!
Step 2: Prepare the Rice Mixture
While the beef filling cools, grab a large bowl and combine the cooked, cooled Arborio rice with grated Parmesan cheese and one beaten egg. This trio forms the base of your arancini—creamy, flavorful, and sturdy enough for stuffing. Mix everything together until the rice is evenly coated and just a little sticky to the touch.
Step 3: Form the Arancini Balls
Now comes the fun part! Scoop around 2 tablespoons of the rice mixture into your hand and gently flatten it into a disc. Place a spoonful of the cooled bulgogi beef and a pinch of shredded mozzarella in the center. With a little care, shape the rice around the filling, sealing it all in and rolling gently to form a ball. Repeat this process with the rest of the rice and filling—don’t worry if they aren’t perfectly round, they’ll taste just as delicious.
Step 4: Bread the Arancini
Set up your breading station with three shallow bowls: one with flour, another with the remaining beaten egg, and the last with seasoned breadcrumbs. Roll each rice ball first in flour (shake off any excess), dip in egg, and finally coat in breadcrumbs. This triple layer is what gives Bulgogi Stuffed Arancini their signature crunch.
Step 5: Fry Until Golden and Crispy
Heat vegetable oil in a deep skillet or pot to 350°F (175°C). Fry the arancini balls in batches, being careful not to overcrowd the pan. Cook for 3 to 4 minutes per batch, turning gently to ensure an even, golden crust all over. Once they’re crisp and beautifully bronzed, transfer them to a plate lined with paper towels to drain off any excess oil. Serve hot, and don’t forget that sprinkle of scallions and sesame seeds if you’re feeling fancy!
How to Serve Bulgogi Stuffed Arancini

Garnishes
A finishing flourish makes all the difference. Scatter chopped scallions and toasted sesame seeds over your Bulgogi Stuffed Arancini just before serving. Not only do they add visual appeal, but they also give a little fresh crunch and a nutty aroma that echoes the flavors inside each bite.
Side Dishes
Bulgogi Stuffed Arancini love a good dipping sauce—think a mix of soy sauce and rice vinegar for tang, or a creamy spicy mayo if you want a little extra richness. Pair your arancini with a light side salad of crisp greens dressed with sesame vinaigrette, or serve alongside quick-pickled veggies to balance the savory flavors and keep things refreshing.
Creative Ways to Present
Turn your Bulgogi Stuffed Arancini into the star of your next party platter! Stack them high on a rustic wooden board, nestle them into lettuce cups for a playful, hand-held bite, or skewer them for a fun, tapas-style presentation. For a sit-down meal, serve them over a bed of kimchi slaw or nestle two or three atop a swirl of gochujang aioli for that restaurant-worthy look.
Make Ahead and Storage
Storing Leftovers
If you find yourself with leftover Bulgogi Stuffed Arancini (lucky you!), simply let them cool to room temperature, then store them in an airtight container in the refrigerator. They’ll stay fresh for up to three days, and the flavors often deepen overnight, making them a treat even after the first day.
Freezing
You can freeze Bulgogi Stuffed Arancini at the breaded, uncooked stage or fully cooked. Arrange them in a single layer on a baking sheet and freeze until solid, then transfer to a freezer-safe bag. They’ll keep well for up to two months, ready for a quick snack or an impromptu gathering.
Reheating
To bring Bulgogi Stuffed Arancini back to their crispy, gooey glory, reheat them in a 350°F (175°C) oven for 12 to 15 minutes if refrigerated, or 18 to 20 minutes if frozen. Avoid microwaving, as it can make the crust soggy—an oven or air fryer works best to revive that irresistible crunch.
FAQs
Can I use a different type Appetizer
Arborio rice is ideal because of its creamy texture and ability to hold together, but you can try other short-grain rice varieties if needed. Just avoid long-grain rice, as it won’t be sticky enough to form into balls.
Is it possible to bake instead of fry Bulgogi Stuffed Arancini?
Absolutely! Place breaded arancini on a parchment-lined baking sheet, spray lightly with oil, and bake at 400°F (200°C) for about 20 minutes, turning halfway through. The result won’t be quite as crispy as frying, but it’s still delicious.
What can I substitute for bulgogi-style beef?
You can use ground pork, chicken, or even a plant-based protein for a vegetarian version. Just be sure to season well with bulgogi flavors—soy sauce, sesame oil, garlic, and ginger—to keep that signature taste.
How do I keep Bulgogi Stuffed Arancini from falling apart when frying?
Make sure the rice mixture is sticky and well mixed with egg and cheese, and be gentle when forming the balls. Chilling the assembled arancini for 20–30 minutes before breading can also help them hold their shape beautifully in the hot oil.
Can I prepare Bulgogi Stuffed Arancini ahead of time for a party?
Yes, you can assemble and bread the arancini a day ahead, then store them covered in the refrigerator. Fry them just before serving for the best texture and flavor, and your guests will be wowed by how fresh and crisp they taste.
Final Thoughts
If you’re looking to shake up your appetizer game, Bulgogi Stuffed Arancini are an unforgettable way to do it. They’re playful, crave-worthy, and absolutely packed with flavor. Give them a try—you might just discover your new favorite fusion dish!
Print
Bulgogi Stuffed Arancini Recipe
- Prep Time: 30 minutes
- Cook Time: 20 minutes
- Total Time: 50 minutes
- Yield: 12 arancini
- Category: Appetizer
- Method: Frying
- Cuisine: Fusion, Korean-Italian
- Diet: Non-Vegetarian
Description
Bulgogi Stuffed Arancini combines the savory flavors of Korean bulgogi beef with crispy Italian-style fried rice balls for a unique fusion appetizer that’s perfect for parties or a flavorful snack.
Ingredients
Rice Mixture
- 2 cups cooked and cooled Arborio rice
- ½ cup grated Parmesan cheese
- 1 egg (beaten, divided)
- ½ cup shredded mozzarella cheese
Bulgogi Beef Filling
- ½ pound ground beef or thinly sliced bulgogi-style beef
- 1 tablespoon soy sauce
- 1 tablespoon sesame oil
- 1 teaspoon rice vinegar
- 1 teaspoon sugar
- 1 teaspoon minced garlic
- 1 teaspoon grated ginger
- 2 green onions, chopped
- ½ teaspoon gochujang (optional for spice)
Coating and Frying
- 1 cup all-purpose flour
- 1 egg (beaten)
- 1 cup seasoned breadcrumbs
- Vegetable oil for frying
Garnish (optional)
- Chopped scallions
- Sesame seeds
Instructions
- Cook the Bulgogi Beef: In a skillet over medium heat, cook the ground beef with soy sauce, sesame oil, rice vinegar, sugar, garlic, and ginger until browned and fully cooked, about 5–7 minutes. Stir in the green onions and gochujang (if using), then set aside to cool slightly.
- Prepare the Rice Mixture: In a large bowl, mix the cooled Arborio rice with the grated Parmesan cheese and one beaten egg until well combined.
- Form Arancini Balls: Scoop about 2 tablespoons of the rice mixture and flatten it in your hand. Place a spoonful of the bulgogi beef and a pinch of shredded mozzarella in the center. Shape the rice around the filling to form a sealed ball. Repeat until all the rice mixture and filling are used.
- Coat the Arancini: Place the flour, remaining beaten egg, and seasoned breadcrumbs into three separate shallow bowls. Roll each rice ball first in flour, then dip into the beaten egg, and finally coat with breadcrumbs evenly.
- Fry the Arancini: Heat vegetable oil in a deep skillet or pot to 350°F (175°C). Fry the arancini in batches for 3–4 minutes or until golden brown and crispy on all sides. Remove with a slotted spoon and drain on paper towels.
- Serve: Serve the arancini hot, garnished with chopped scallions and sesame seeds if desired. Optionally, offer a dipping sauce of soy sauce mixed with rice vinegar or spicy mayo for extra flavor.
Notes
- You can prepare the rice and beef mixture a day ahead to make assembly quicker and easier.
- Serve with dipping sauces like soy sauce and rice vinegar or spicy mayo for added flavor.
- For a spicier version, increase the amount of gochujang according to taste.
- Ensure the oil temperature stays consistent at 350°F for perfectly crispy arancini.
Nutrition
- Serving Size: 1 arancini
- Calories: 180
- Sugar: 1g
- Sodium: 290mg
- Fat: 9g
- Saturated Fat: 3g
- Unsaturated Fat: 5g
- Trans Fat: 0g
- Carbohydrates: 17g
- Fiber: 1g
- Protein: 8g
- Cholesterol: 45mg


