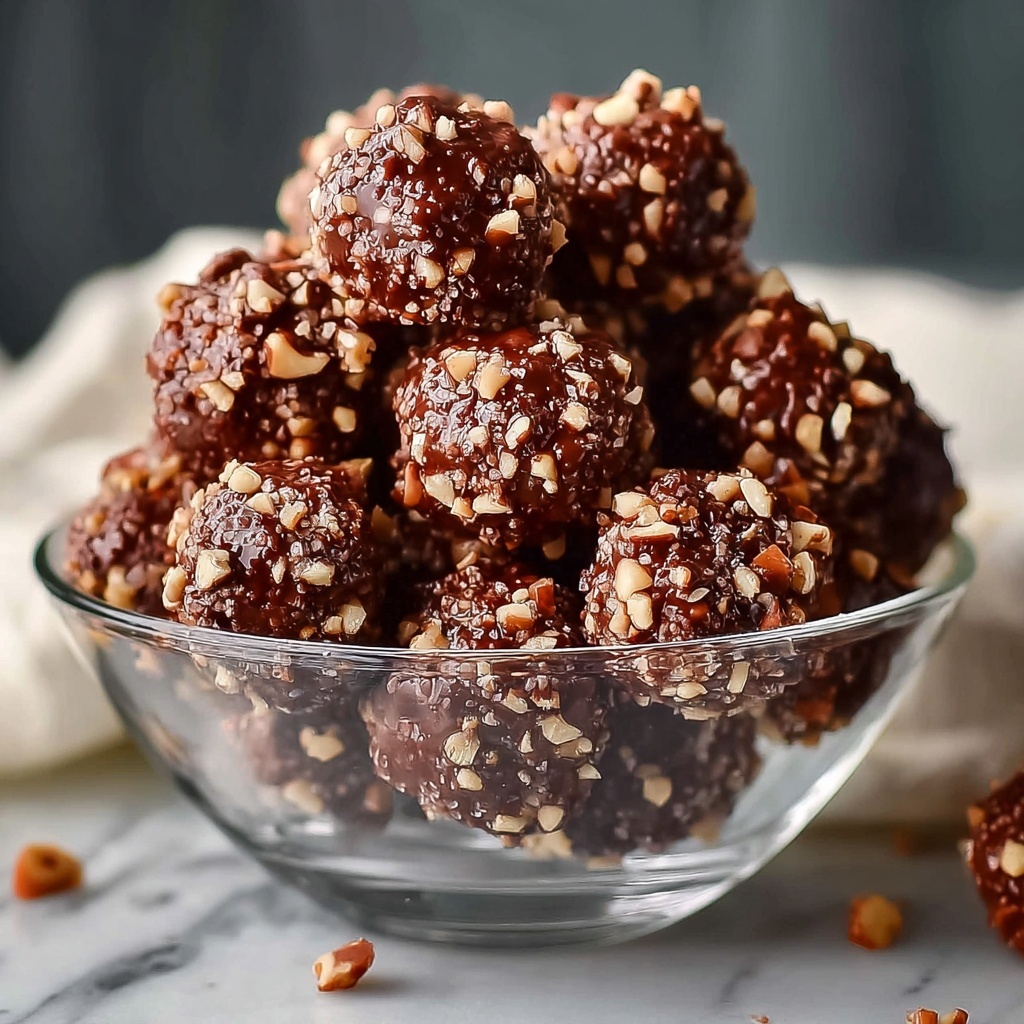
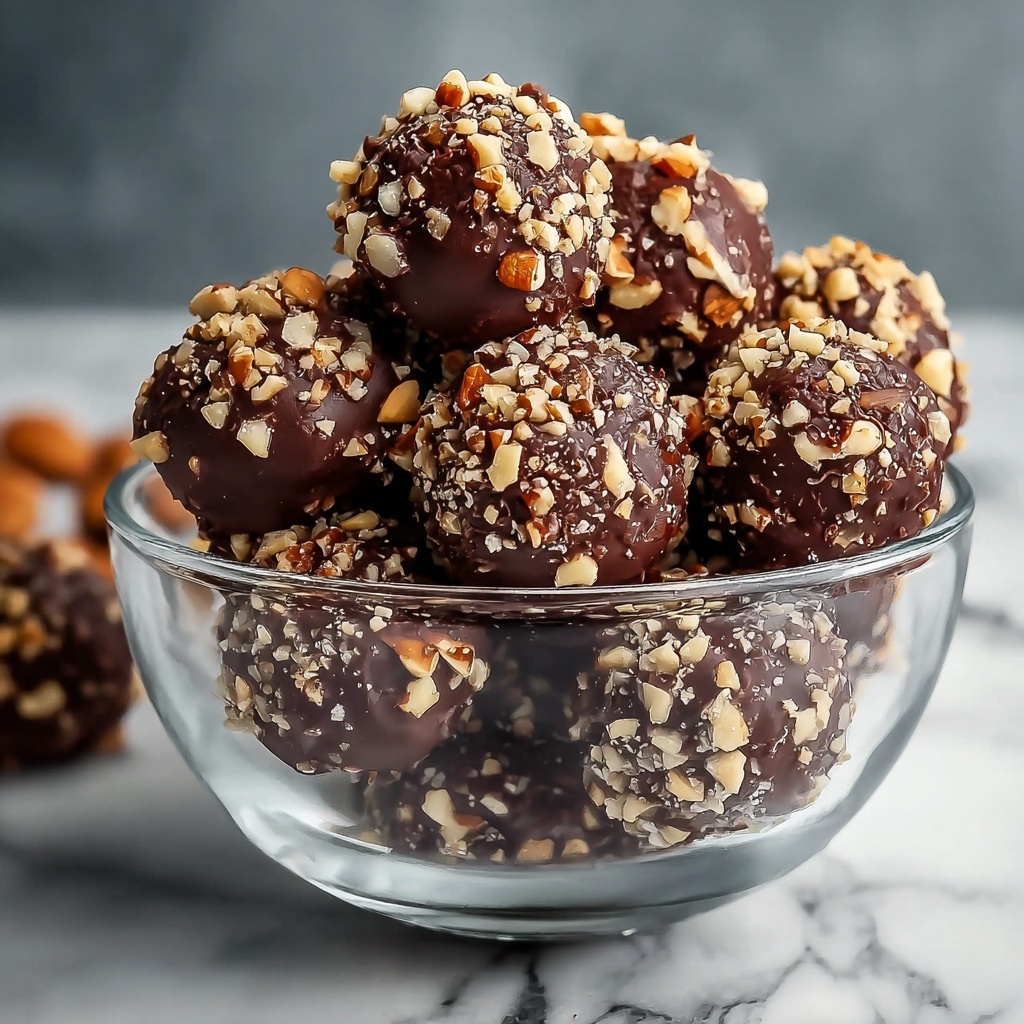
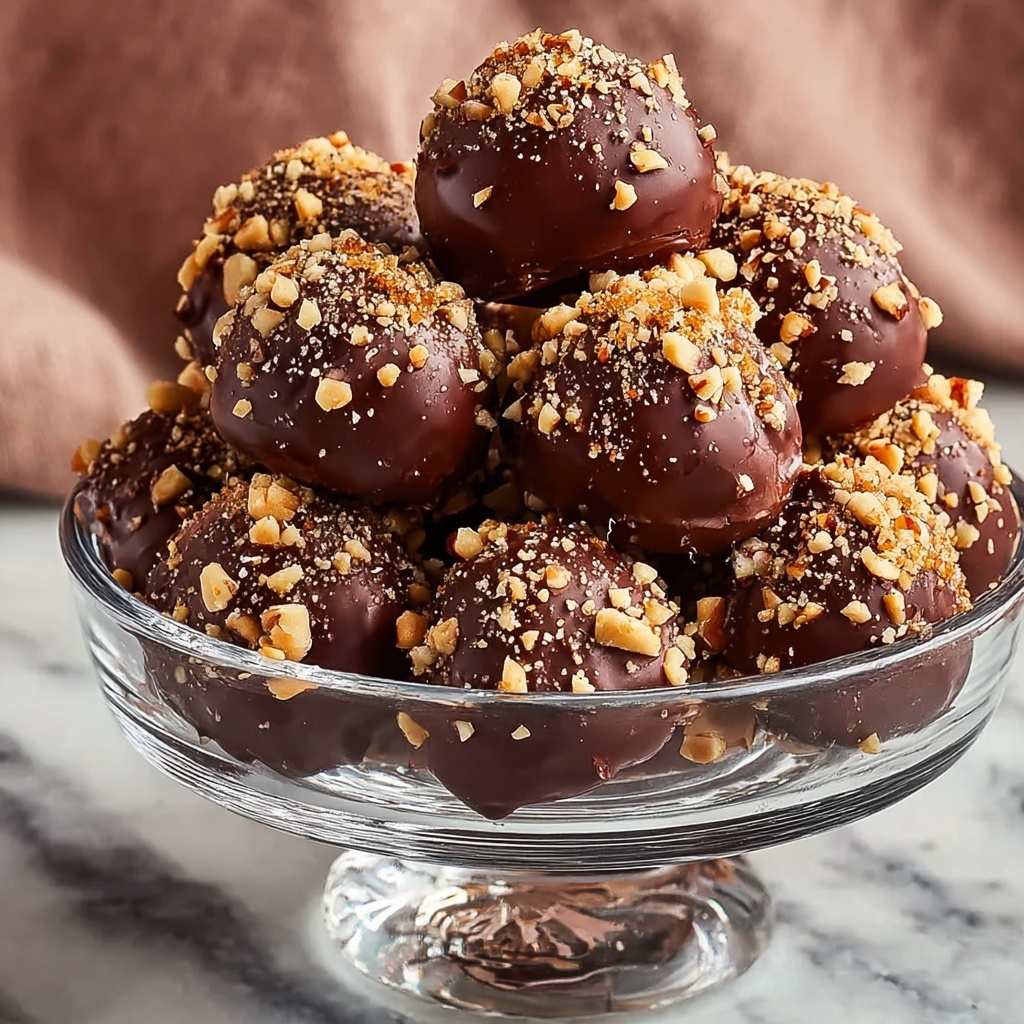
If you have a sweet tooth and a love for all things chocolate and nutty, you simply must try this Chocolate Hazelnut No-Bake Truffles Recipe. These little gems are the perfect combination of rich, creamy chocolate and crunchy toasted hazelnuts, coming together in a luscious truffle that doesn’t require any oven time. Whether you’re looking to whip up an elegant dessert for guests or a quick homemade treat to satisfy a craving, these truffles hit every note of indulgence with ease and style.
Ingredients You’ll Need
One of the best things about this Chocolate Hazelnut No-Bake Truffles Recipe is how straightforward the ingredient list is — nothing too fancy, just essentials that blend beautifully for incredible flavor and texture.
- Semi-sweet chocolate chips: These form the rich chocolate base, melting down smoothly for that perfect creamy texture.
- Heavy cream: Adds silkiness and helps bind everything together while contributing to a luscious mouthfeel.
- Chocolate hazelnut spread: The star that brings that unmistakable nutty and chocolate combo into the mix.
- Vanilla extract: A splash to enhance all the flavors and add a subtle aromatic touch.
- Salt: Just a pinch to balance sweetness and deepen the chocolate notes.
- Finely chopped toasted hazelnuts: For crunch and a toasty, warm flavor contrast.
- Unsweetened cocoa powder: Perfect for rolling the truffles and adding a lightly bitter finish.
- Optional rolling ingredients: Extra chopped hazelnuts or powdered sugar to customize texture and sweetness.
How to Make Chocolate Hazelnut No-Bake Truffles Recipe
Step 1: Melt the Chocolate
Start by placing your semi-sweet chocolate chips in a heatproof bowl. Then, gently heat the heavy cream in a small saucepan just until it begins to simmer—watch carefully so it doesn’t boil over. Pour this hot cream over your chocolate chips and let the mixture sit quietly for 2 to 3 minutes. This softens the chocolate perfectly and makes stirring effortless.
Step 2: Combine Ingredients
After the brief wait, stir gently but thoroughly until the chocolate turns into a smooth, glossy mixture. Then add your chocolate hazelnut spread, vanilla extract, and a pinch of salt. Stir until everything is fully incorporated, creating a beautiful, creamy batter that smells heavenly.
Step 3: Fold in Hazelnuts
Gently fold in your finely chopped toasted hazelnuts, which add incredible texture and that toasty, nutty flavor that makes these truffles totally unforgettable.
Step 4: Chill the Mixture
Cover your bowl and pop it into the refrigerator. Let it rest for 1 to 2 hours until the chocolate mixture firms up nicely, making it easy to scoop and shape.
Step 5: Shape the Truffles
Once firm, scoop out small portions of the mixture (about one-inch balls) using a cookie scoop or spoon. Roll each portion between your palms to form smooth, round truffles—this hands-on step is pretty satisfying and fun!
Step 6: Coat Your Truffles
Roll each truffle in cocoa powder or, if you want more crunch and extra nutty flavor, finely chopped hazelnuts. For a sweeter twist, powdered sugar works beautifully too. Arrange your coated truffles on a parchment-lined tray.
Step 7: Final Chill
Place the truffles back in the refrigerator for at least 30 minutes to set completely. After that, they’re ready to be enjoyed or gifted!
How to Serve Chocolate Hazelnut No-Bake Truffles Recipe
Garnishes
A dusting of cocoa powder or a sprinkle of finely chopped hazelnuts offers an elegant finish that makes these truffles look as good as they taste. Try a pinch of flaky sea salt on top for a little unexpected pop that elevates the flavor perfectly.
Side Dishes
These chocolate hazelnut truffles pair wonderfully with a simple cup of espresso or a glass of dessert wine like Port. You could also serve them alongside fresh berries or whipped cream to contrast their rich density with light, refreshing sides.
Creative Ways to Present
Serving these truffles as an after-dinner treat on a decorative plate lined with parchment paper is always a hit. For gifting, place them in mini cupcake liners or a small box tied with ribbon—charming and irresistible. You can even skewer them alongside other treats for a fun chocolate dessert kebab!
Make Ahead and Storage
Storing Leftovers
Store any leftover truffles in an airtight container in the refrigerator for up to one week. This keeps them fresh and maintains that perfect creamy texture without drying out.
Freezing
You can freeze these truffles for longer storage by placing them on a tray first to freeze individually, then transferring to a sealed container or bag. Thaw in the refrigerator before serving to keep the texture intact and delicious.
Reheating
Since these are no-bake treats, reheating isn’t necessary. If you prefer them slightly softer, let them sit at room temperature for about 15 minutes before enjoying for the best experience.
FAQs
Can I make these truffles dairy-free?
Absolutely! Swap the heavy cream for coconut cream and use dairy-free chocolate chips to keep everything creamy and rich without any dairy.
How long do these truffles last?
When refrigerated in an airtight container, they’ll stay fresh for about a week. Just make sure to keep them chilled to maintain their texture and taste.
What if I don’t have toasted hazelnuts?
If you can’t toast your own, pre-toasted hazelnuts from the store work just fine. Alternatively, you can omit hazelnuts, but the crunch and flavor are worth the extra step.
Can I make these truffles without rolling them in cocoa powder?
Yes! You can roll them in fine powdered sugar, extra chopped nuts, or even dip them in melted chocolate for an extra decadent coating.
Is there a way to make the truffle filling smoother?
For a completely creamy filling, skip adding chopped hazelnuts inside and just keep the mixture smooth before chilling.
Final Thoughts
This Chocolate Hazelnut No-Bake Truffles Recipe is a celebration of simple ingredients coming together to create something truly special. I encourage you to dive in and try making them yourself because once you do, these dreamy, rich truffles will quickly become one of your favorite go-to treats. Whether for a special occasion or just a cozy night in, these truffles are guaranteed to bring smiles all around.
Print
Chocolate Hazelnut No-Bake Truffles Recipe
- Prep Time: 15 minutes
- Cook Time: 5 minutes
- Total Time: 2 hours (including chilling)
- Yield: 18 truffles
- Category: Dessert
- Method: No-Cook
- Cuisine: European
- Diet: Vegetarian
Description
Delight in these rich and creamy Chocolate Hazelnut No-Bake Truffles, perfect for any occasion. Made with semi-sweet chocolate, chocolate hazelnut spread, and toasted hazelnuts, these truffles are easy to prepare and require no baking. Rolled in cocoa powder or chopped hazelnuts, they’re an indulgent treat that combines smooth texture with a satisfying crunch.
Ingredients
Truffle Base
- 1 1/2 cups semi-sweet chocolate chips
- 1/2 cup heavy cream
- 1/2 cup chocolate hazelnut spread
- 1 teaspoon vanilla extract
- 1/8 teaspoon salt
- 1/2 cup finely chopped toasted hazelnuts
Coating
- 1/4 cup unsweetened cocoa powder
- 1/4 cup finely chopped hazelnuts or powdered sugar (optional for rolling)
Instructions
- Prepare the chocolate: Place the semi-sweet chocolate chips in a heatproof bowl for melting.
- Heat the cream: In a small saucepan, warm the heavy cream over medium heat until it just begins to simmer, ensuring it does not boil.
- Combine cream and chocolate: Pour the hot cream over the chocolate chips, allowing it to sit for 2 to 3 minutes to soften the chocolate.
- Mix the ganache: Stir gently until the mixture becomes smooth and fully melted, creating a silky ganache.
- Add flavorings and nuts: Stir in the chocolate hazelnut spread, vanilla extract, and salt until fully combined. Fold in the finely chopped toasted hazelnuts to add texture.
- Chill the mixture: Cover the bowl and refrigerate for 1 to 2 hours until the mixture is firm enough to scoop.
- Shape the truffles: Using a small cookie scoop or spoon, portion out the mixture and roll into 1-inch balls with your hands.
- Coat the truffles: Roll each truffle in unsweetened cocoa powder or, optionally, in additional finely chopped hazelnuts or powdered sugar for extra flavor and texture.
- Set the truffles: Place the coated truffles on a parchment-lined tray and refrigerate for at least 30 minutes to allow them to firm up before serving.
Notes
- For a dairy-free version, substitute coconut cream for heavy cream and use dairy-free chocolate chips.
- Store the truffles in an airtight container in the refrigerator for up to one week to maintain freshness.
- Omitting the chopped hazelnuts inside the mixture will yield a smoother, creamier texture for the filling.
