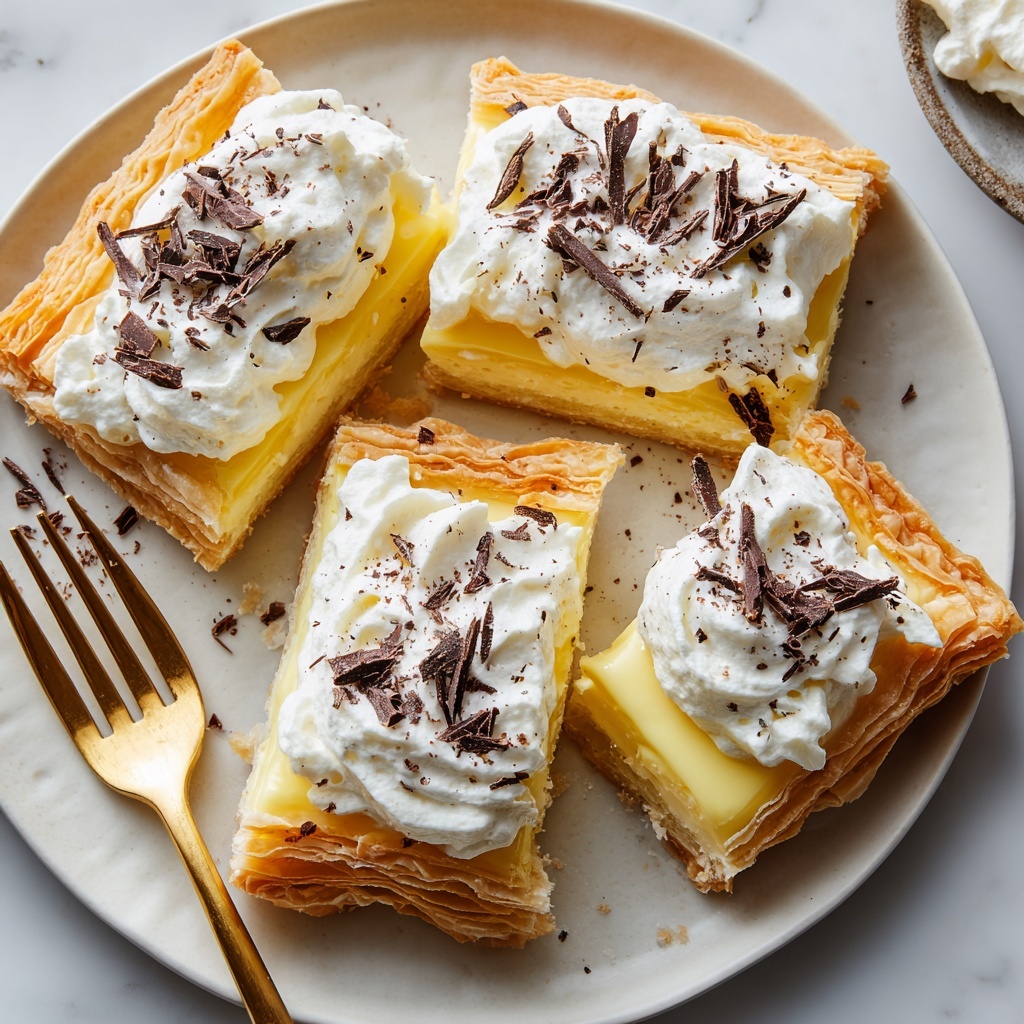
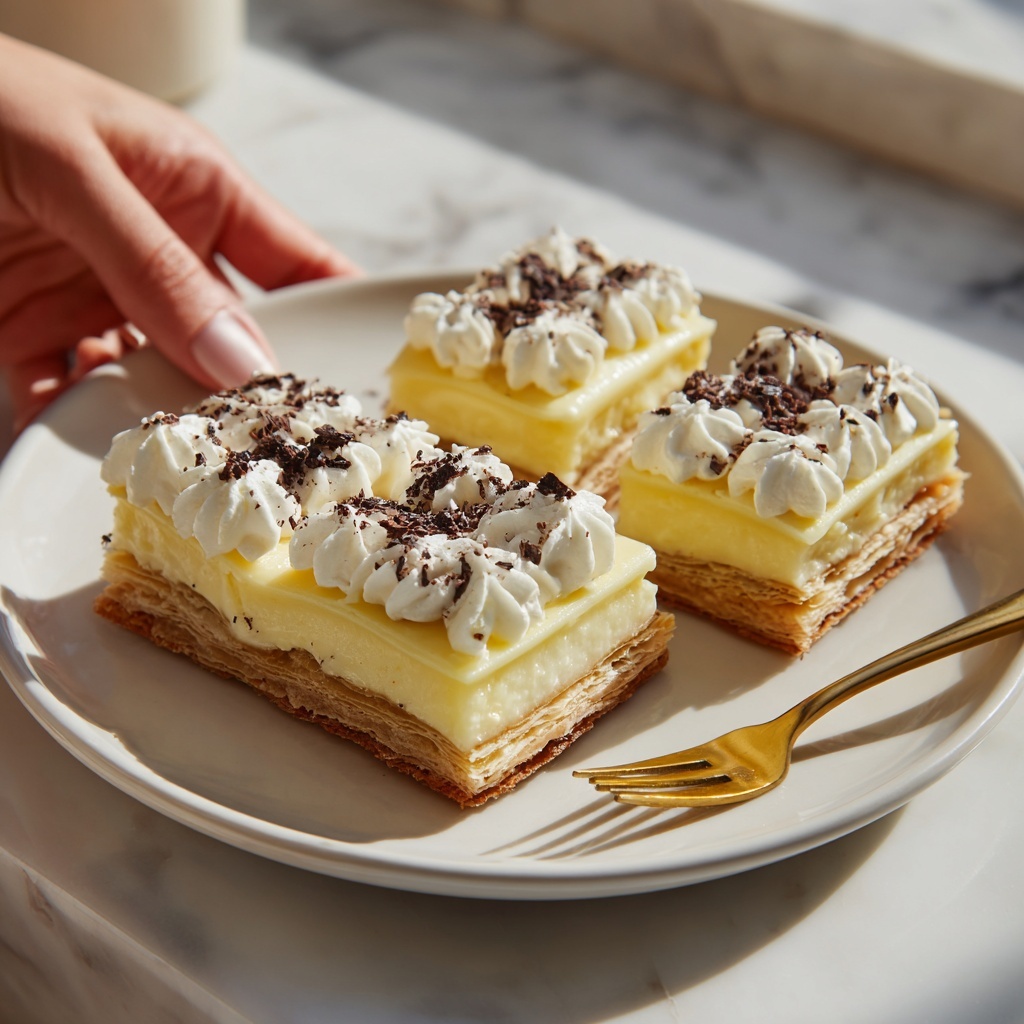
If you’ve ever wondered how to achieve that perfect combination of light, airy pastry and luscious cream filling, look no further than this Classic Cream Puffs Recipe. These delicate little puffs offer a delightful balance of crispness on the outside and creamy sweetness inside, making them an irresistible treat for any occasion. Whether you’re a seasoned baker or just starting out, this recipe will guide you step by step to create stunning cream puffs that taste as incredible as they look.
Ingredients You’ll Need
The magic of this Classic Cream Puffs Recipe lies in its simplicity. Each ingredient plays a crucial role in creating the airy structure, tender texture, and rich flavor that define these delightful pastries.
- 1 cup water: Provides the steam needed to puff the dough beautifully in the oven.
- 1/2 cup unsalted butter: Adds richness and flavor, while helping to create a tender crust.
- 1 cup all-purpose flour: The base of the choux pastry, giving it structure and stability.
- 1/4 teaspoon salt: Balances the flavors and enhances the sweetness of the filling.
- 4 large eggs: Essential for setting the dough’s structure and providing moisture.
- 1 cup heavy whipping cream: Whipped into the luscious filling that brings the puffs to life.
- 1 tablespoon powdered sugar: Sweetens the cream without weight, keeping it light and fluffy.
- 1 teaspoon vanilla extract: Adds a warm, aromatic note to the filling for extra indulgence.
How to Make Classic Cream Puffs Recipe
Step 1: Prepare Your Oven and Baking Sheet
Begin by preheating your oven to 400°F (200°C), ensuring it’s hot enough to create the steam that will puff your dough perfectly. Line a baking sheet with parchment paper to prevent sticking and promote even baking—this simple prep step makes cleanup a breeze.
Step 2: Boil Water and Butter
Place water and unsalted butter in a medium saucepan over medium-high heat. The butter should completely melt as the water reaches a boil. This is the stage where the foundation of the choux pastry takes shape, combining fat and moisture to create a tender yet firm dough.
Step 3: Incorporate Flour and Salt
Remove the pan from heat, then quickly stir in the all-purpose flour and salt. Mix vigorously until the mixture pulls away from the sides and forms a smooth ball. This action cooks the flour slightly, which is key to achieving the right texture later on.
Step 4: Cook the Dough Briefly
Return the saucepan to medium heat and cook the dough for an additional 1-2 minutes, stirring constantly. This step reduces moisture a bit more and helps establish a dough that can hold its shape during baking, leading to those classic puffed shells.
Step 5: Add Eggs One by One
Remove the dough from heat and let it cool just enough so the eggs won’t scramble when added. Beat in the eggs one at a time, fully incorporating each before adding the next. The dough will become smooth, shiny, and slightly elastic—a perfect sign you’re on track.
Step 6: Shape the Puffs
Using a spoon or piping bag, create small mounds of dough about 1.5 inches in diameter on your prepared baking sheet. Space them roughly 2 inches apart since these puffs will expand beautifully in the oven. This careful spacing allows each puff to bake evenly, acquiring that golden exterior.
Step 7: Bake Until Golden and Puffy
Bake for 20-25 minutes, resisting the urge to open the oven early. Your patience pays off when you see golden, puffed-up shells. Remove from the oven and cool completely on a wire rack; this step ensures they stay crisp outside while ready for the luscious filling later.
Step 8: Whip the Cream Filling
While the puffs cool, whip your heavy cream with powdered sugar and vanilla extract until stiff peaks form. This sweet, airy cream is the heart of the Classic Cream Puffs Recipe, offering that melt-in-your-mouth sensation that pairs perfectly with the pastry.
Step 9: Fill the Puffs
Carefully slice each puff in half horizontally without crushing. Spoon or pipe the whipped cream generously into the base, giving each puff a heavenly center filled with light sweetness.
Step 10: Serve or Refrigerate
Replace the tops and serve immediately for the freshest bite, or chill in the refrigerator until you’re ready to delight your guests. Cream puffs are best enjoyed within a few hours to maintain that delicate texture.
How to Serve Classic Cream Puffs Recipe

Garnishes
Classic cream puffs shine as-is, but you can elevate them by dusting lightly with powdered sugar or drizzling with melted chocolate. These simple touches add elegance and a flavour boost without overwhelming the delicate cream filling.
Side Dishes
Pair your cream puffs with a fresh berry compote or a cup of strong coffee or tea for a perfect afternoon treat or dessert. The tartness of berries complements the creamy sweetness, creating a balanced and satisfying pairing.
Creative Ways to Present
For a special occasion, stack classic cream puffs into a croquembouche tower for a show-stopping centerpiece. Alternatively, serve them alongside fruit and a scoop of ice cream for a delightful dessert plate that’s sure to impress.
Make Ahead and Storage
Storing Leftovers
If you have any cream puffs leftover, store them in an airtight container in the refrigerator. However, be aware that the pastry may soften with time due to the moisture from the filling, so it’s best to enjoy them fresh or within one day.
Freezing
You can freeze the baked, unfilled puff shells in a sealed container for up to two weeks. When ready, thaw completely before filling and serving. This makes it convenient to prepare your Classic Cream Puffs Recipe in advance.
Reheating
To revive frozen puff shells, reheat them in a 350°F oven for about 5-7 minutes to restore their crisp texture. Avoid reheating once filled to keep the cream fresh and the puff from becoming soggy.
FAQs
Can I use milk instead of water in the dough?
While milk can add richness, using water as in this Classic Cream Puffs Recipe produces the right steam to puff up the pastry beautifully. For the most authentic texture, stick with water.
What can I use if I don’t have a piping bag?
If you don’t have a piping bag, a sturdy zip-top bag with the corner snipped off works perfectly to shape the dough or fill the cream puffs cleanly.
How do I prevent the cream from weeping?
Whip the cream just until stiff peaks form and use fresh ingredients. Over-whipping or letting the cream sit too long before filling can cause it to release moisture, so fill shortly before serving.
Can I make the cream filling ahead of time?
You can whip the cream filling a few hours before serving and keep it refrigerated. Just give it a quick stir if it loses volume, but avoid making it too far in advance to maintain the best texture.
Are cream puffs gluten-free?
Traditional cream puffs use all-purpose flour, which contains gluten. To make a gluten-free version, substitute with a suitable gluten-free flour blend designed for baking, but results may vary slightly.
Final Thoughts
There is something truly magical about preparing and enjoying this Classic Cream Puffs Recipe. From the first golden puff pulled from the oven to the sweet, airy cream inside, every bite is a celebration of simple ingredients transformed into something extraordinary. I can’t wait for you to try making these at home and experience the joy of creating a timeless dessert that always brings smiles. Happy baking!
Print
Classic Cream Puffs Recipe
- Prep Time: 15 minutes
- Cook Time: 25 minutes
- Total Time: 40 minutes
- Yield: 12 servings
- Category: Dessert
- Method: Baking
- Cuisine: French
- Diet: Vegetarian
Description
Classic Cream Puffs are an elegant and delicious French pastry made from light and airy choux pastry shells filled with sweet, fluffy whipped cream. This recipe guides you through preparing the delicate dough, baking it to golden perfection, and creating a luscious cream filling for a delightful dessert ideal for any occasion.
Ingredients
Choux Pastry
- 1 cup water
- 1/2 cup unsalted butter
- 1 cup all-purpose flour
- 1/4 teaspoon salt
- 4 large eggs
Cream Filling
- 1 cup heavy whipping cream
- 1 tablespoon powdered sugar
- 1 teaspoon vanilla extract
Instructions
- Preheat Oven: Preheat your oven to 400°F (200°C) and line a baking sheet with parchment paper to prepare for baking the cream puffs.
- Boil Butter and Water: In a medium saucepan over medium-high heat, bring the water and unsalted butter to a rolling boil.
- Add Flour and Salt: Remove the pan from heat and stir in the flour and salt vigorously until the mixture forms a cohesive ball of dough.
- Cook the Dough: Return the saucepan to the heat and cook the dough for 1 to 2 minutes, stirring constantly, to remove excess moisture and dry it slightly.
- Incorporate Eggs: Remove from heat and let the dough cool for a few minutes. Then add the eggs one at a time, mixing well after each addition until the dough is smooth, thick, and glossy.
- Shape Puffs: Using a spoon or piping bag, form small mounds of dough approximately 1.5 inches in diameter on the prepared baking sheet, spacing them about 2 inches apart.
- Bake: Bake the choux pastry in the preheated oven for 20 to 25 minutes or until they are golden brown and have puffed up completely. Once done, transfer them to a wire rack to cool completely.
- Prepare Cream Filling: In a large bowl, whip the heavy whipping cream together with powdered sugar and vanilla extract until stiff peaks form, creating the sweet cream filling.
- Fill the Puffs: When the pastry shells are cool, carefully slice each in half horizontally. Pipe or spoon the whipped cream into the hollow centers.
- Serve: Place the puff’s top back on, serve immediately for the freshest texture, or refrigerate until ready to serve.
Notes
- Make sure the dough cools slightly before adding eggs to prevent cooking the eggs prematurely.
- Do not open the oven door during baking to avoid collapsing the puffs.
- Whip the cream until stiff peaks to ensure stability when filled.
- The cream puffs are best served the same day but can be refrigerated for up to 24 hours.
- Optionally dust with powdered sugar or drizzle with chocolate for added presentation.


