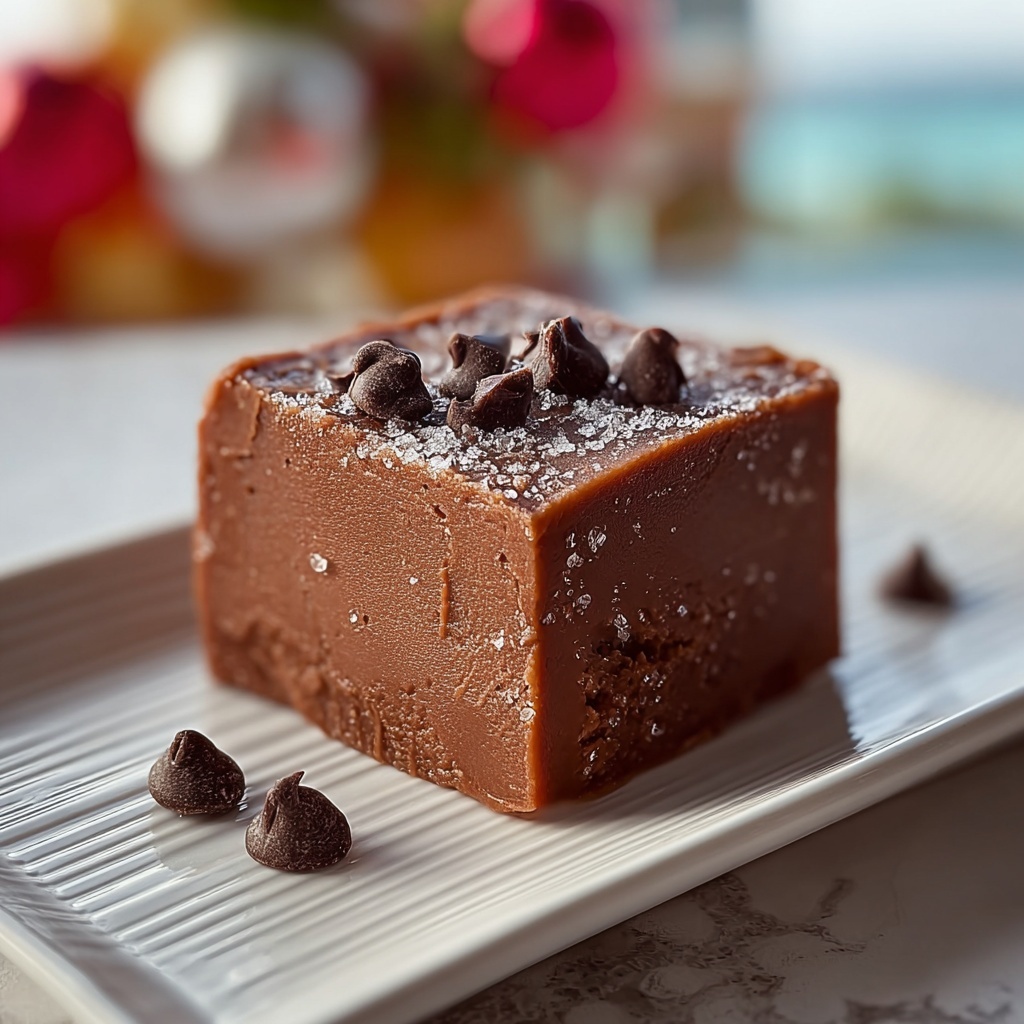
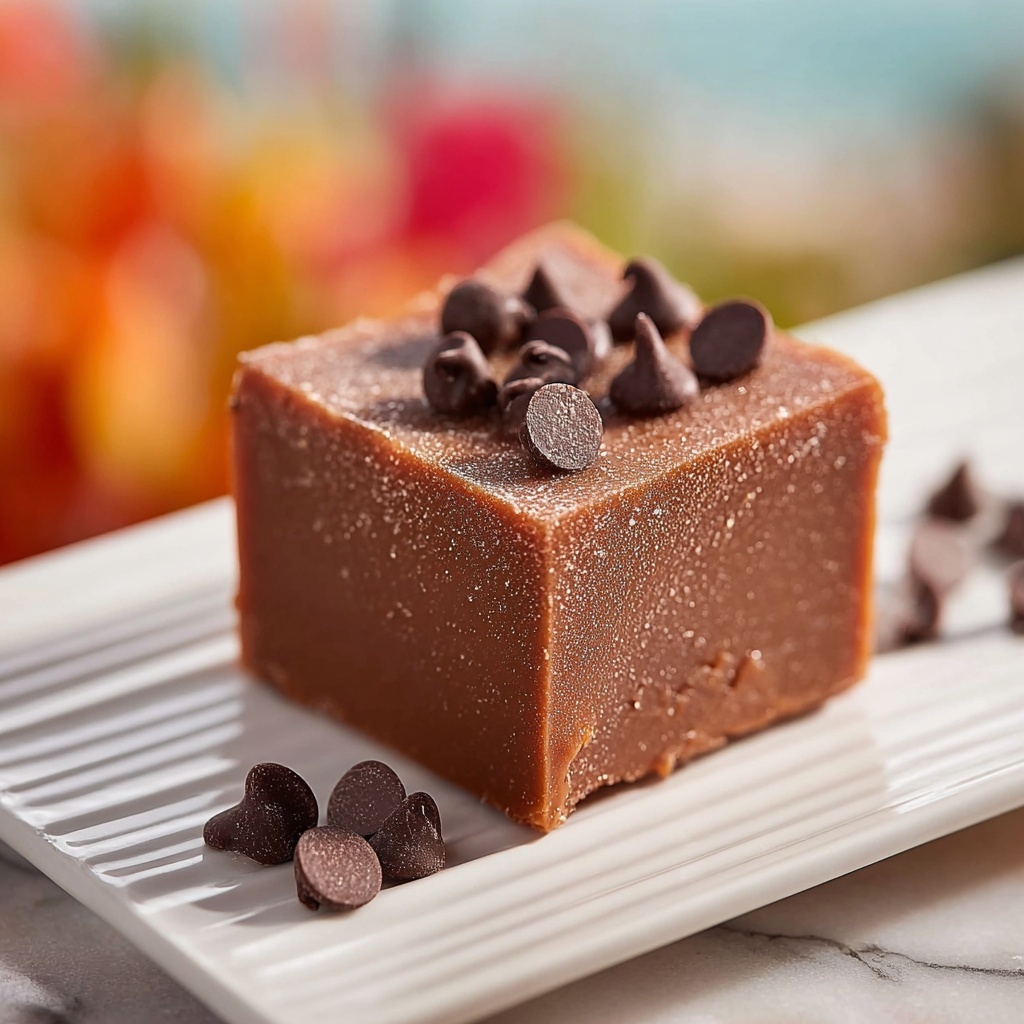
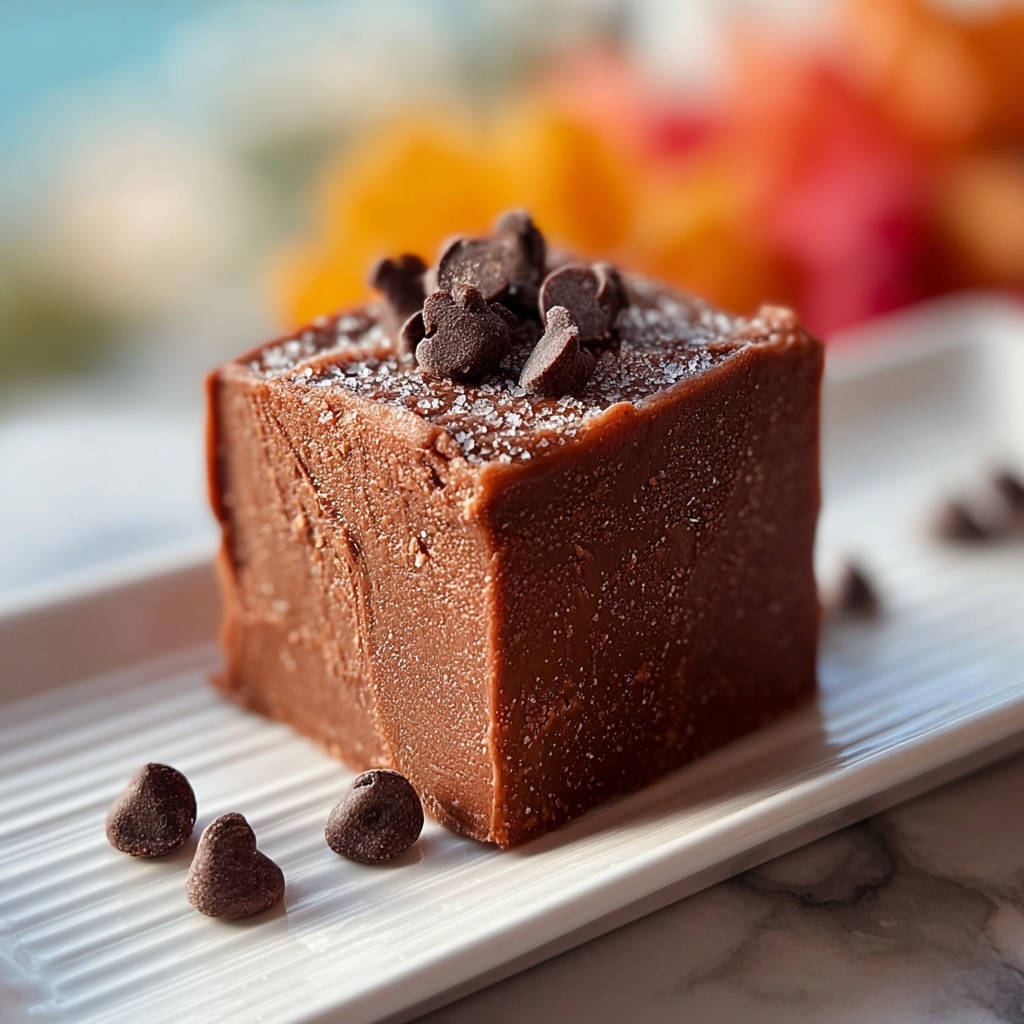
If you have a sweet tooth and love that rich, melt-in-your-mouth chocolate experience, you are going to adore Mom’s Classic Fudge Recipe. This timeless treat is everything you want in a fudge: creamy, perfectly chocolaty, and with just the right texture that makes you keep going back for more. Each bite feels like a warm hug from the heart, thanks to a few simple ingredients and a bit of love. Whether you’re making it for family gatherings, holiday parties, or just because, this recipe is sure to become your go-to indulgence and a cherished tradition in your kitchen.
Ingredients You’ll Need
The magic of Mom’s Classic Fudge Recipe lies in its simplicity. Each ingredient plays a crucial role in building flavor, texture, and that classic fudge consistency. You won’t find anything complicated here, just everyday staples that come together to create extraordinary results.
- 3 cups granulated sugar: The sweetness backbone that caramelizes beautifully to create fudge’s signature texture.
- 2/3 cup unsweetened cocoa powder: Provides deep, rich chocolate flavor and a lovely dark color without any bitterness.
- 1/8 teaspoon salt: A tiny pinch that balances the sweetness and enhances all other flavors.
- 1 1/2 cups whole milk: Adds creaminess and moisture crucial for that velvety fudge texture.
- 1/4 cup unsalted butter: Introduces a luscious richness and smooth mouthfeel.
- 1 teaspoon vanilla extract: A subtle hint of warmth and complexity that rounds out the chocolate notes perfectly.
How to Make Mom’s Classic Fudge Recipe
Step 1: Combine the Dry Ingredients
Start by blending the sugar, cocoa powder, and salt in a heavy saucepan. Stir them together well so every bit gets evenly mixed. This step ensures your fudge has consistent chocolaty goodness without any stubborn clumps.
Step 2: Add Milk and Heat
Pour in the whole milk and give everything a good stir. Place the saucepan over medium heat and allow the mixture to come to a rolling boil. This is where the magic begins, as the sugar dissolves and the cocoa starts infusing into the milk.
Step 3: Boil to the Soft Ball Stage
Once boiling, stop stirring and let the mixture bubble until it hits 234°F, also known as the soft ball stage in candy-making terms. It’s key to use a candy thermometer here for precision. This temperature sets the fudge’s structure for that perfect softness.
Step 4: Add Butter and Vanilla, Cool Down
Remove the pan from heat and stir in the butter and vanilla extract. Resist the temptation to stir while the fudge cools; just let it rest until it reaches about 110°F. This resting step is crucial to get the fudge ready for beating.
Step 5: Beat Until Thick and Glossy
Using a wooden spoon, beat the mixture vigorously for 7 to 10 minutes. You’ll notice it lose its shine and thicken beautifully. This is the sign the fudge is coming together and will set just right.
Step 6: Pour, Set, and Cut
Pour the fudge into a buttered 8×8-inch pan and spread it evenly. Let it cool and set completely, then slice it into 36 perfect squares. You now have irresistible pieces of chewy, chocolaty happiness!
How to Serve Mom’s Classic Fudge Recipe
Garnishes
Though the fudge is amazing on its own, a few simple garnishes can add flair and extra flavor. Try sprinkling crushed nuts like pecans or walnuts on top for a satisfying crunch, or dust a little powdered sugar for an elegant touch that makes each piece look like a boutique treat.
Side Dishes
Mom’s Classic Fudge Recipe pairs wonderfully with a hot cup of coffee or a creamy glass of milk. If you’re serving it after dinner, consider offering fresh berries or a light fruit salad alongside to balance the richness and cleanse the palate between bites.
Creative Ways to Present
Make your fudge the star attraction by wrapping individual squares in decorative parchment or cellophane tied with festive ribbons. You can also create a lovely dessert platter with assorted nuts, fresh fruits, and small bowls of sea salt or cinnamon for guests to experiment with flavor pairings.
Make Ahead and Storage
Storing Leftovers
Store your fudge in an airtight container at room temperature. It keeps beautifully for up to two weeks, maintaining that lovely soft texture and rich flavor. Just make sure it’s kept away from heat or direct sunlight to avoid melting.
Freezing
If you want to keep the fudge longer, freezing is a great option. Wrap individual pieces tightly in plastic wrap and place them in a freezer bag. They’ll stay fresh for up to three months. Thaw at room temperature before enjoying for the best texture.
Reheating
Typically, fudge is best eaten cold or at room temperature, so reheating isn’t usually necessary. However, if you prefer it slightly warmed, gently microwave a single piece for 5 to 7 seconds. Be careful not to overheat, or you’ll lose the perfect firmness.
FAQs
Can I use skim or low-fat milk instead of whole milk?
Using skim or low-fat milk will make the fudge less creamy and might affect the texture slightly. Whole milk helps achieve that classic richness, so it’s best to stick to it for authentic results.
What can I do if my fudge is too soft?
If your fudge turns out too soft, it might not have reached the correct temperature during boiling or was not beaten enough. Next time, use a candy thermometer and give it a good beating until it thickens and loses its gloss.
Can I add nuts or other flavors to Mom’s Classic Fudge Recipe?
Absolutely! Chopped nuts, marshmallows, or even a swirl of peanut butter can be added after beating the fudge but before pouring it into the pan. Just fold them in gently to keep the texture nice and smooth.
Why shouldn’t I stir the mixture while it’s boiling?
Stirring during boiling can cause sugar crystals to form, making the fudge grainy instead of smooth. Letting it boil undisturbed ensures a perfect creamy texture.
Is Mom’s Classic Fudge Recipe difficult for beginners?
Not at all! While candy making can seem intimidating, this recipe is straightforward and forgiving. Just follow the temperature guidelines and steps closely, and you’ll make fudge that tastes like it’s from a pro.
Final Thoughts
Making Mom’s Classic Fudge Recipe is like creating a little piece of nostalgia and happiness all in one go. Its simple ingredients and step-by-step process produce a fudge that’s both indulgent and comforting. I encourage you to try this recipe soon—once you taste it, it might just become one of your favorite traditions too!
Print
Mom’s Classic Fudge Recipe
- Prep Time: 5 minutes
- Cook Time: 30 minutes
- Total Time: 35 minutes
- Yield: 36 servings
- Category: Dessert
- Method: Stovetop
- Cuisine: American
Description
Classic homemade fudge recipe combining rich cocoa, sugar, and creamy butter to create a smooth, delightful treat. Perfectly sweet and melt-in-your-mouth, this Mom’s Fudge recipe is a timeless dessert ideal for sharing.
Ingredients
Ingredients
- 3 cups granulated sugar
- 2/3 cup unsweetened cocoa powder
- 1/8 teaspoon salt
- 1 1/2 cups whole milk
- 1/4 cup unsalted butter
- 1 teaspoon vanilla extract
Instructions
- Combine Dry Ingredients: In a heavy saucepan, combine the granulated sugar, unsweetened cocoa powder, and salt. Stir these ingredients until they are thoroughly blended to ensure even flavor and texture throughout the fudge.
- Add Milk and Heat: Pour in the whole milk and stir to mix everything evenly. Place the saucepan over medium heat and bring the mixture to a rolling boil, making sure it heats uniformly.
- Boil to Soft Ball Stage: Once boiling, stop stirring the mixture and let it continue boiling until it reaches 234°F, which is the soft ball stage. This is a crucial temperature for fudge consistency, so careful monitoring with a candy thermometer is recommended.
- Remove and Cool: Take the saucepan off the heat and add the unsalted butter and vanilla extract. Let the mixture rest without stirring until it cools down to 110°F, allowing it to set up slightly.
- Beat the Mixture: Using a wooden spoon, beat the fudge mixture vigorously until it thickens and loses its glossy sheen. This process usually takes about 7 to 10 minutes and results in the characteristic fudge texture.
- Set the Fudge: Pour the beaten fudge into a buttered 8×8-inch pan. Spread it evenly across the surface. Allow the fudge to set completely at room temperature before cutting it into 36 small squares for serving.
Notes
- Use a heavy-bottomed saucepan to prevent scorching the sugar mixture during boiling.
- Be sure to use a candy thermometer for accurate temperature measurement at the soft ball stage (234°F).
- Do not stir the mixture during boiling to avoid grainy fudge.
- Cool the fudge mixture properly before beating to ensure the correct texture.
- Butter the pan properly to make it easier to remove fudge once set.
- Store fudge in an airtight container at room temperature for up to one week.


