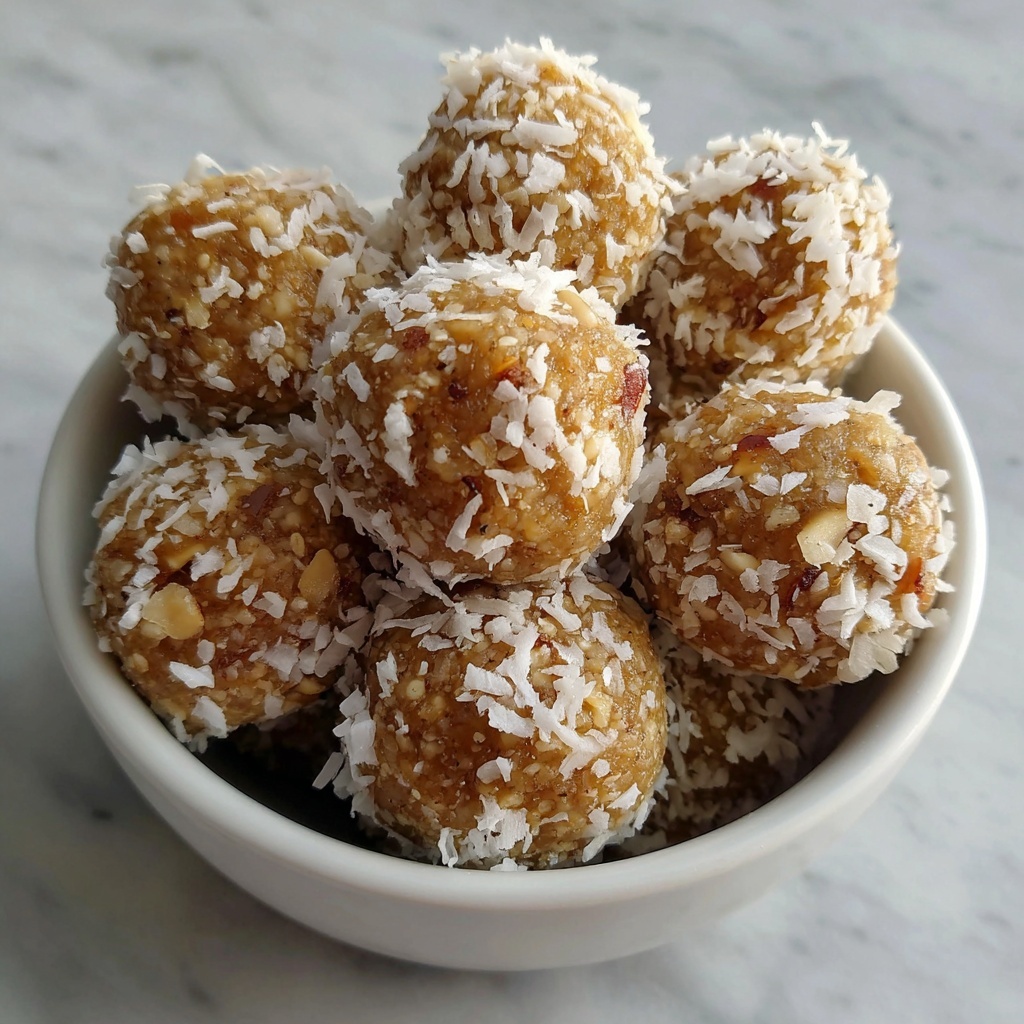
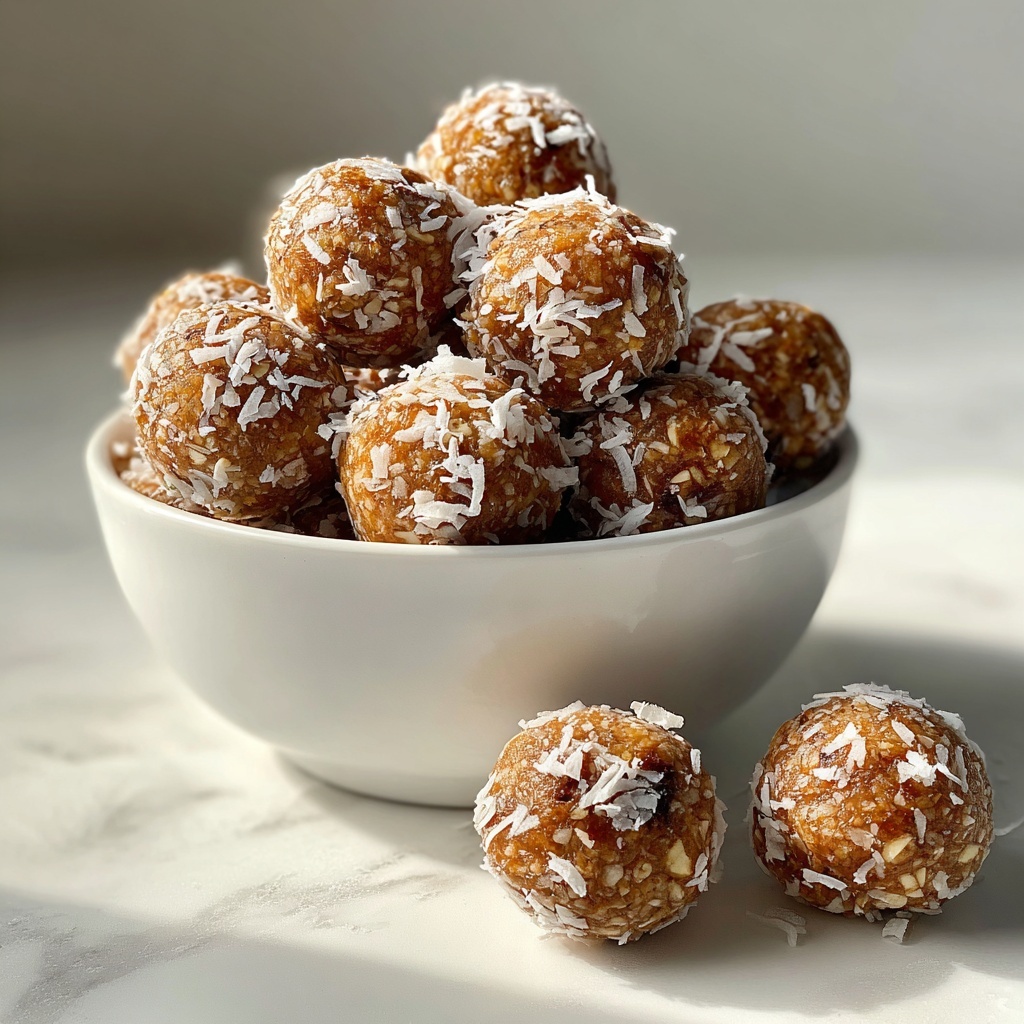
If you’re looking for a delightful, energy-boosting snack that’s both easy and nutritious, you’ve got to try this amazing No Bake Protein Balls Recipe. These little bites pack a powerful punch of protein and wholesome ingredients, making them perfect for a quick breakfast, a midday pick-me-up, or a post-workout snack. They come together without any baking, so in under an hour, you’ll have a batch of these tasty treats ready to fuel your day. Trust me, once you make these, they’ll become your go-to snack, whether you’re at home, at work, or on the go!
Ingredients You’ll Need
The magic behind this No Bake Protein Balls Recipe lies in its simple, wholesome ingredients that each bring a unique flavor and texture. From creamy nut butter to hearty oats and a touch of natural sweetener, every component contributes to a perfectly balanced bite.
- 1 cup oats (old-fashioned or quick oats): Provides a chewy, hearty base that adds fiber and substance.
- 1/2 cup peanut butter (or almond butter): Adds creaminess and healthy fats, creating a rich texture.
- 1/3 cup honey (or maple syrup): Natural sweetness that binds everything together with a subtle, golden flavor.
- 1/2 cup protein powder (vanilla or chocolate): The star ingredient for that extra protein boost and added flavor.
- 1/4 cup chia seeds (optional): Adds a slight crunch and a dose of omega-3 fatty acids.
- 1/4 cup flaxseed meal (optional): Great for extra fiber and a nutty undertone.
- 1/4 cup mini chocolate chips (optional): A fun, melty surprise that makes these balls feel like a treat.
- 1 tsp vanilla extract: Elevates the flavor with warm, fragrant notes.
How to Make No Bake Protein Balls Recipe
Step 1: Mix the Dry Ingredients
Start by combining the oats, protein powder, chia seeds, flaxseed meal, and chocolate chips in a large bowl. This step ensures all the dry goodies are well distributed, so every bite has a balanced taste and texture. Give it a good mix so the flavors start to meld even before adding the wet ingredients.
Step 2: Add the Wet Ingredients
Next, add the peanut butter, honey, and vanilla extract to your dry mixture. Stir everything together until it forms a thick, sticky dough. If needed, roll up your sleeves and use your hands to really get the mixture combined — that’s the best way to ensure the ingredients are perfectly incorporated.
Step 3: Shape the Protein Balls
Take small portions of the mixture, about 1 to 2 tablespoons each, and roll them into balls using your hands. Aim for uniform sizes so they set evenly. Place these adorable little balls on a baking sheet lined with parchment paper for easy transfer later on.
Step 4: Chill to Firm Up
Pop the tray into the refrigerator for at least 30 minutes. This chilling time lets the protein balls firm up nicely, making them less sticky and easier to handle. Plus, the flavors settle and meld together beautifully during this time.
Step 5: Store and Enjoy
Once chilled, transfer the protein balls into an airtight container. Keep them in the fridge if you plan to munch on them within a week or freeze them for longer storage. These little bites are ready whenever you need a quick, nutritious pick-me-up.
How to Serve No Bake Protein Balls Recipe

Garnishes
For an extra touch, sprinkle a few shredded coconut flakes or a dash of cinnamon on top before serving. If you want a pop of color and freshness, a light drizzle of melted dark chocolate or a sprinkle of chopped nuts also works wonderfully. These garnishes not only look fantastic but add layers of flavor and texture.
Side Dishes
Pair your No Bake Protein Balls with a fresh fruit salad or a creamy yogurt parfait for a balanced snack or light breakfast. They also complement a cup of herbal tea or your favorite morning coffee perfectly, enhancing a peaceful and refreshing snack break.
Creative Ways to Present
Get playful by arranging the protein balls in small decorative bowls or glass jars, layered with nuts and dried fruits for a beautiful snack display. Wrapping a few balls in parchment paper tied with twine makes for a charming, homemade gift or lunchbox treat. Presentation can make these simple bites feel extra special.
Make Ahead and Storage
Storing Leftovers
These protein balls keep exceptionally well in an airtight container in the refrigerator for up to a week. This makes them incredibly convenient for busy days when you need grab-and-go nutrition without reaching for processed snacks.
Freezing
If you want to make a big batch, freezing is your best friend. Simply store the balls in a freezer-safe container or ziplock bag, separating layers with parchment paper to prevent sticking. They can last for up to three months in the freezer and thaw quickly at room temperature or in the fridge.
Reheating
Since these are no bake, reheating is minimal and usually unnecessary. However, if you prefer them softer, just let them sit at room temperature for a few minutes after removing from the fridge or freezer. They soften up nicely without losing their shape or taste.
FAQs
Can I use different nut butters?
Absolutely! Almond butter, cashew butter, or even sunflower seed butter are fantastic swaps that change the flavor slightly but still provide that creamy richness essential to this recipe.
What type of protein powder works best?
Either vanilla or chocolate protein powders work beautifully here. Choose your favorite based on your taste preference or dietary needs, whether whey, plant-based, or another alternative.
Are chia seeds and flaxseed necessary?
No, they are optional add-ins that boost nutrition and texture. You can omit them without affecting the core structure of the protein balls.
How long do these protein balls last?
Stored in the fridge, they stay fresh for about a week. If you want to keep them longer, freezing is a great option to extend their shelf life up to three months.
Can I make these balls nut-free?
Yes! Swap out nut butter for seed butters like sunflower seed butter or tahini, and make sure your protein powder is nut-free. This keeps the recipe allergy-friendly but still tasty.
Final Thoughts
This No Bake Protein Balls Recipe is truly a winner in the world of quick, healthy snacks. It’s simple, customizable, and loaded with flavor and nutrition, making it an easy choice for anyone looking to fuel their day with delicious, wholesome bites. Give it a try, and I promise these protein balls will quickly become a treasured staple in your kitchen!
Print
No Bake Protein Balls Recipe
- Prep Time: 15 minutes
- Cook Time: 0 minutes
- Total Time: 45 minutes including chilling
- Yield: 20 servings
- Category: Snack
- Method: No-Cook
- Cuisine: American
- Diet: Vegetarian
Description
These No Bake Protein Balls are a quick, healthy, and delicious snack packed with protein and fiber. Made with oats, peanut butter, honey, and protein powder, they require no baking and are perfect for a grab-and-go energy boost.
Ingredients
Dry Ingredients
- 1 cup oats (old-fashioned or quick oats)
- 1/2 cup protein powder (vanilla or chocolate)
- 1/4 cup chia seeds (optional)
- 1/4 cup flaxseed meal (optional)
- 1/4 cup mini chocolate chips (optional)
Wet Ingredients
- 1/2 cup peanut butter (or almond butter)
- 1/3 cup honey (or maple syrup)
- 1 tsp vanilla extract
Instructions
- Mix Dry Ingredients: In a large bowl, combine the oats, protein powder, chia seeds, flaxseed meal, and mini chocolate chips, mixing them thoroughly to distribute all components evenly.
- Add Wet Ingredients: Add the peanut butter, honey, and vanilla extract to the dry mixture. Stir everything together until well combined. Use your hands if necessary to ensure the mixture is fully integrated and sticky enough to form balls.
- Form Balls: Roll the mixture into small balls, approximately 1 to 2 tablespoons each, shaping them evenly for consistent size and texture. Place each ball onto a baking sheet lined with parchment paper to prevent sticking.
- Chill: Refrigerate the protein balls for at least 30 minutes. This helps them firm up and hold their shape better when handled or stored.
- Store: Keep the protein balls in an airtight container in the refrigerator for up to one week to maintain freshness. For longer storage, freeze them and thaw as needed before eating.
Notes
- You can substitute peanut butter with almond butter or any other nut butter of your choice.
- Use maple syrup as a vegan alternative to honey.
- Protein powder flavor can be adjusted to vanilla or chocolate based on preference.
- Add-ins like mini chocolate chips are optional and can be omitted or substituted with nuts or dried fruit.
- Chilling time is important to help the balls set and hold their shape.


