
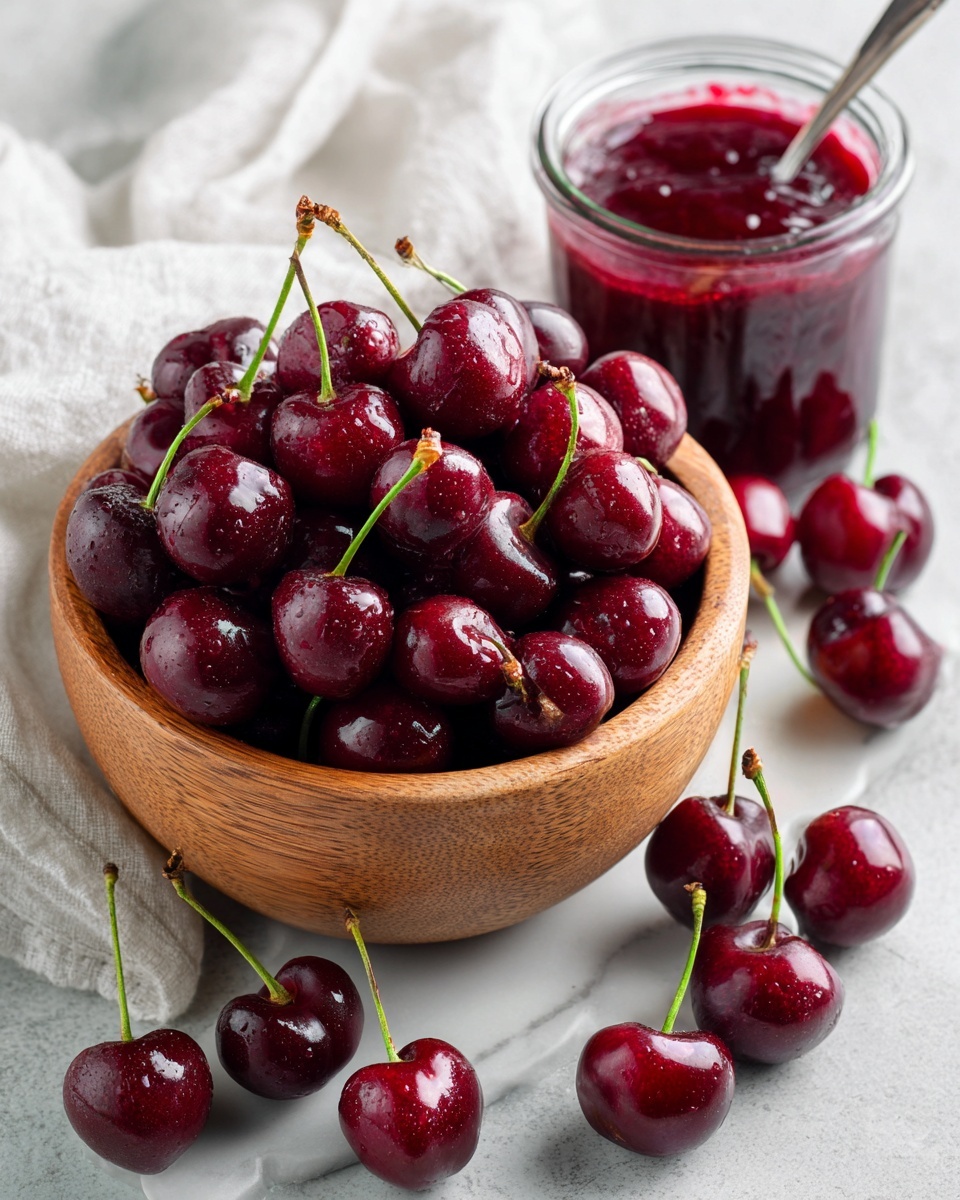
If you have a craving for something sweet, tangy, and bursting with pure cherry goodness, this Small Batch Cherry Jam Recipe is exactly what you need. It’s a delightful way to capture the fresh, luscious flavor of cherries in a luscious jam that’s perfect for everything from toast to baking. What makes this recipe truly special is its simplicity—just a handful of ingredients come together to create a vibrant, spoonable treat that feels homemade with love. Whether you’re a cherry fanatic or just looking to try something new, this Small Batch Cherry Jam Recipe will quickly become a staple in your kitchen.
Ingredients You’ll Need
Getting the perfect Small Batch Cherry Jam Recipe involves using straightforward ingredients that each bring their own magic. Freshness, sweetness, and a hint of acidity all play crucial roles in balancing the flavors and achieving that classic jam texture and color.
- 2½ cups halved and pitted sweet cherries: The star of the show, these cherries provide natural sweetness and a tender, juicy bite.
- 1 cup granulated sugar: Essential for sweetening the jam and helping it set to that perfect spreadable consistency.
- 2 tablespoons lemon juice: This adds brightness and acts as a natural preservative, helping to balance the sweetness and ensure a proper gel.
How to Make Small Batch Cherry Jam Recipe
Step 1: Combine Your Ingredients
Start by tossing your pitted and halved cherries into a medium-sized pot, then add the sugar and freshly squeezed lemon juice. This straightforward mix sets the stage for a beautiful transformation as the cherries soften and release their flavors.
Step 2: Heat and Dissolve Sugar
Place your pot over medium heat and gently stir. As the mixture warms, the sugar will melt away into the juice, creating a rich, dark red syrup. This takes about 5 minutes with fresh cherries but give it a little longer—around 10 minutes—if you’re using frozen cherries, so everything gets perfectly incorporated.
Step 3: Boil and Thicken
Turn up the heat to bring the jam to a robust rolling boil that refuses to settle with stirring. Keep an eye on it for 8-10 minutes until the mixture thickens and reaches a temperature of 220°F (105°C). To check if it’s ready, drop a little jam onto a chilled plate—if it holds its shape without running, your jam has reached that glorious spreadable stage.
Step 4: Blend the Jam
Remove the pot from the heat and grab your immersion blender. A few seconds of pulsing will break down those chunky cherry bits into a smooth, luscious texture without being overprocessed. This step helps distribute the cherry flavor evenly throughout the jam and gives it that homemade feel that’s so irresistible.
Step 5: Jar and Chill
Carefully pour your hot jam into clean jars, seal them tightly, and pop them into the refrigerator. The jam will continue to set and thicken as it cools, so for the best results, give it at least a night to chill before diving in. This patient indulgence pays off with an unbeatable taste and texture that’s worth the wait.
How to Serve Small Batch Cherry Jam Recipe
Garnishes
Elevate your serving experience by topping your cherry jam with a fresh sprig of mint or a light dusting of finely grated lemon zest. These garnishes add a pop of color and a subtle aroma that complements the vibrant cherry flavor beautifully.
Side Dishes
Whether it’s breakfast, brunch, or a midday snack, cherry jam pairs wonderfully with warm buttered toast, fluffy biscuits, or even creamy yogurt. It’s also fantastic alongside cheese platters, where its sweetness contrasts perfectly with sharp cheddar or tangy goat cheese.
Creative Ways to Present
Don’t limit this Small Batch Cherry Jam Recipe to simple spreads. Try swirling it into pancake or waffle batter, using it as a filling for thumbprint cookies, or spooning it over vanilla ice cream for an effortless dessert upgrade that’s bound to impress your friends and family.
Make Ahead and Storage
Storing Leftovers
Once opened, store your jam in the refrigerator where it will stay fresh and flavorful for up to three weeks. Make sure your jar seals tightly to preserve freshness and prevent any unwanted flavors from sneaking in.
Freezing
For longer storage, this Small Batch Cherry Jam Recipe freezes beautifully. Use freezer-safe containers, leaving a bit of headspace, and thaw in the fridge when you’re ready to enjoy that sweet cherry sensation once again.
Reheating
If your jam seems too thick after refrigeration or thawing, gently warm it in a small saucepan over low heat, stirring occasionally. This loosens the texture without compromising the vibrant cherry flavor.
FAQs
Can I use frozen cherries for this jam?
Absolutely! Frozen cherries work just as well as fresh ones. Just allow a little extra time when dissolving the sugar as the frozen fruit releases its juice more slowly.
Do I have to use lemon juice?
Lemon juice isn’t just for flavor; it helps the jam set properly by providing acidity and acts as a natural preservative to keep your jam fresh longer, so it’s an important ingredient.
How long does the jam last once refrigerated?
Kept in a sealed jar in the fridge, your Small Batch Cherry Jam will stay delicious for about three weeks. Beyond that, it might begin to lose freshness or develop off flavors.
Can I make this jam without sugar?
Sugar plays a key role not just in sweetness but also in the texture and preservation of the jam. Omitting it might result in a runny texture and shorter shelf life, so it’s best to stick with the recipe.
What if I don’t have an immersion blender?
If you don’t have an immersion blender, a regular blender or food processor will do the trick—just pulse the jam carefully in small batches to avoid splatters and control the texture.
Final Thoughts
Now that you’ve got the ins and outs of this Small Batch Cherry Jam Recipe, there’s no better time to get cooking. It’s a wonderfully simple project that fills your kitchen with irresistible aromas and rewards you with sweet, homemade goodness. Enjoy every spoonful and watch how this charming jam brightens your breakfasts, snacks, and desserts in the days to come!
Print
Small Batch Cherry Jam Recipe
- Prep Time: 10 minutes
- Cook Time: 25 minutes
- Total Time: 8 hours 35 minutes (including cooling and setting time)
- Yield: Approximately 1 ¼ cups (about 14 servings, 1 tablespoon each)
- Category: Condiment
- Method: Stovetop
- Cuisine: American
- Diet: Vegetarian
Description
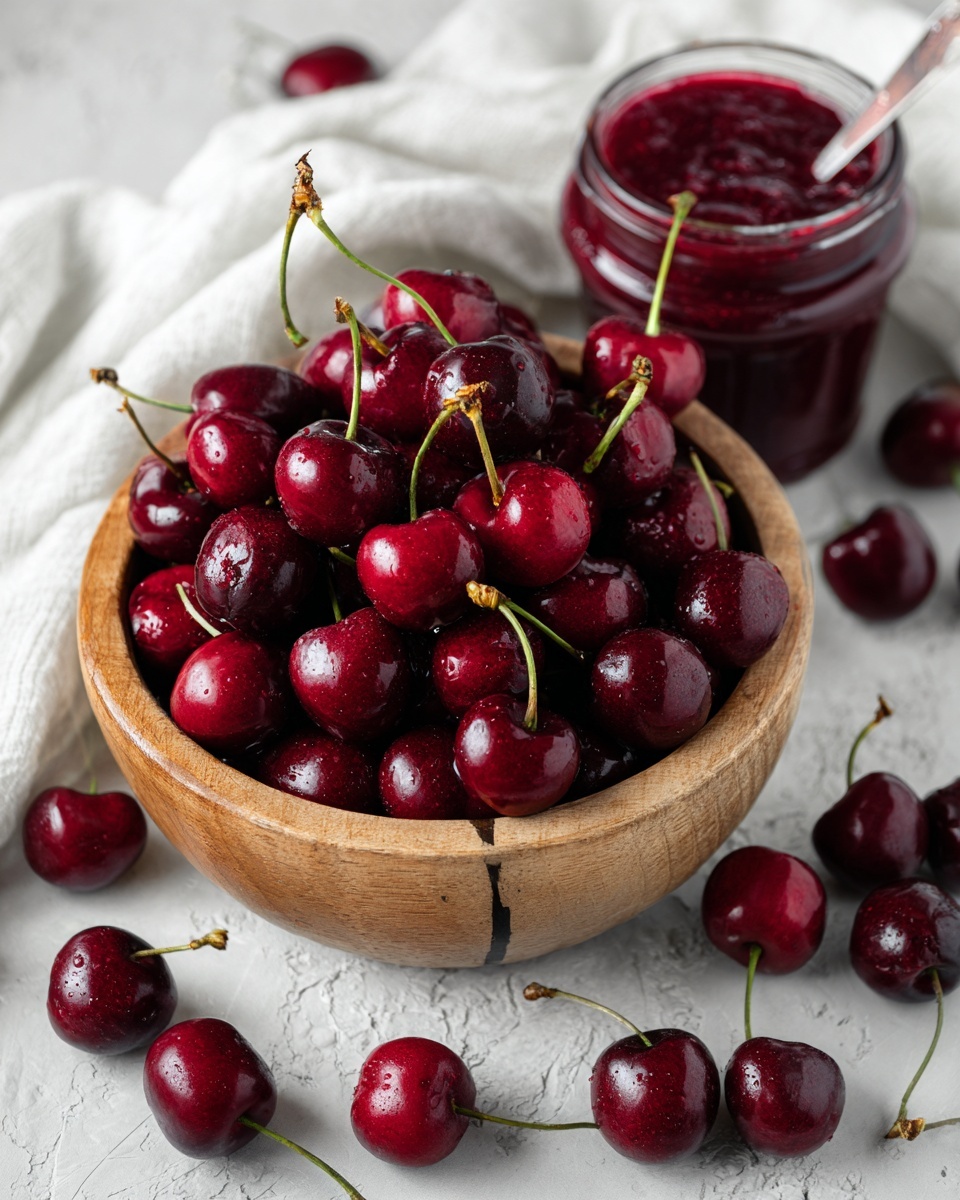
This Small Batch Cherry Jam recipe is perfect for making a fresh, homemade preserve using just a few simple ingredients. Using sweet cherries and lemon juice, this jam is cooked on the stovetop to achieve the ideal thick and spreadable consistency. The recipe yields about 14 servings and includes instructions for dissolving sugar, boiling the mixture to the precise temperature, and blending the cherries for a smooth texture. Ideal for enjoying on toast, yogurt, or as a topping for desserts.
Ingredients
Ingredients
- 2½ cups (400 g) halved and pitted sweet cherries, fresh or frozen
- 1 cup (200 g) granulated sugar
- 2 tablespoons (30 ml) lemon juice, from about one lemon
Instructions
- Combine Ingredients: In a medium pot, add the prepared cherries, granulated sugar, and freshly squeezed lemon juice.
- Heat and Dissolve Sugar: Place the pot over medium heat. Stir occasionally until the sugar completely dissolves and the syrup develops a dark red color. This step takes about 5 minutes if using fresh cherries and about 10 minutes if using frozen cherries.
- Boil and Thicken: Increase the heat to bring the mixture to a rolling boil that cannot be stirred down. Allow it to boil for approximately 8-10 minutes, stirring as needed, until the jam thickens and reaches 220°F (105°C). Test the jam by dropping a small amount on a cold plate—if it runs, continue cooking for another minute and retest. When the jam holds its shape on the plate, it is ready.
- Blend the Jam: Remove the pot from the heat. Use an immersion blender to gently break up the cherry pieces, blending briefly just a few seconds at a time until no large pieces remain. Tilt the pot as needed to keep the blender head submerged to avoid splatters.
- Jar and Chill: Pour the hot cherry jam into clean jars and seal them tightly. Place the jars in the refrigerator to cool and set. For optimal texture and thickness, allow the jam to rest overnight before serving.
Notes
- Use fresh cherries in season for best flavor, but frozen cherries work well too—just allow extra time to dissolve the sugar.
- Be sure to check the jam temperature with a candy thermometer for precise thickening.
- Immersion blending allows you to control the texture—blend less for chunkier jam or more for smoother consistency.
- Store the jam refrigerated and consume within 2-3 weeks.
- To preserve jam longer, consider processing jars in a hot water bath for canning.

