
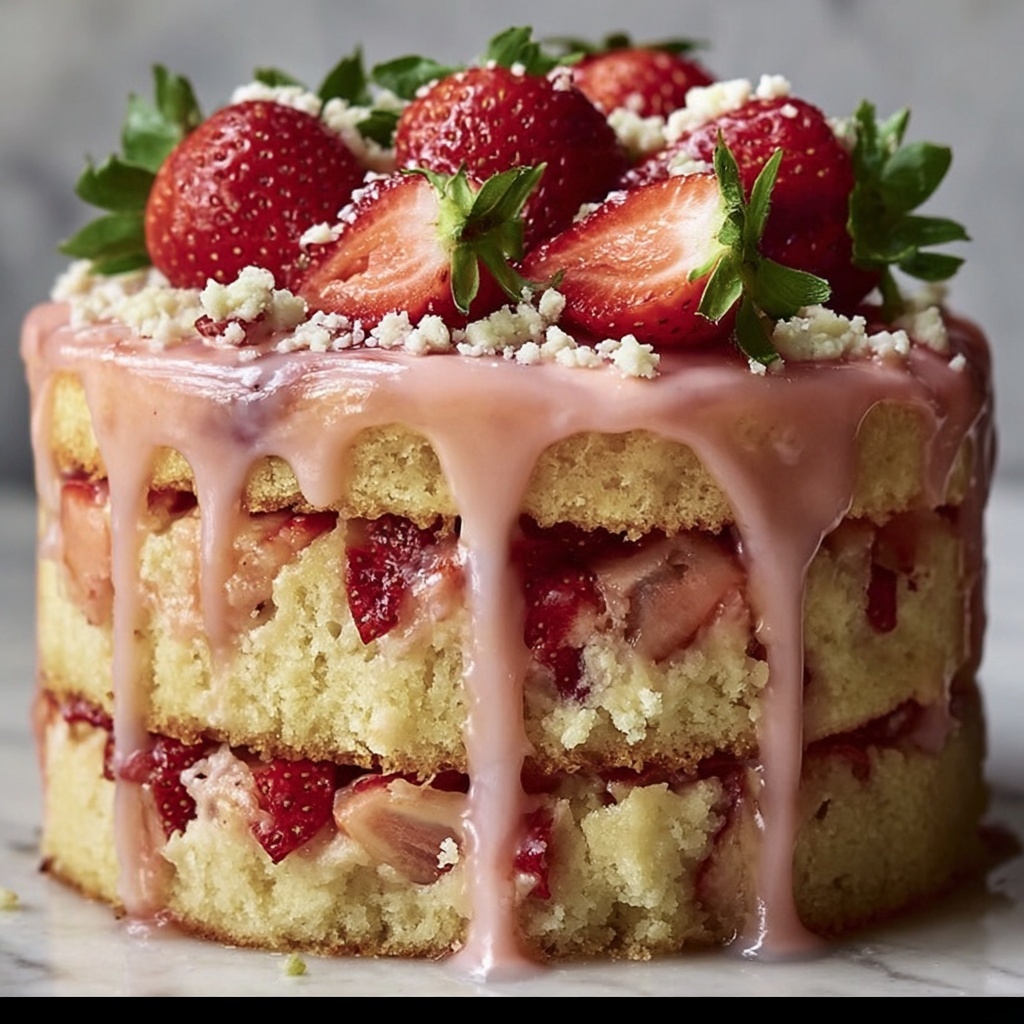
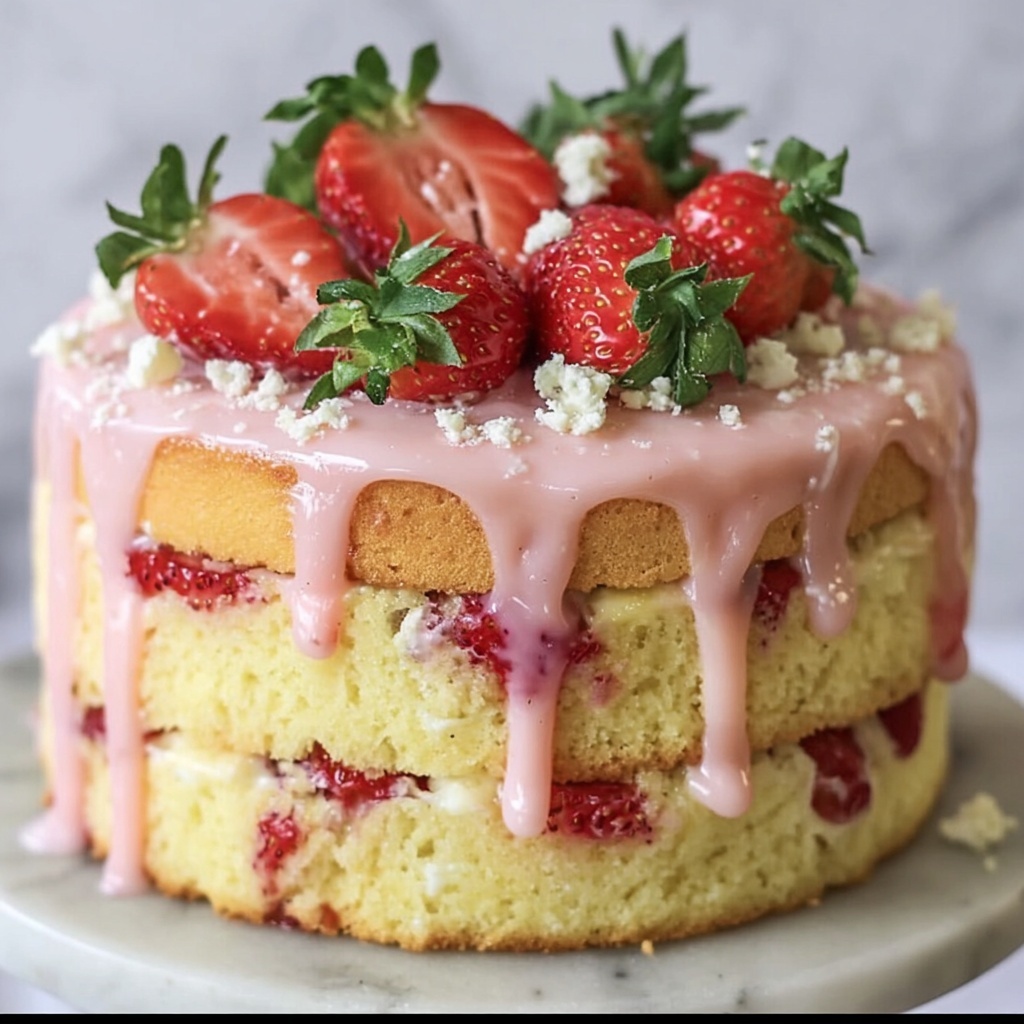
If you adore vibrant, fruity desserts that bring a pop of color and a burst of flavor, then the Strawberry Seismic Cake Recipe is about to become your new favorite indulgence. This delightful cake combines moist strawberry-infused layers with a luxuriously creamy, cheesy filling that creates a dramatic marbled effect, making every slice as stunning as it is delicious. The fresh strawberry notes paired with a dreamy whipped topping make this recipe a crowd-pleaser perfect for celebrations or any time you want to brighten your day with something sweet and spectacular.
Ingredients You’ll Need
Getting the ingredients right is key to capturing the true essence of this cake’s flavor and texture. These simple but essential components come together to create the irresistible Strawberry Seismic Cake Recipe, where each ingredient plays a starring role—from adding moistness and tang, to luscious creaminess and that irresistible strawberry punch.
- Strawberry cake mix: The base of your cake providing vibrant strawberry flavor and a tender crumb.
- Instant vanilla pudding mix: Adds richness and helps keep the cake incredibly moist.
- Sour cream: Enhances the texture by adding creaminess and a slight tang.
- Milk: Balances the batter’s consistency for perfect baking results.
- Strawberry preserves or jam: Infuses fruity sweetness and that iconic pink hue.
- Cream cheese (softened): The star of the seismic filling, providing smooth, tangy decadence.
- Powdered sugar: Sweetens and lightens the cream cheese mixture beautifully.
- Sweetened condensed milk: Brings luscious sweetness and a creamy finish to the filling.
- Diced fresh or frozen strawberries: Adds texture and bursts of fresh strawberry flavor inside the filling.
- Whipped topping (like Cool Whip): Adds a light, airy layer that perfectly complements the cake’s richness.
- Extra strawberry preserves or glaze: For that final glossy swirl topping that makes the cake truly pop.
- Extra diced strawberries (optional): A fresh garnish that adds color and a little zing to every bite.
How to Make Strawberry Seismic Cake Recipe
Step 1: Prepare the Cake Batter
Start by preheating your oven to 350°F (175°C) and greasing a 9×13-inch baking dish – this ensures the cake will release easily after baking. In a large bowl, prepare the strawberry cake mix following the box instructions, then enhance it by folding in the instant vanilla pudding mix, sour cream, milk, and strawberry preserves. This combination intensifies the strawberry flavor while giving the cake a moist, tender crumb. Mix everything until smooth and evenly combined, then pour the batter into your greased pan, smoothing the surface for even baking.
Step 2: Create the Seismic Filling
Next up is the showstopper: the “seismic” cream cheese filling. Beat softened cream cheese in a medium bowl until silky smooth. Gradually add the powdered sugar and sweetened condensed milk, mixing until the mixture becomes rich and velvety. Finally, gently fold in diced strawberries for that delightful pop of fresh fruity texture. This filling is what gives the cake its dramatic, marbled “seismic” effect.
Step 3: Swirl the Filling Into the Cake
Drop spoonfuls of the cream cheese filling over the batter in the pan. Using a knife or skewer, swirl the filling gently through the batter — this swirling creates the signature cracked or seismic pattern in the finished cake. Be careful not to over-mix to keep that beautiful marbling intact.
Step 4: Bake and Cool
Pop your masterpiece into the oven and bake for 35 to 40 minutes. The cake is done when a toothpick inserted into the cake part (avoiding the cream cheese swirls) comes out clean. Allow the cake to cool completely in the pan; this will help it firm up and develop those incredible flavors.
Step 5: Add the Topping
Once cooled, spread a generous layer of whipped topping over the entire cake. Then, swirl strawberry preserves or glaze across the top for a pretty, marbled effect that complements the filling inside. Garnish with extra diced strawberries if you want to add a fresh, vibrant finishing touch. Refrigerate the cake to allow all the layers to meld beautifully before serving.
How to Serve Strawberry Seismic Cake Recipe
Garnishes
A little extra something on the plate elevates the dessert experience. Fresh strawberry slices, lightly toasted almond slivers, or a sprinkle of edible flowers make fantastic garnishes that add color and enhance the cake’s floral, fruity notes.
Side Dishes
This cake pairs perfectly with a scoop of vanilla ice cream or a dollop of lightly sweetened whipped cream for extra indulgence. For a refreshing contrast, try serving it alongside a simple mixed green salad with a citrus vinaigrette, balancing sweet and savory flavors delightfully.
Creative Ways to Present
For a brunch or party, consider layering slices of Strawberry Seismic Cake Recipe in a trifle dish with layers of fresh whipped cream and sliced berries for a showstopping dessert centerpiece. Or serve individual squares topped with a mint sprig and a drizzle of berry coulis for a charming presentation.
Make Ahead and Storage
Storing Leftovers
Store any leftover cake covered tightly in the refrigerator. The Strawberry Seismic Cake Recipe actually tastes better the next day as the flavors have more time to meld together. It will keep beautifully fresh for up to 4 days.
Freezing
If you want to freeze the cake, wrap individual slices tightly in plastic wrap and aluminum foil to prevent freezer burn. Thaw in the refrigerator overnight and add fresh whipped topping before serving for the best texture.
Reheating
This cake is best enjoyed chilled, so reheating is not recommended. However, if you prefer it slightly warmer, bring a slice to room temperature before serving. This lets the cream cheese layers soften without losing their luscious texture.
FAQs
Can I use fresh strawberries instead of frozen?
Absolutely! Fresh strawberries add bright, juicy flavor and a lovely texture to the filling. Just be sure they are diced small and patted dry to avoid excess moisture in the cake.
Is it possible to make this cake gluten-free?
Yes, by using a gluten-free strawberry cake mix and confirming that your pudding mix is gluten-free, you can easily adapt this recipe without sacrificing taste or texture.
What can I substitute for sour cream?
If you don’t have sour cream on hand, plain Greek yogurt works as a great substitute, providing similar tanginess and moisture to the cake.
Can I make the filling sweeter or less sweet?
Definitely. Adjust the powdered sugar and sweetened condensed milk amounts to suit your preference, but keep in mind that the balance of sweetness complements the tart strawberries perfectly.
How do I achieve the best swirl effect in the cake?
Drop spoonfuls of the filling over the batter and use a gentle swirling motion with a knife or skewer — avoid mixing too much to keep the distinct marbled patterns that make the cake ‘seismic.’
Final Thoughts
The Strawberry Seismic Cake Recipe is truly a joy to make and even more delightful to share. Its vibrant color, creamy filling, and luscious topping come together to create a dessert that’s as eye-catching as it is delicious. Whether you’re celebrating a special occasion or simply want a sweet treat to brighten your day, this cake will not disappoint. I can’t wait for you to try it and watch everyone’s faces light up at first bite!
Print
Strawberry Seismic Cake Recipe
- Prep Time: 20 minutes
- Cook Time: 40 minutes
- Total Time: 1 hour 30 minutes
- Yield: 12–16 servings
- Category: Dessert
- Method: Baking
- Cuisine: American
- Diet: Vegetarian
Description
Strawberry Seismic Cake is a delightful American dessert featuring a moist strawberry cake swirled with a creamy cream cheese filling, topped with whipped topping and strawberry glaze. This visually stunning cake combines a marbled ‘seismic’ effect within the cake batter, enhanced by fresh strawberries and a sweet topping, making it perfect for celebrations and summer gatherings.
Ingredients
For the Cake:
- 1 box strawberry cake mix (plus ingredients called for on the box – usually eggs, oil, and water)
- 1 (3.4 oz) box instant vanilla pudding mix (dry)
- 1/2 cup sour cream
- 1/2 cup milk
- 1/4 cup strawberry preserves or jam
For the Seismic Filling:
- 1 (8 oz) block cream cheese (softened)
- 1/2 cup powdered sugar
- 1/2 cup sweetened condensed milk
- 1 cup diced fresh or frozen strawberries
For the Topping:
- 1 (8 oz) tub whipped topping (like Cool Whip)
- 1/4 cup strawberry preserves or glaze
- Extra diced strawberries for garnish (optional)
Instructions
- Preheat and Prepare: Preheat the oven to 350°F (175°C). Grease a 9×13-inch baking dish thoroughly to prevent sticking and set aside for the cake batter.
- Make the Cake Batter: In a large mixing bowl, prepare the strawberry cake mix according to the package instructions. Add the instant vanilla pudding mix, sour cream, milk, and strawberry preserves. Mix carefully until the batter is smooth and uniform in texture. Pour the batter evenly into the greased baking dish.
- Prepare the Seismic Filling: In a medium bowl, beat the softened cream cheese until fully smooth, ensuring no lumps remain. Incorporate the powdered sugar and sweetened condensed milk and mix until the mixture is well combined. Gently fold in the diced strawberries, distributing them throughout the filling without breaking them down.
- Create the Seismic Swirl: Drop spoonfuls of the cream cheese filling onto the surface of the cake batter. Using a knife, gently swirl the filling into the batter to create a marbled or ‘cracked’ pattern, which gives the cake its distinctive ‘seismic’ look.
- Bake the Cake: Place the baking dish in the preheated oven. Bake for 35 to 40 minutes, or until a toothpick inserted into the cake portion (avoiding the filling) comes out clean. Remove from oven and let the cake cool completely on a wire rack.
- Add the Topping: Once cooled, spread the whipped topping evenly over the cake surface. Spread the strawberry preserves or glaze on top of the whipped topping and gently swirl with a spoon or knife to create an attractive marbled effect. Optionally, garnish with additional fresh diced strawberries for an extra burst of flavor and color.
- Chill and Serve: Chill the cake in the refrigerator for at least 1 hour to allow the flavors to meld and the topping to set. Slice into 12 to 16 pieces and serve chilled for best results.
Notes
- Store the cake covered in the refrigerator for up to 4 days to maintain freshness and flavor.
- The cake tastes even better the next day as the flavors meld and intensify.
- Perfect dessert choice for potlucks, summer parties, and special occasions.
- Use fresh strawberries for the best texture and flavor in the filling and garnish, or frozen if fresh are unavailable.
- Ensure cream cheese is softened to avoid lumps in the filling mixture.


